
Like this? Follow me:
![]() If you’re enjoying this content, considering joining my Patreon to support future work.
If you’re enjoying this content, considering joining my Patreon to support future work.
I recorded the above video somewhat on a whim – but it goes through some of the gear I use on my fastpacking trips. The way I pack is covered here, and what I bring to eat is covered here. I have gone through my entire kit for a few projects I’ve done, like my Sangres trip, if you’re looking for an exhaustive list.
Below, I’ll go through some of the newer gear that I’ve started using in the past year that I have really enjoyed and think it’s worth taking a closer look at for your own fastpacking adventures:
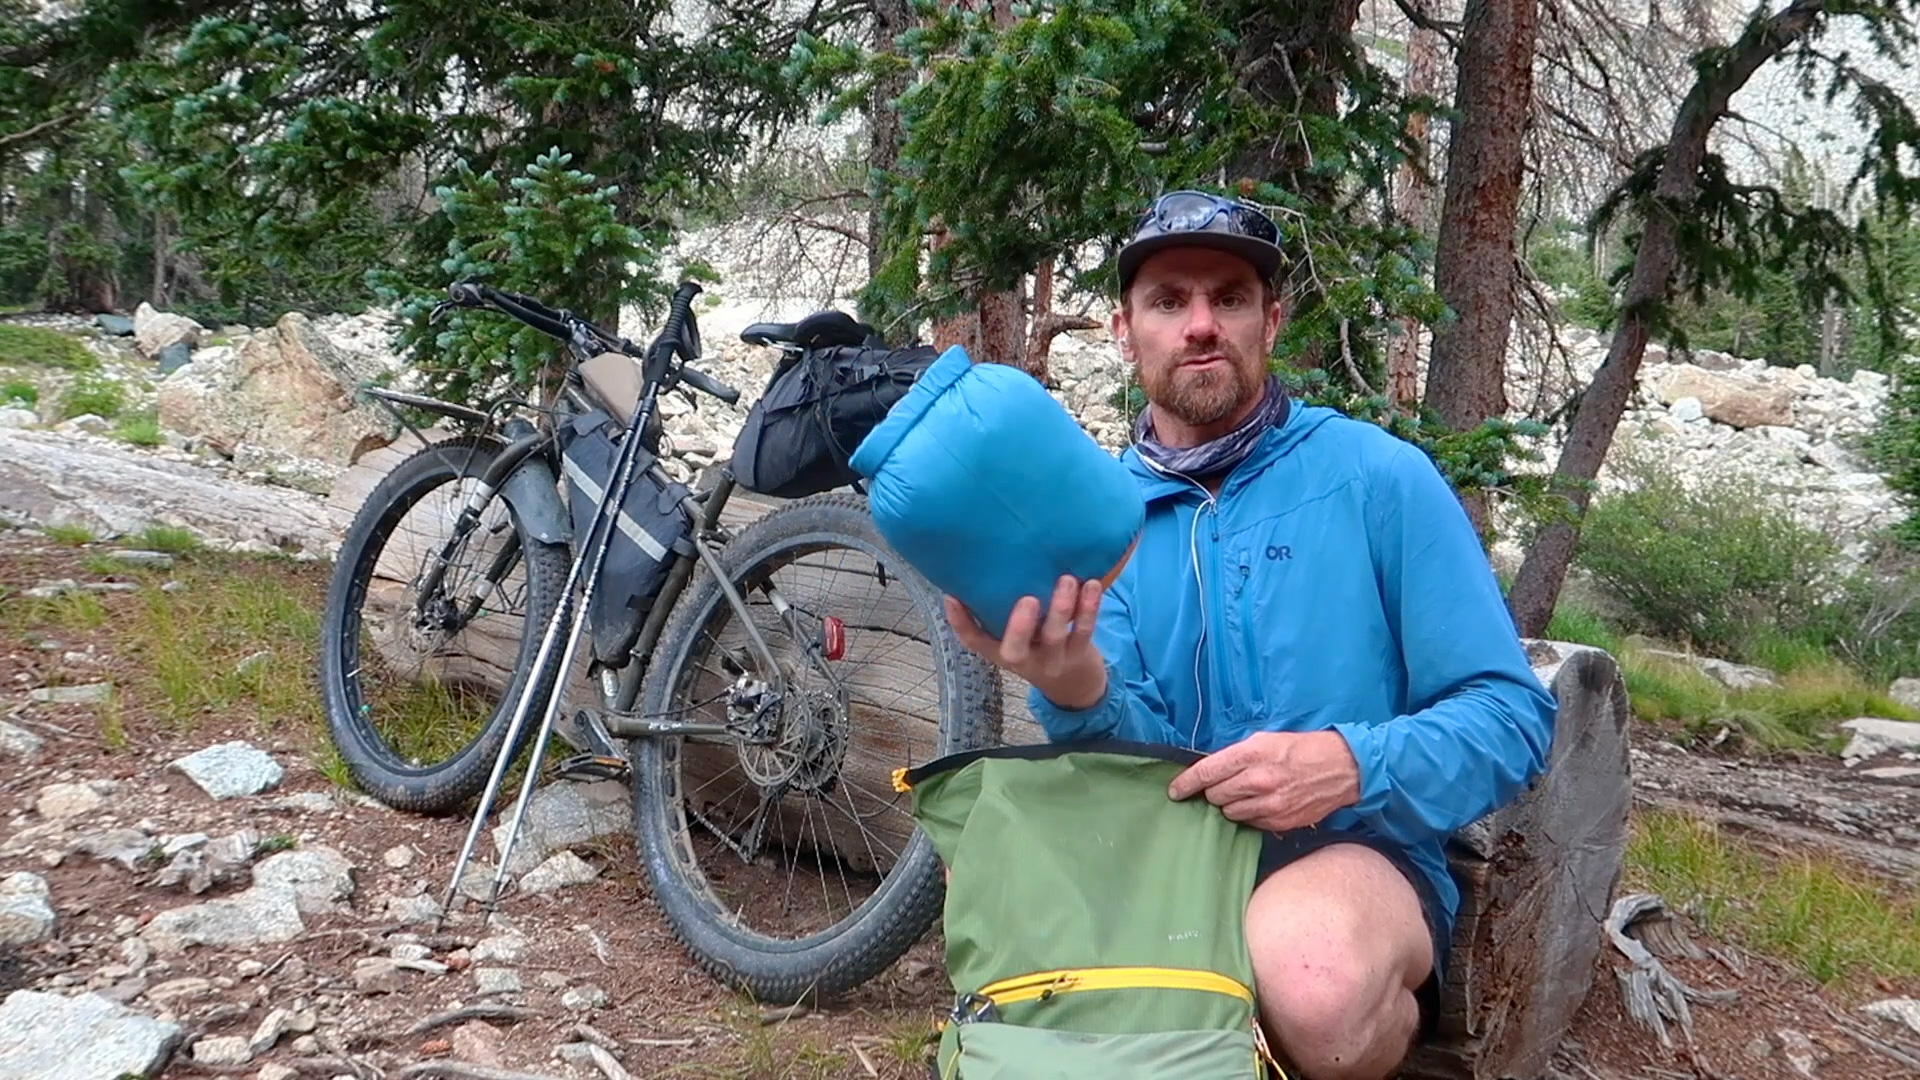
Ultimate Direction Fastpack 40
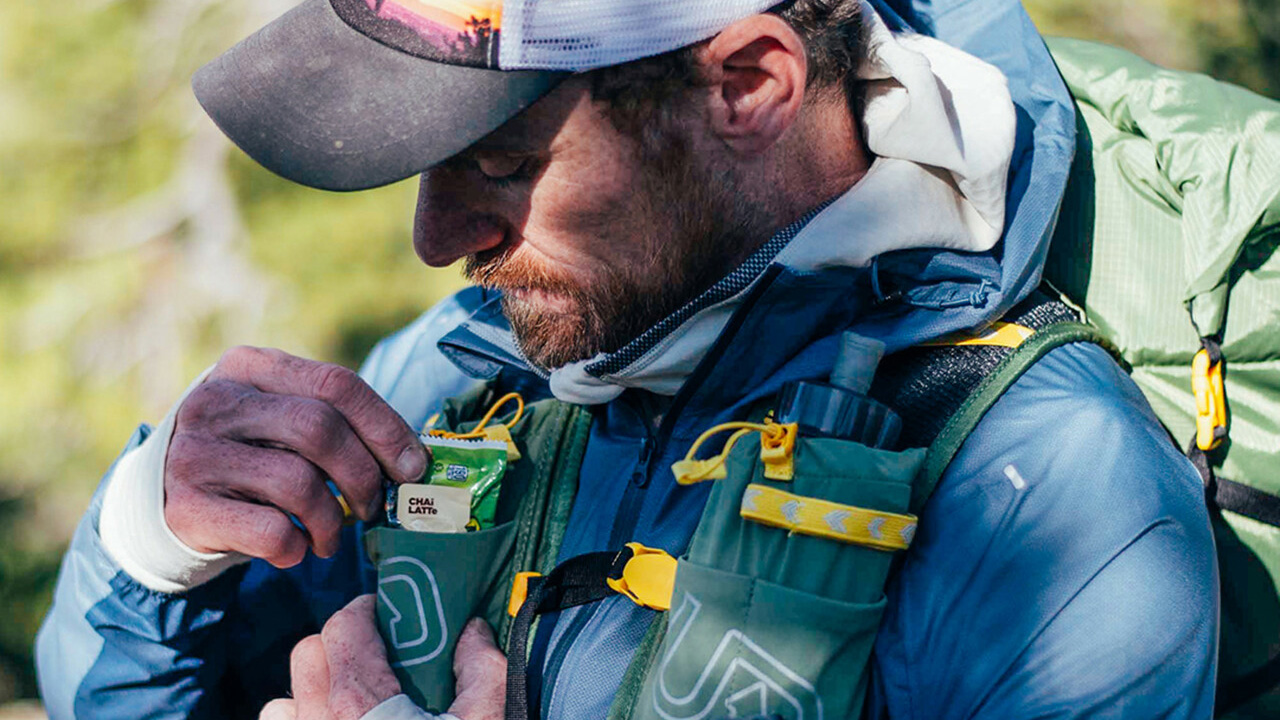
As a UD Athlete, I’ve had the privilege to be using the Ultimate Direction Fastpack 40 in the field longer than most anyone. A little lighter than previous models, tons of pockets and zippers, and thoughtful fabric selections have proven it a winner for me. This is the largest pack that Ultimate Direction currently produces (the Fastpack 45 I’ve used in the past is no more). This is most likely as large as you would want to go with a running vest-style pack that forgoes a hip belt.
This is the pack I had with me on Project Vanishing Point, as well for a plethora of multiday adventures I’ve had this year.
La Sportiva Ultra Raptor II GTX

See my full overview of the La Sportiva Ultra Raptor II GTX. The Mutant is still my all time favorite trail runner, but I appreciate the evolution of the Ultra Raptor into a mid-height cuffed light hiker – that comes in both regular and WIDE widths! This was the shoe I was going to use on my next long ridge traverse fastpack, as I was looking for ankle protection from the constantly moving talus and these would have been perfect, if I had gone through with the trip. The mid height didn’t seem to take away from how runnable the shoe still was, and was the perfect weapon on those messy wintry days.
GoPro Max
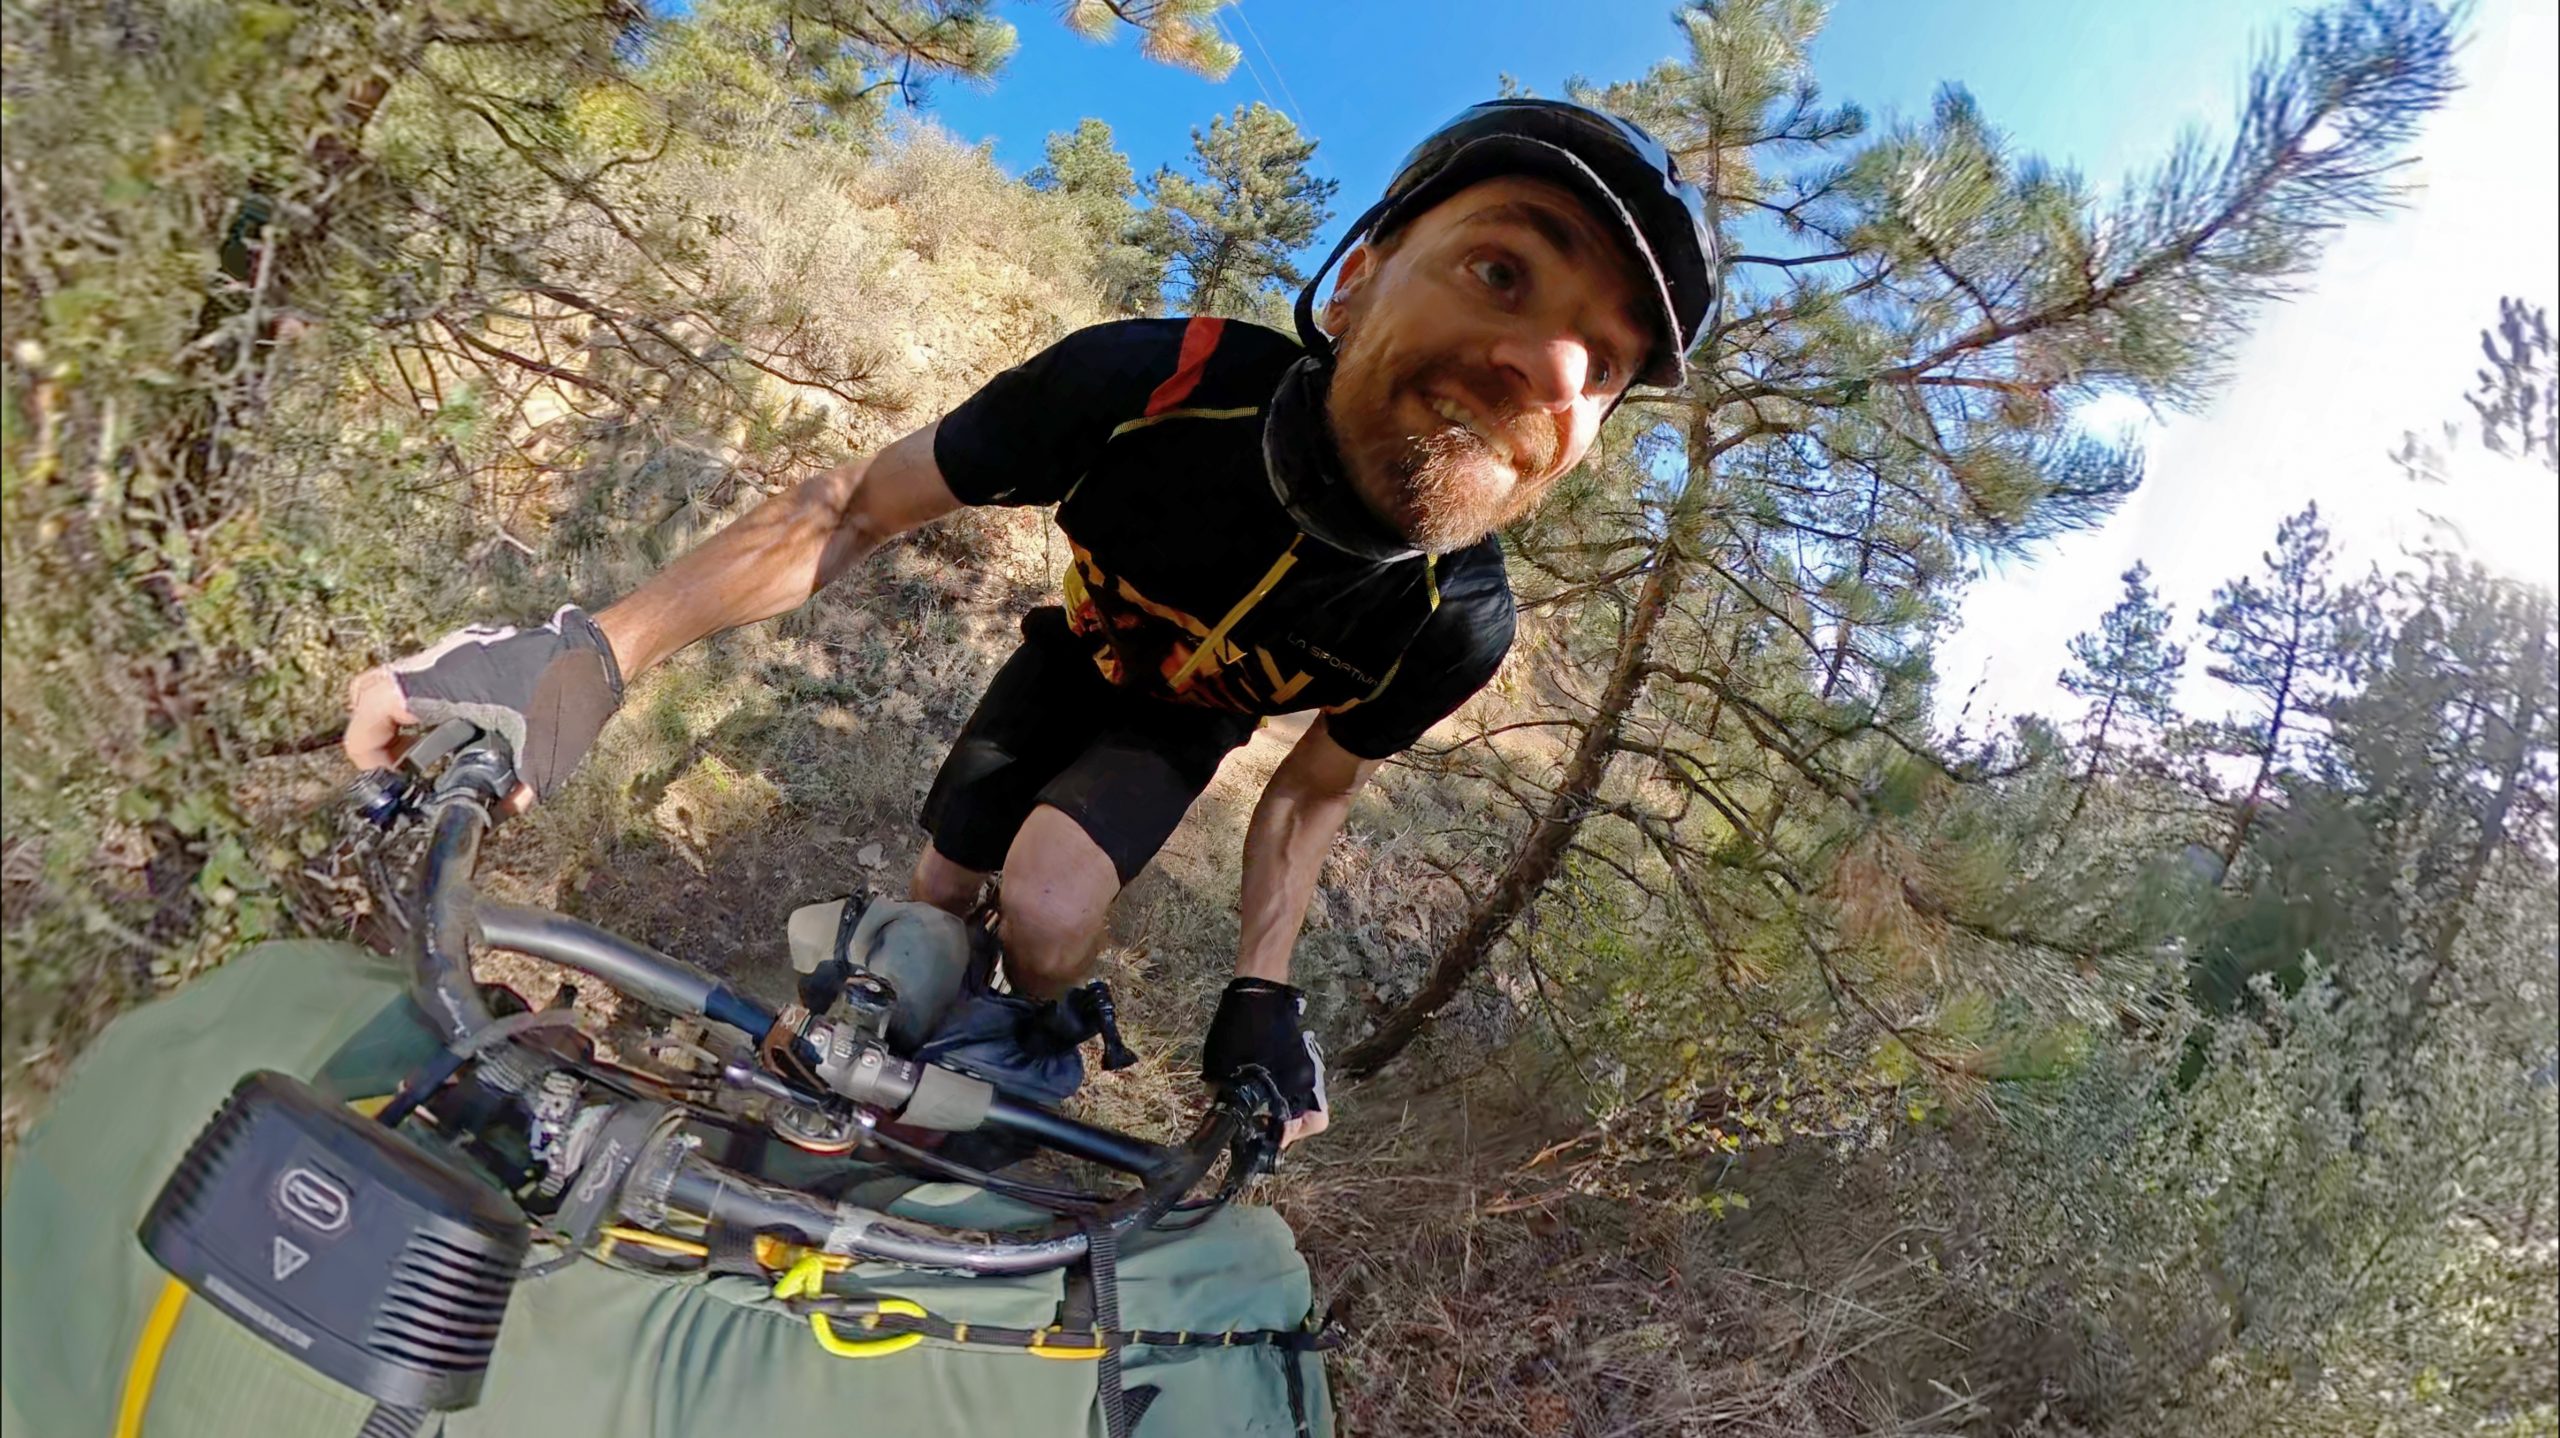
It’s always been a struggle to both have an adventure, while documenting the adventure. The purist in me says that it’s impossible to do both at once; the realist in me kinda agrees. But the next best thing is the GoPro Max. The footage it captures is unreal, and the size is quite small when compared to my actual camera. I bring a few extra batteries and I have the juice to capture a multi-day trip.
Once captured, it is quite the process of editing the footage, as you have to take the 360 video and render it into regular video. There is a learning curve to do this as well. But I enjoy the process, and I’ve found the best thing to do is take the footage and save it all for a rainy day – or at least a time when I’m not as active taking on my adventures, and come back to it with enough time to dedicate to the editing process.
I do use a few accessories – actually a whole case of them, but the most important ones are:
- GoPro Max Grip
- GoPro Max Dual Charger
- Additional Batteries (I use three – one in the camera, and two in the Dual Charger)
- A fast microSD, like this SanDisk Extreme Pro (best for working in cold conditions)
Many of the photos in this post were taken with my Max. The best (laziest) way to take photos is to just take videos, choose a single frame, reframe it, and export to a jpg. The actual image quality isn’t the best, but the actual scene you’ve captured will have a great chance of really standing out.
The GoPro Max paired with the Max Grip really works well with both the UD Fastpack 40 and the UD Utility Belt, which means I can tuck it into the gear I’m already wearing and not worry about dropping it down a 1,000′ cliff.
The Max isn’t perfect. It’s pricey, and it’s really easy to damage the lenses. Still, I can’t think of anything better to use. When they make a v2, I’ll be the first in line.
Sea to Summit Watercell X
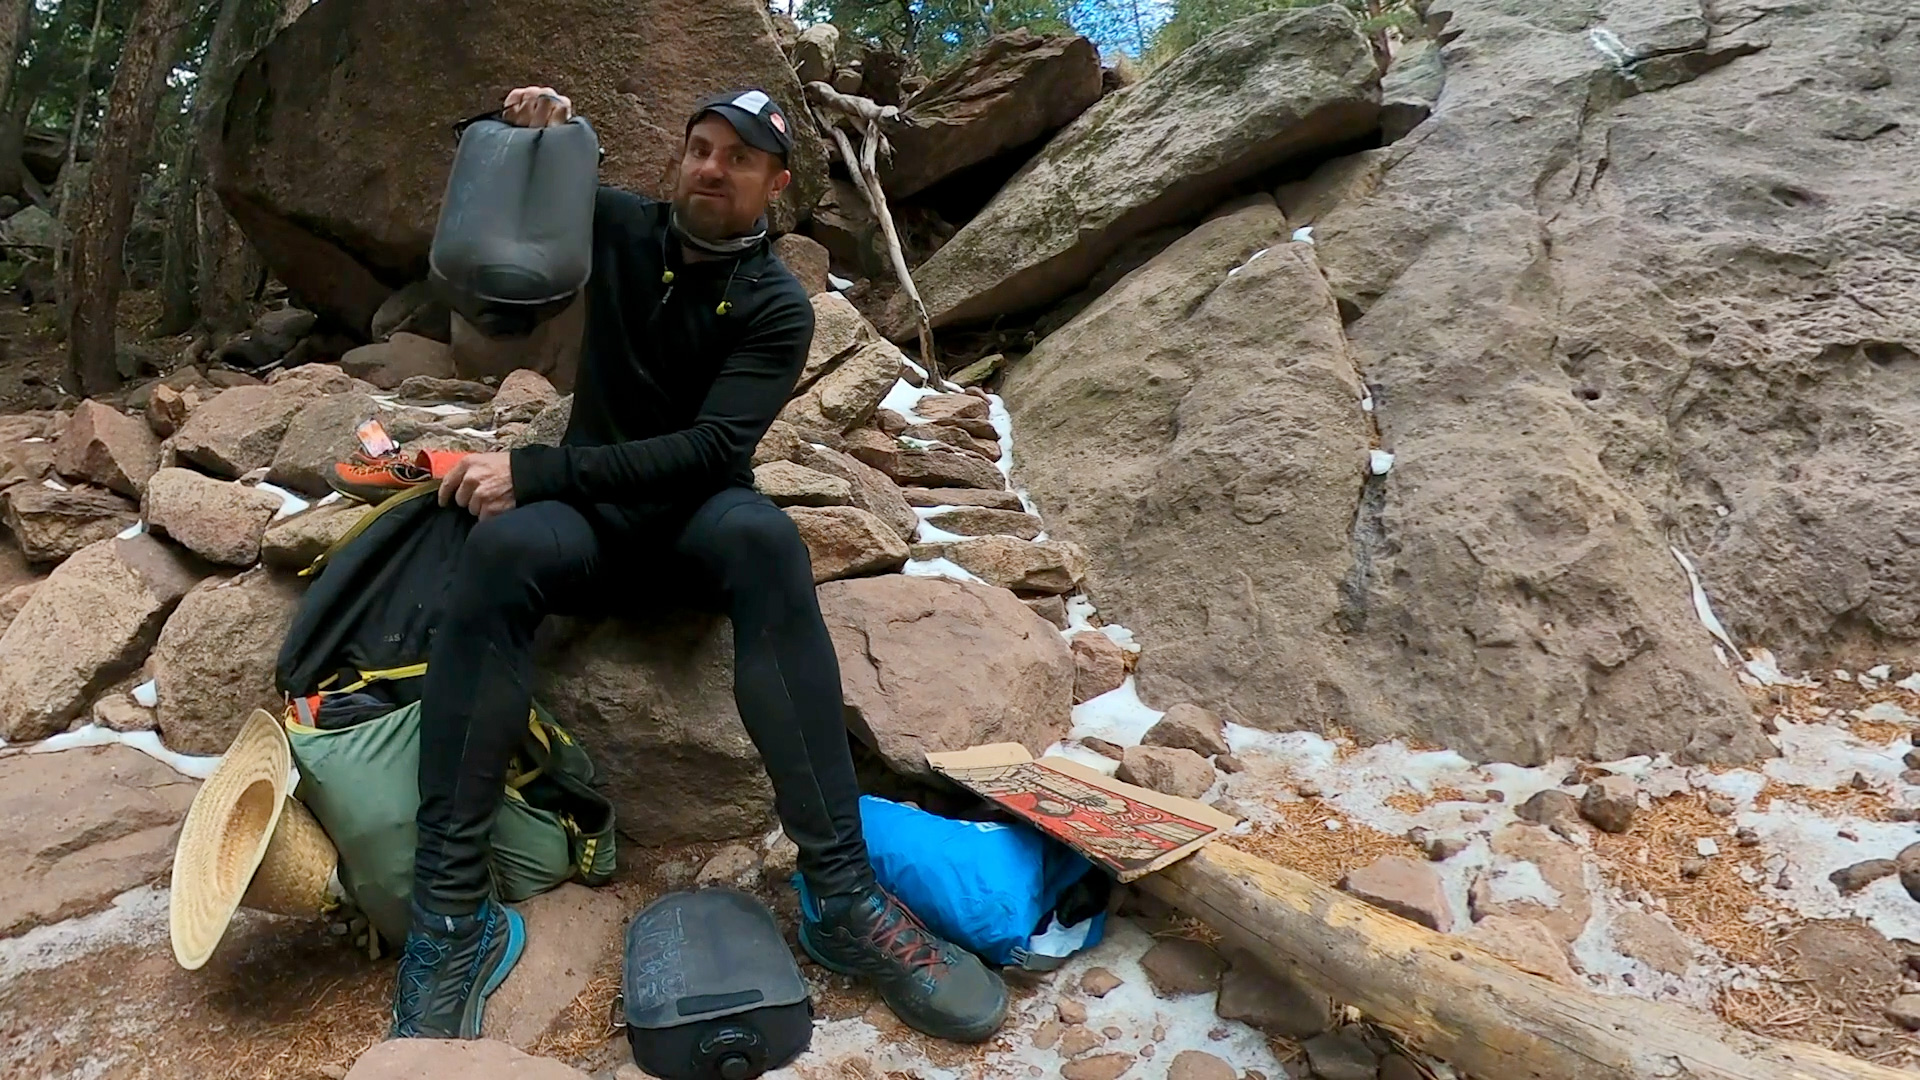
I hate gear that breaks. Water flasks are often expensive and delicate, sprouting unfixable pinhole leaks even with light use. The Sea to Summit Watercell X is literally the first and only water flask I’ve ever used that’s survived a full season of use.
I tend to camel up on water during my long-distance ridge traverse fastpacks, like the Sangre de Cristo Range, as free water is rare and making water is time-consuming. For my use case, the 4 Liter version is big enough – the 6 Liter could fit in my Fastpack 40, but the weight of 6 liters of water (6kg/13+lbs) is more than I usually like to haul. I do own both, as both sizes are useful if I’m camping in the same place for a while or want to cache water for later.
The other use case I’ll use these for is actual training: In the late Spring, I usually do a course of weighted carries up the local hills as a way to get ready for my fastpacks.

The Watercell X does have some nice features other than, “doesn’t break easily”: the top opening is very wide, and can be screwed on and off, making it easy to fill up in a stream. You can also loosen it a half turn to have water come out of it in a small stream, rather than a large gush. The flash also comes with a shower attachment for those who practice basic hygiene while on route.
That large mouth can cause a little bit of annoyance in my smaller packs, like the FKT Vest, as it’ll rub against my back. I did run into this issue on my Elbert to Massive linkup, which featured no water for the entire route. For larger packs like any of the UD Fastpacks – or any packs with some sort of back padding, this shouldn’t be a problem.
Sea to Summit also has a lighter, more minimal flask called the Watercell-ST, but I’ll take, “more durable” over “save grams” any day for this application.
Sea to Summit Evac Dry Sack
Stuff sacks are the main way I organize my gear inside my pack. I prefer stuff sacks that are waterproof, rather than hoping my pack itself is waterproof, or using a large plastic bag to put all my gear in, then put that bag inside my pack. The reason really is because I prefer to keep my gear modular – I move gear from my bikepacking setup to my fastpacking setup often, and grabbing a bag of clothes, or all my electronics at once saves me time.
The Sea to Summit eVac Dry Sack is a huge step forward in functional bags, being both waterproof and compressible. There’s no need for additional straps that take up pack weight and space. To compress the sack, just roll the sack down which pushes the air in the sack out the one-way bottom membrane. I carry a few of these in a few sizes and usually use them to carry clothes.
Sea to Summit Ultra-Sil Dry Sack
These stuff sacks are very light, water resistant, and are cheap enough by not having to resort to more exotic materials. I use the smallest, 1 L size the most often. Jobs like keeping my toiletries together, wrapping my GoPro Max in, storing my Watercell X in are perfect for the Sea to Summit Ultra-Sil Dry Sack.
Fenix HM65R Headlamp

There’s a lot of good head torches out there, but the Fenix HM65R Headlamp is the one I’ve found to be the best for me. What I like about it: bright as can be, long lasting at every level except the brightest, good flood and spot (separate LEDS!), electronic lockout, battery charge indicator, built-in USB charging port, strap works to keep the light on my head, and the battery compartment fits some of the larger capacity/featured batteries, like Fenix’s own batteries that feature built-in USB charging ports like the ARB-L18-3500U.
The only thing it’s not great at is being a camp light – there’s no red light setting – but I’m never “at camp” fastpacking, so that’s not a big dealbreaker for me. What I DO need to be able to do is see 100 meters away down the next ridgeline, to make sure there is a ridgeline to scramble down, and not a huge cliff.
Your Turn
What new gear have you found useful for your light-and-fast adventures?

Justin, I was checking this post out regarding the GoPro stuff to see if you happened to mention software (even though it’s not “gear”). I’m struggling to find decent editing software for the GoPro — what did you use for, say, the Blanca Group traverse video? tx
I use the GoPro Player app to reframe the 360 video, then iMovie to do the editing. I’ll spring for Premiere if/when my Youtube channel surpasses dozens of subscribers 😉