Like this? Follow me:
For the majority of my outdoor trips and adventures, I’m mountain running: moving as quickly as I can in mountainous terrain all with the minimal amount of gear. I also go on multi-day trips and then my mountain running transforms into what’s called, fastpacking.
The goal is simply efficient all day movement over long distances, I’m not carrying all the heavy gear to comfortably hang out in a tent in a camp for long periods of time – I’m bringing just enough to get some rest when I’m not moving. I will be carrying additional gear in the form of an ultralight overnight sleep system, additional food, and perhaps some additional clothes and personal items.
I’ll be going over both training techniques that can help us move as fast as we can during our fastpacks, as well as some ways we can practice to optimize our time on our trip. I’ll be introducing a workout called Weighted Carries, which we’ll modify so that we can use it for both.
And as a bonus, I’ll go over some more tips and techniques to get you moving as fast as possible on your next fastpacking adventure.
Training
So, first off, standard disclaimer: I’m not your coach and what I’ll be talking about are just my ideas and opinions. Use them only for inspiration for designing your own training program.
Gear You’ll Need
Pack
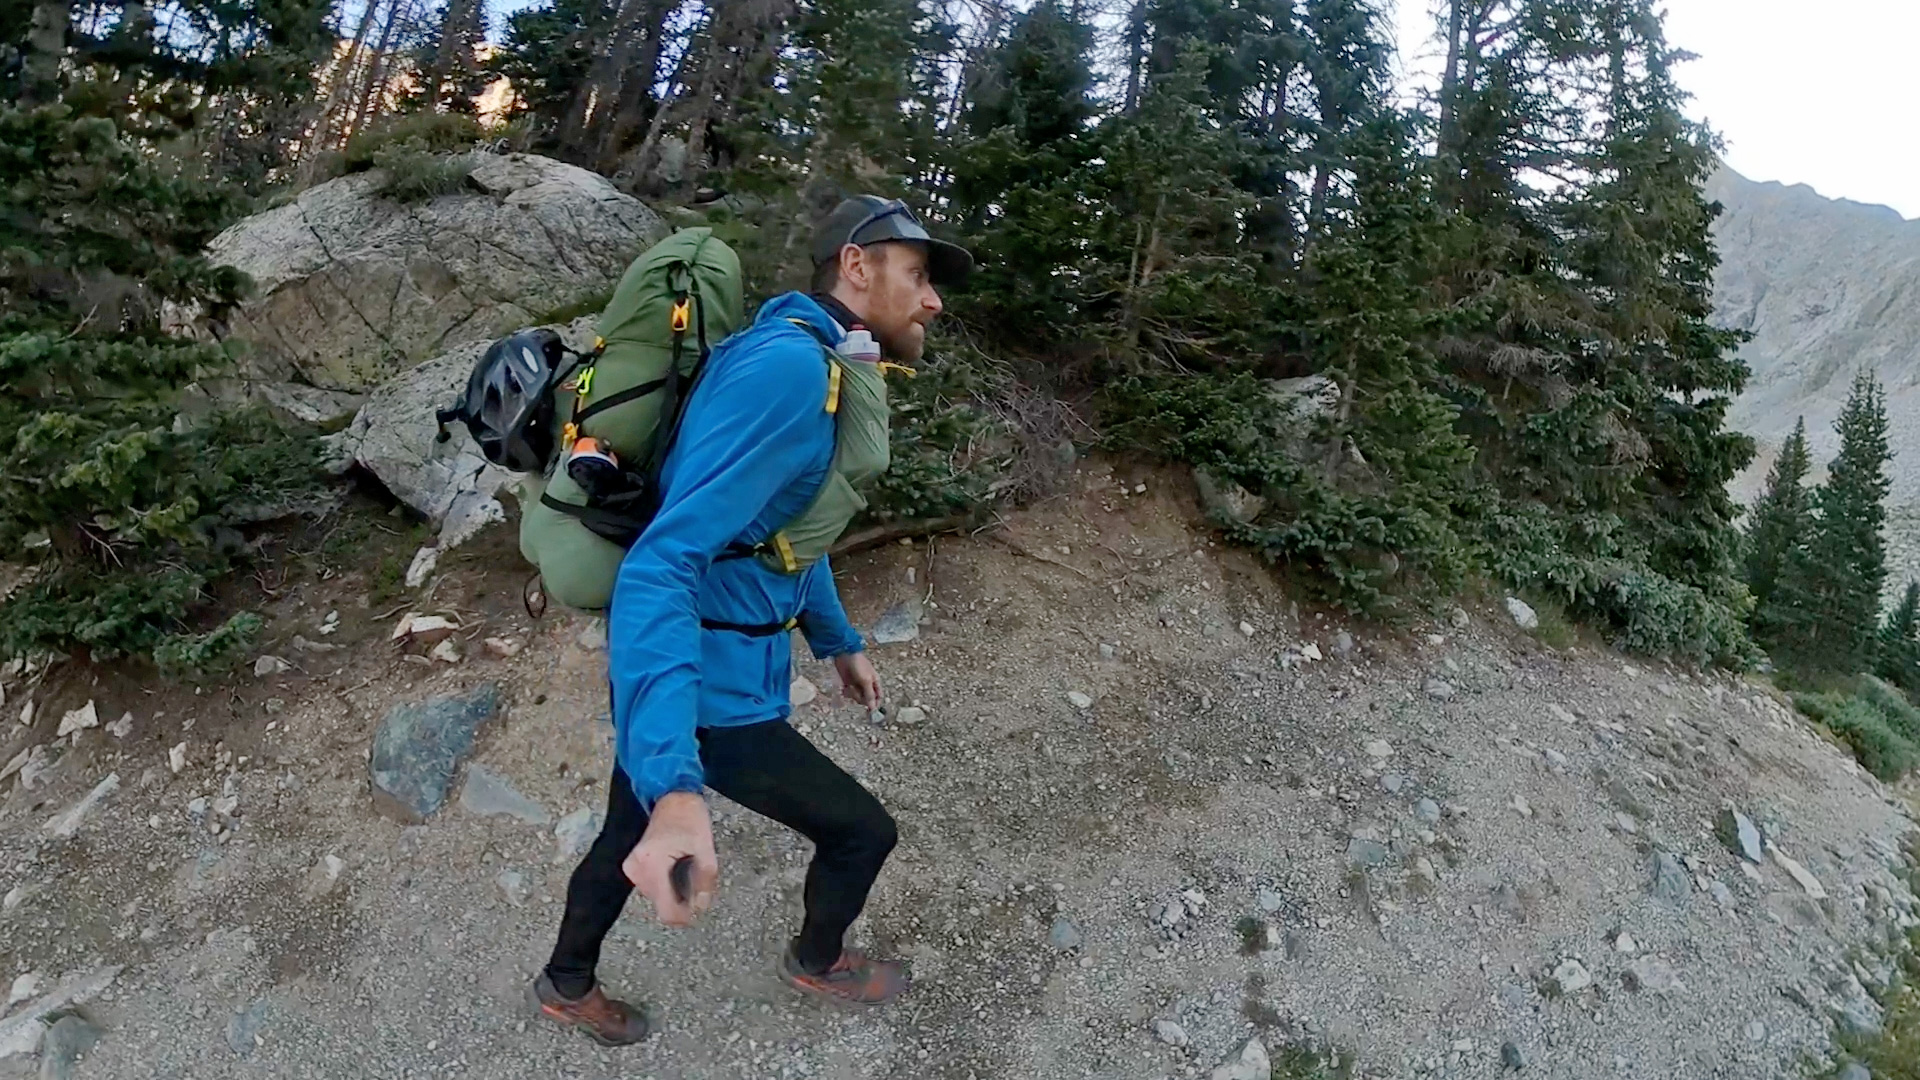
For this workout, you’ll need a pack – I’d suggest a similar design to what you’ll be using on your actual trip if you can. A lot of packs used for fastpacking are modeled after running vests that have additional storage capacity, rather than a conventional backpack.
Weight
You’ll need something heavy to put in the pack – I’ll be going over exactly what I use and why, so keep watching
Hills
And, a steep hill! The local hill I have out my door has more than 2,000 feet of climbing to its summit in 2 miles – roughly. Pretty steep. If you don’t live at the very edge of say, The Rocky Mountains, you’ll need to use a little creativity.
And that’s it for gear we’ll need.
The Workout
We’re going to be hiking up steep hills with an additional load in our pack. This will closely approximate the added weight and thus additional exertion we’ll experience when doing the actual fastpack, and this will get us ready for our trip. It’s that’s simple, but of course the devil is in the details.
The Details
Runners, like me, are often surprised that something like backpacking fitness is different than running fitness, and even that one can train for this difference. Runners may think that the type of training they do will automatically transfer over to moving quickly with an added load. And this sometimes turns into some future humble pie they’ll eat.
Take it from me.
Terrain Choice (STEEP!)
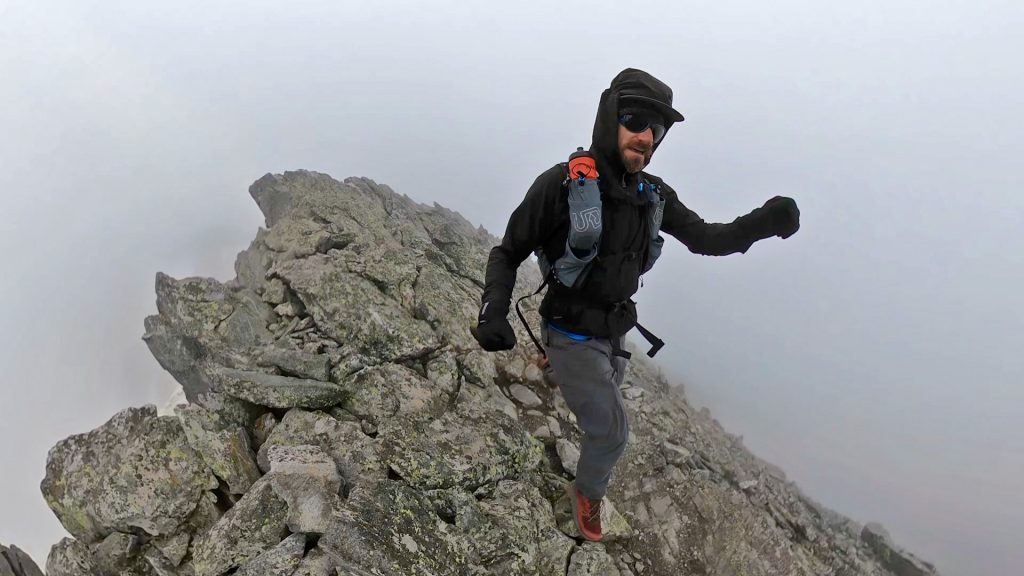
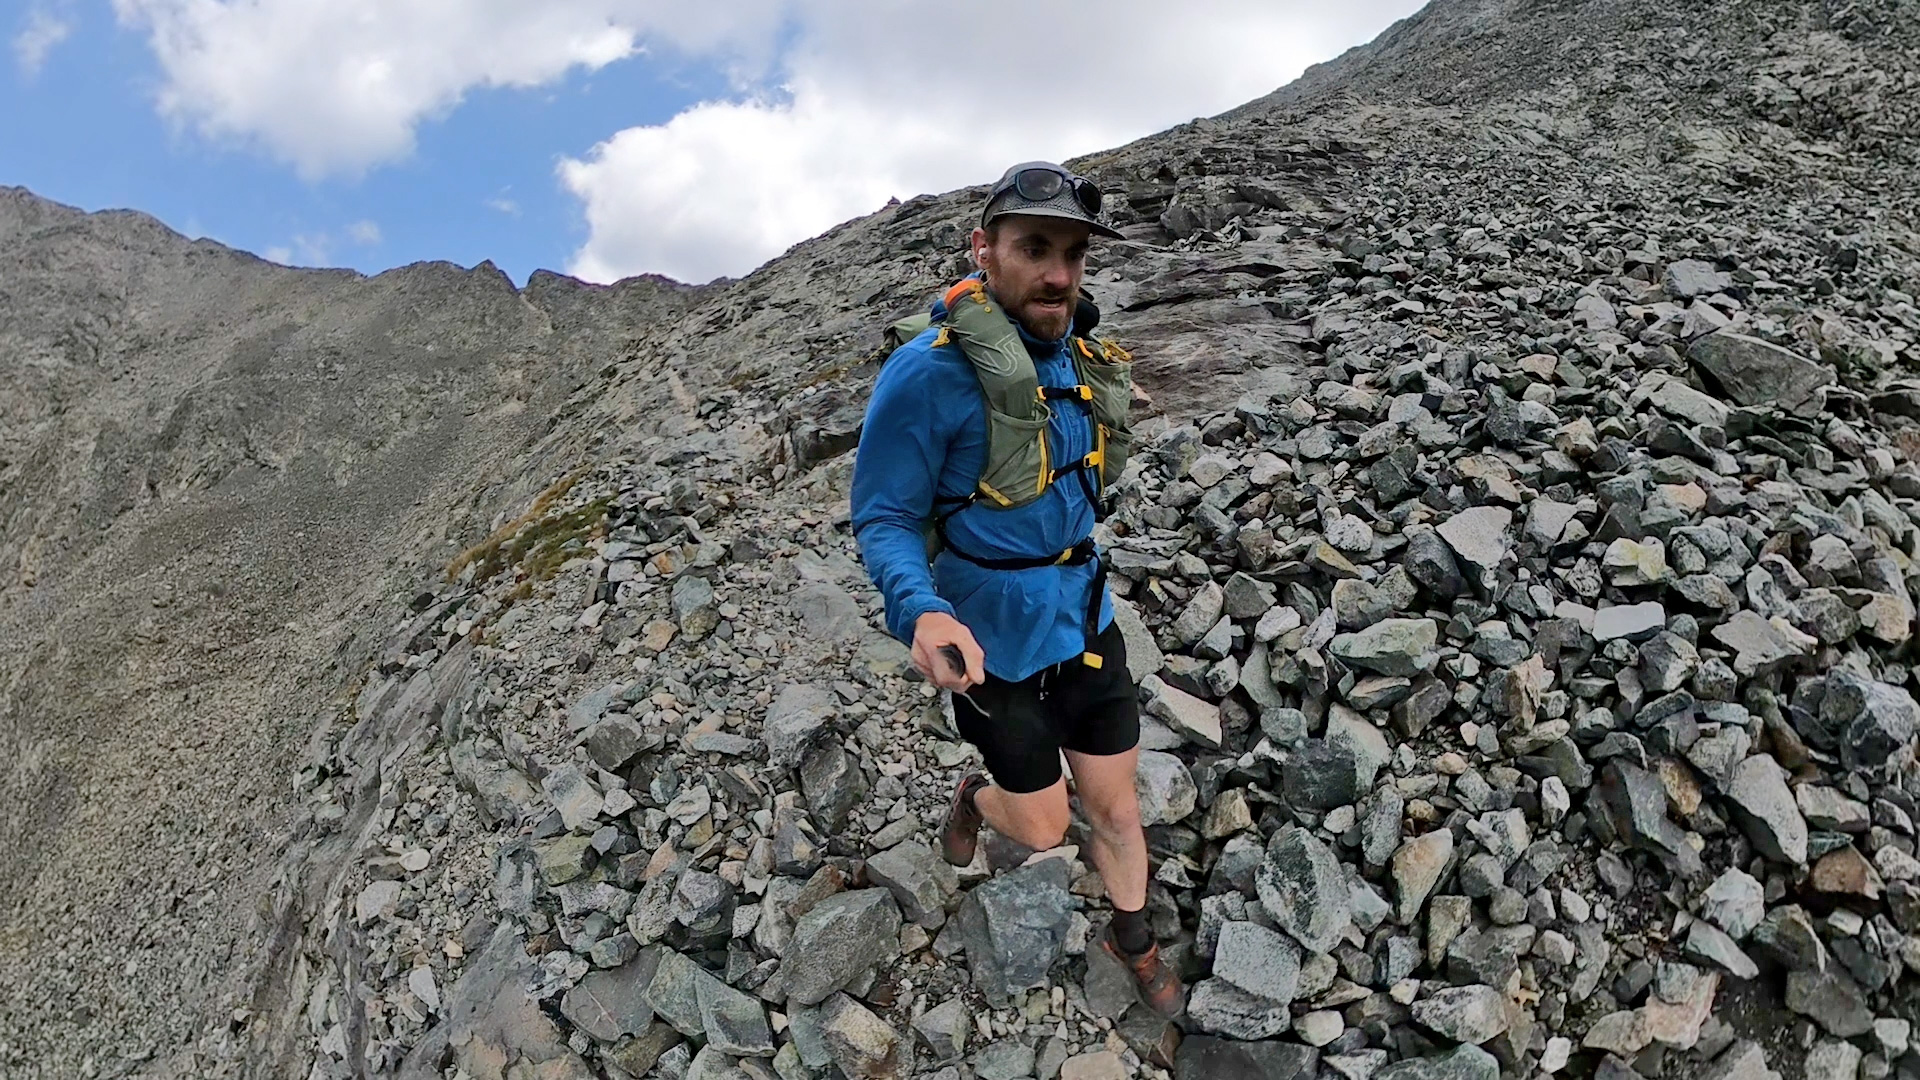
I’m going to focus on weighted carries up steep hills, as that’s the type of terrain my trips travel on. These hills are usually so steep, I wouldn’t be able to run them even without an additional load. Pick out some very steep routes – straight up the hill if you can.
I’m going to reference Uphill Athlete on their suggestions as I’m a huge fan of Both Scott and Steve, as well as the books they’ve published:
Intensity (HARD!)
So, the Intensity of your workout should be nails hard – your legs should be absolutely on fire. But, the workout should not be so hard that you need to stop and catch your breath – we don’t want to go anaerobic – that isn’t the goal, and this isn’t going to be sprint work up the hill. The limiting factor should be your legs, and not your lungs. Adjust the weight to tune your workout.
As Uphill Athlete recommends,
“you should be able to carry on a conversation while your legs are burning”
Record the weight so you know what to start out with next time.
And keeping things aerobic makes sense, right? What’s the point of training to go fast, but anaerobic, if that means you have to stop all the time? Fastpacking for me is about moving all-day, with minimum rest or stopping, for multiple days in a row. My trips can be over a week long, before I reach civilization again. In the back of your mind, remember that this is still endurance work – not sprint work, even if it’s weight training to carry a heavier load Take on a tortoise mindset.
Festina lente: “Make haste, slowly.”
Over the course of your training, you may need to add weight to your pack. This is the basic Overload Principle of weight training.
Aside: Weighted Carries, Hills vs. Flat Terrain
For me, there’s not much added benefit of plodding along doing a weighted carry on flat terrain, mostly because the terrain I’m planning to fastpack is also very steep – we’re talking 1,000’ of elevation gain or loss every mile or so. It’s also difficult to get a hard enough workload which we’re trying to achieve on flat terrain, when compared to steep.
It’s also my opinion that running is just a much better, more time efficient use of my time while on flat terrain when compared to running with a heavy pack.
My opinion is that the impact forces of running without additional weight is going to be similar to running with weight, since the weight itself is going to limit your stride length and your range of motion. For example, while I’m running, it’ll be at a faster pace, bounding higher, strider longer, etc. All at an aerobic intensity And I’d rather not shorten my stride length, And I’d like to continue to train to run as well: I’m a runner!
But feel free to do your own experiments – Some running coaches like Ian Sharman do use weight vests and hiking to help athletes to train for hilly ultras when no hills are available, and given Ian’s track record, there may be something to that. What are your own thoughts about running with a load – rucking – on level ground? Leave your thoughts in the comments.
Weighted Carries Uphill as STEEP Mountain Running Training?
I would NOT anticipate that weighted carries would be the best training for improving steep hiking speed when unweighted – And most especially for the ultra distances that I’m most interested in doing – And cards on the table, I’m not an expert on Vertical K’s or even Sky Running. But if you want to traverse a mountain range – I’m your guy. My thought is adding weight changes things like stride length and other parts of the locomotion of steep hiking unweighted too much to have enough carry over.

And aerobic base training can be achieved quite easily by simply hiking fast or even running up a hill, And further more, the problem with this all is producing too high of a heart rate while training to work on cardiovascular fitness, and it would be prudent for a mountain runner to slow down on uphills to keep in the right heart rate zone.
My suggestion is to use weighted carries specifically to get more efficient at carry heavy loads. Remember the Specificity Principle of Sports Science – which is the reason we’re doing weighted carries to get ready for a fastpacking trip in the first place!
What to Use For Weight
You can use most anything you’d like for weight, so long as you can get enough of it in your pack to meet the amount of weight you want to carry So bags of feathers are probably out.

In the past, I’ve just taken up rocks I’ve added to my pack. This is convenient, since there’s rocks everywhere I run, and you know: they’re quite heavy. Although, getting a pack balanced with rocks is surprisingly hard to do, and rocks are usually abrasive and can damage your gear. Then there’s the problem of what to do with them when I’m done. So… leave the rocks on the ground.
You could carry all the gear you’re going to be fastpacking with but more likely than not you’ll want to be training with more weight then your actual trip. And you may not actually have all the gear you need beforehand Or know what exactly what gear you are actually going to take. These are OK things to not know months away from your trip. We’re still getting prepared, so we don’t need to worry about it yet.
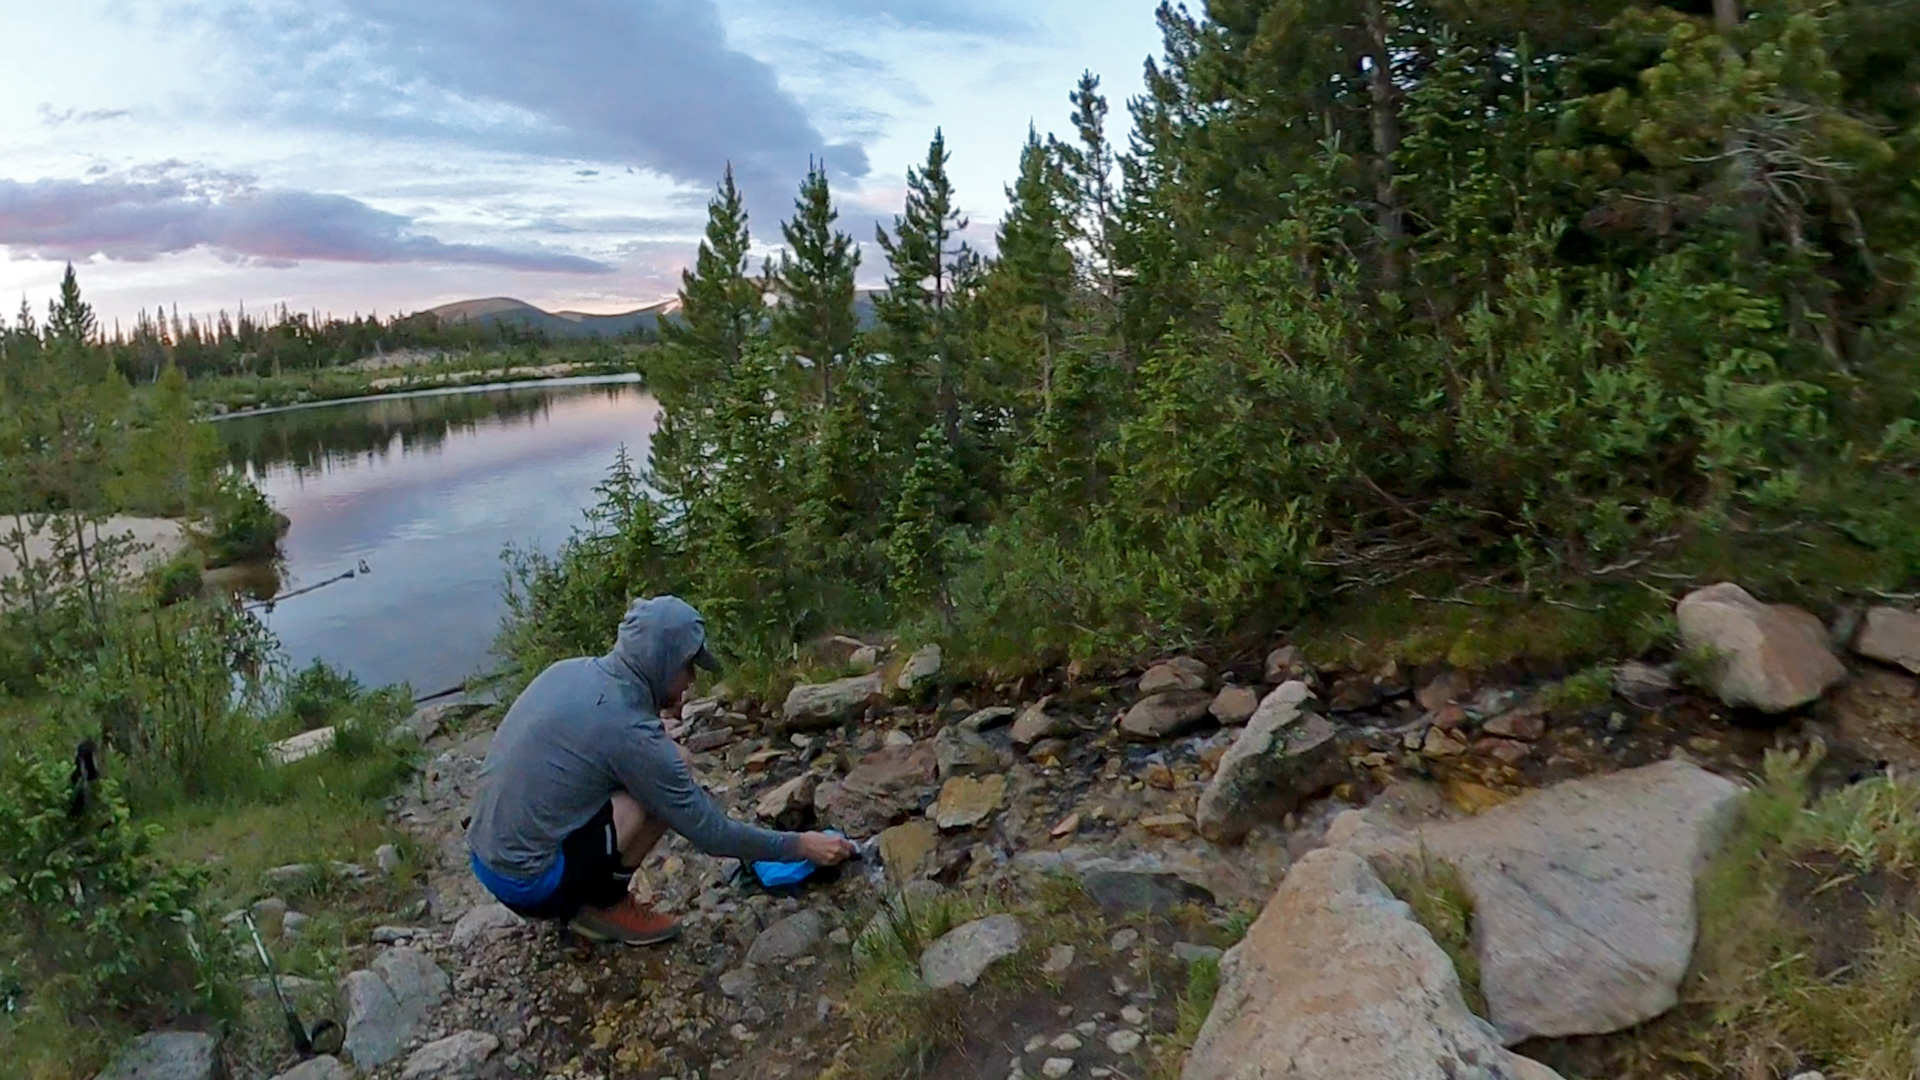
Instead, what I use is water flasks/jugs for my own weighted carries, And this works out great because, by and large, water is one of the heavier things I ever carry in a pack anyways. Water flasks give you flexibility in the weight of your load And it’s easy to know how much weight you’re actually training with
1 liter of water weighs 1 kilogram or about 2.2 pounds. And water flasks often come in various amounts of liters (aside) Or mine do, anyways, So I don’t have to bring a scale with me on my workouts
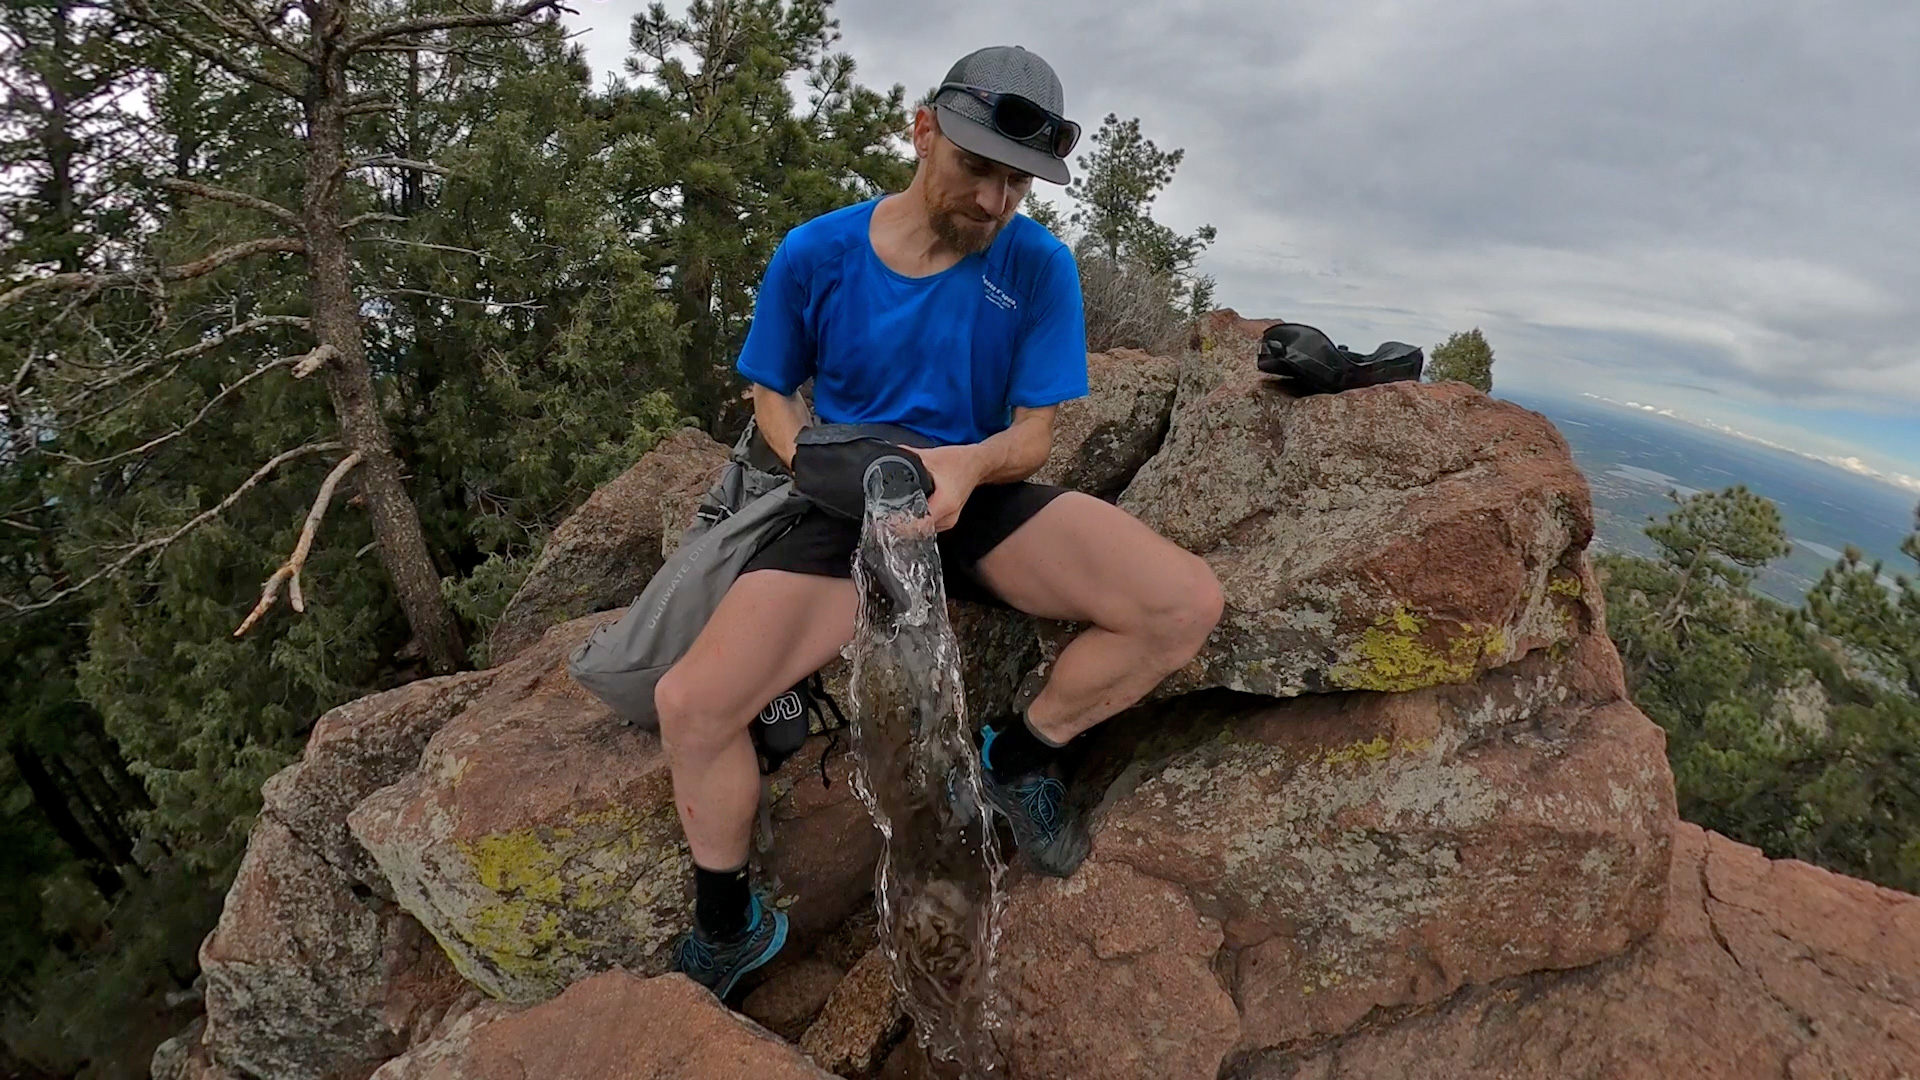
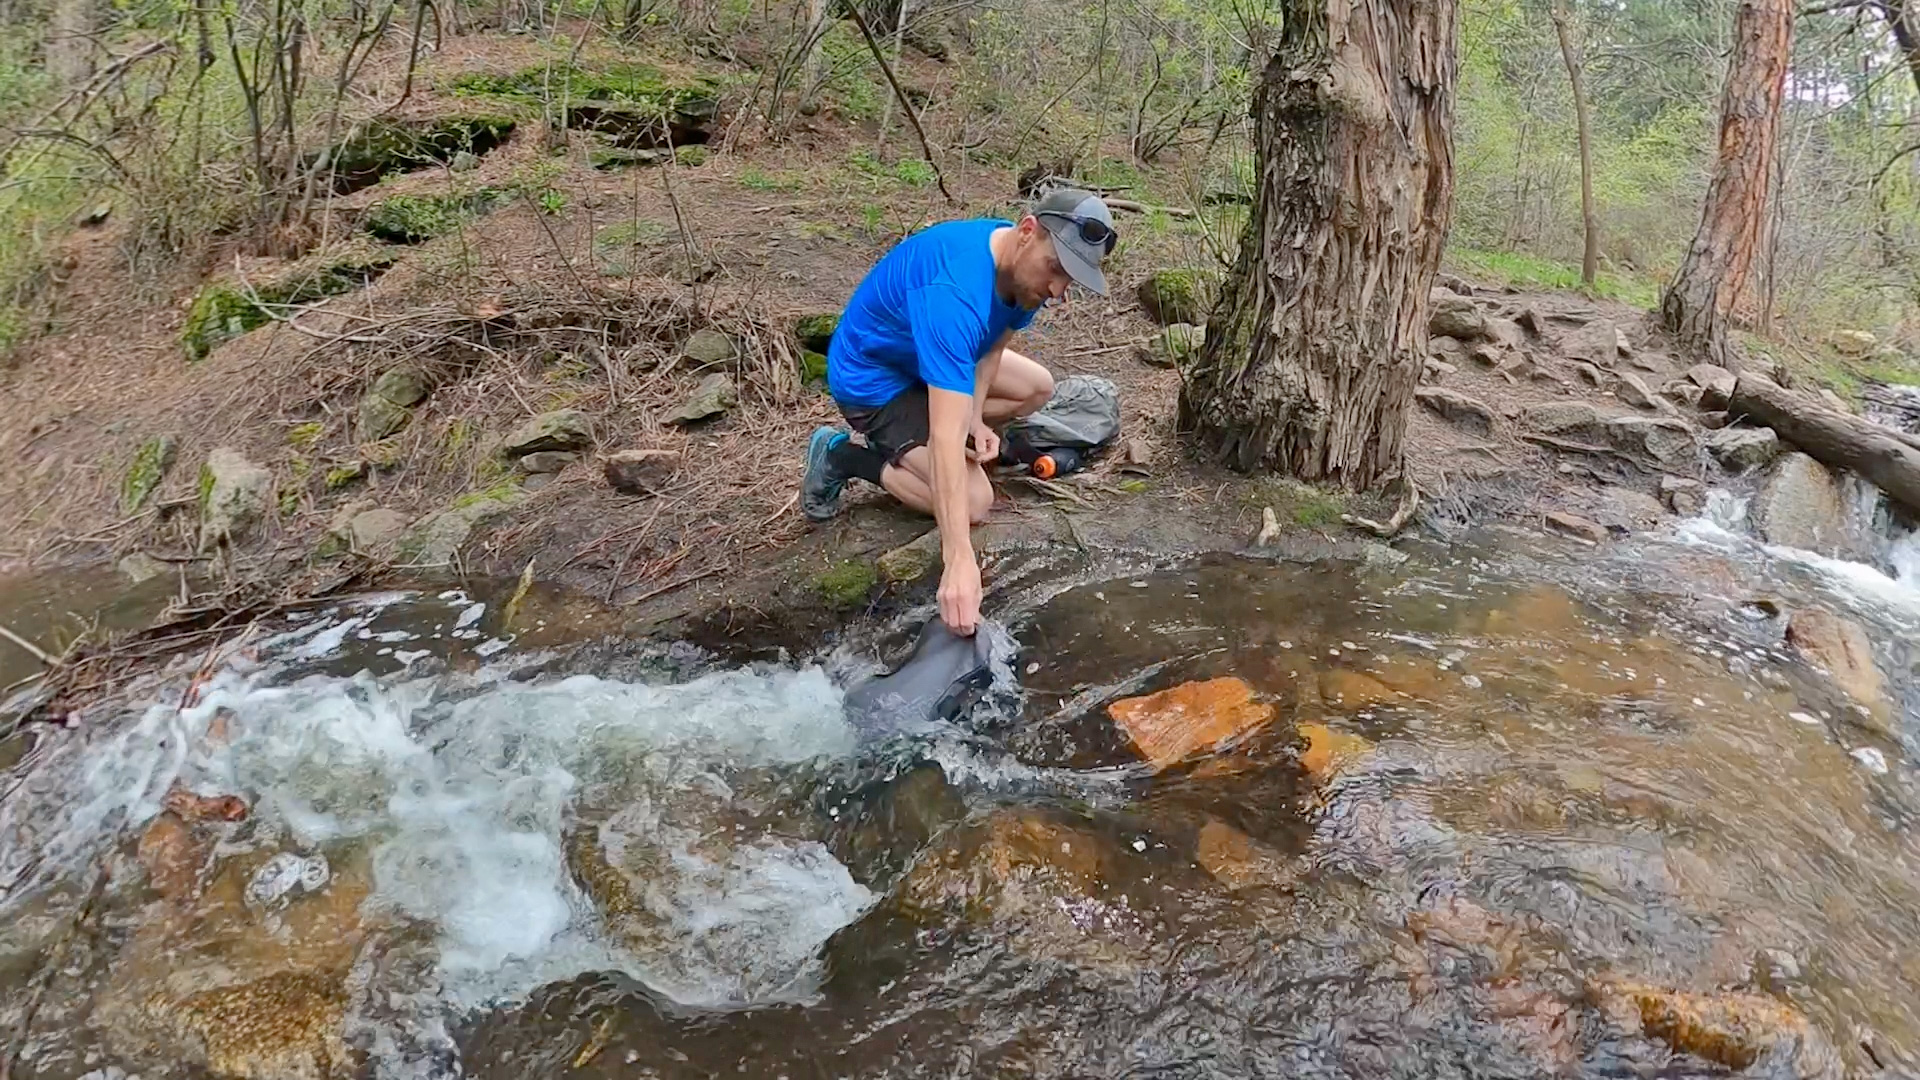
You can also remove water and thus weight during your workout – say at the high point of the hill you’re walking up, as well as add back water at the bottom. If a water source like a creek is available, you can do yet another lap. I usually use a 4 liter and a 6 liter flask – and those fit well within my own pack, Giving me 10 kilograms, or 22lbs of additional weight. I can then supplement this weight with whatever else I have around that’s convenient, Usually water bottles, nalgene bottles, and smaller running flasks – a 24 ounce water bottle is around 700ml, weighing .7 kilograms. Still easy to remember and record, When you need to record things, just record all the water flasks/bottles or water you had in your pack.
Aside: Running or Weighted Carries on the Downhills
You may feel that running down the same hill is something you enjoy doing, and is a more efficient use of your training time. I certainly do and it’s what I suggest.
To dive into some training theory again, The impact forces of running downhill may actually be a better workout than hiking down with the additional weight And your time for training is probably finite, like mine is.

But do remember for that Specificity Principle of Sports Science, you may want to do some workouts where you keep the weight in your pack, to properly get an estimate on your pace, and how your body takes hiking down with the weight. Remember, it can be surprising to discover where your weaknesses are in weighted carries – it’s not always JUST your legs Maybe it’s on the downhill? Maybe it’s your core? Maybe it’s your upper body?
I take this perspective: weighted carries are a longer workout, and I’ve found that I get the greatest bang for the buck to hike with the weight up, then run quickly down. Just be careful on the run down – the additional fatigue on your legs from the weighted carry may have an impact on your running form. I know I’m a little sloppier than I usually am. And the terrain I’m running on is already pretty technical.
When Should Weighted Carries Be Done?
For a trail runner/mountain runner, using weighted carries should be a part of a periodization program for a specific goal. It’s not something I would do as a structured part of your training early into your season (or in your off season) Rather, you’ll want to do them starting several weeks before your trip. Utilize them as a way to sharpen up your fitness for an upcoming trip, rather than something to build your base foundation of your fitness. You do not want to de-train your aerobic base! Weighted Carries will leave you more fatigued than just running over the same terrain, which can impact your weekly training load. You don’t want to lower your weekly mileage like this all the time. And when you’re doing your weighted carries, once or twice a week is all I’d really suggest. Consider taking a rest day afterwards or at least be ready to experience some delayed onset muscle soreness from your workout. Give yourself time to taper and properly rest, then get out there and crush.
Weighted Carries as Fastpacking Practice
There is skill and nuance involved to fastpacking, believe it or not. And this throws people off – many first trips are absolute disasters. Because people won’t take this step to simple practice fastpacking. Don’t let that happen to you! Along with talking about using weighted carries to practice fastpacking, I’ll also survey some other topics for you to practice.
Weighted Carries at Trip Weight
When you get close to your trip, I do suggest that for some of your weighted carries, you use the same weight you estimate you’re going to carry for your trip, at the heaviest you’ll ever be. So think: first day, the weight of most of the water you’re planning to carry, the weight of all the food you’ll have at the beginning of your trip, etc. My guess is that this weight is going to be less than what you would use if you were simply doing the training I’ve already outlined. And if that’s not the case, you may have some problems reaching your fastpack trip goals And it’s time to reevaluate them.
This highlights one of the differences between training your fitness for fastpacking, and practicing fastpacking itself. We’ll be trying to overreach our abilities when training, but we’ll start to be performing when practicing fastpacking using weighted carries – make sense? There is a shift in thinking here, that I want to underline.
In fact, we may be under performing when practicing, as we’ll inevitably be making adjustments to our gear, or experimenting with various pack setups. And this is OK – this is to be expected. This is when we want to make mistakes And I don’t know about you – but I make a LOT of mistakes!
If you’re completely new to fastpacking, or how to pack, use a recovery day to work do your initial experimenting on, and just keep the pace easy. But on a trip, I want to minimize those types of mistakes, as they can lead me to getting myself into serious trouble.
You may also want to plan to do a longer distance workout than you would for the rest of your weighted carries, and see how it feels to carry such a heavy load for a long time. You’ll slowly creep up to doing a day out that’s very similar to your actual trip – which is sort of the goal of all of this.
I do this all the time – but I just call it “doing reconnaissance”, This is where I do a bite-sized part of a trip to get a preview of just what’s ahead of me. My fastpacks are usually speed oriented, FKT goals of a certain route And if I can practice a specific part of a route, the odds are in favor that I’ll complete the whole thing.
This isn’t always realistic, if you’re planning a trip that’s many thousands of miles away. So do your best to set up a mock route, even if it’s extremely meandrous over and around the same hill. I do this type of practice for my fastpacks, all the time. Remember that our goal is that once on your trip, you’ll feel fully confident, and totally engaged with the route itself.
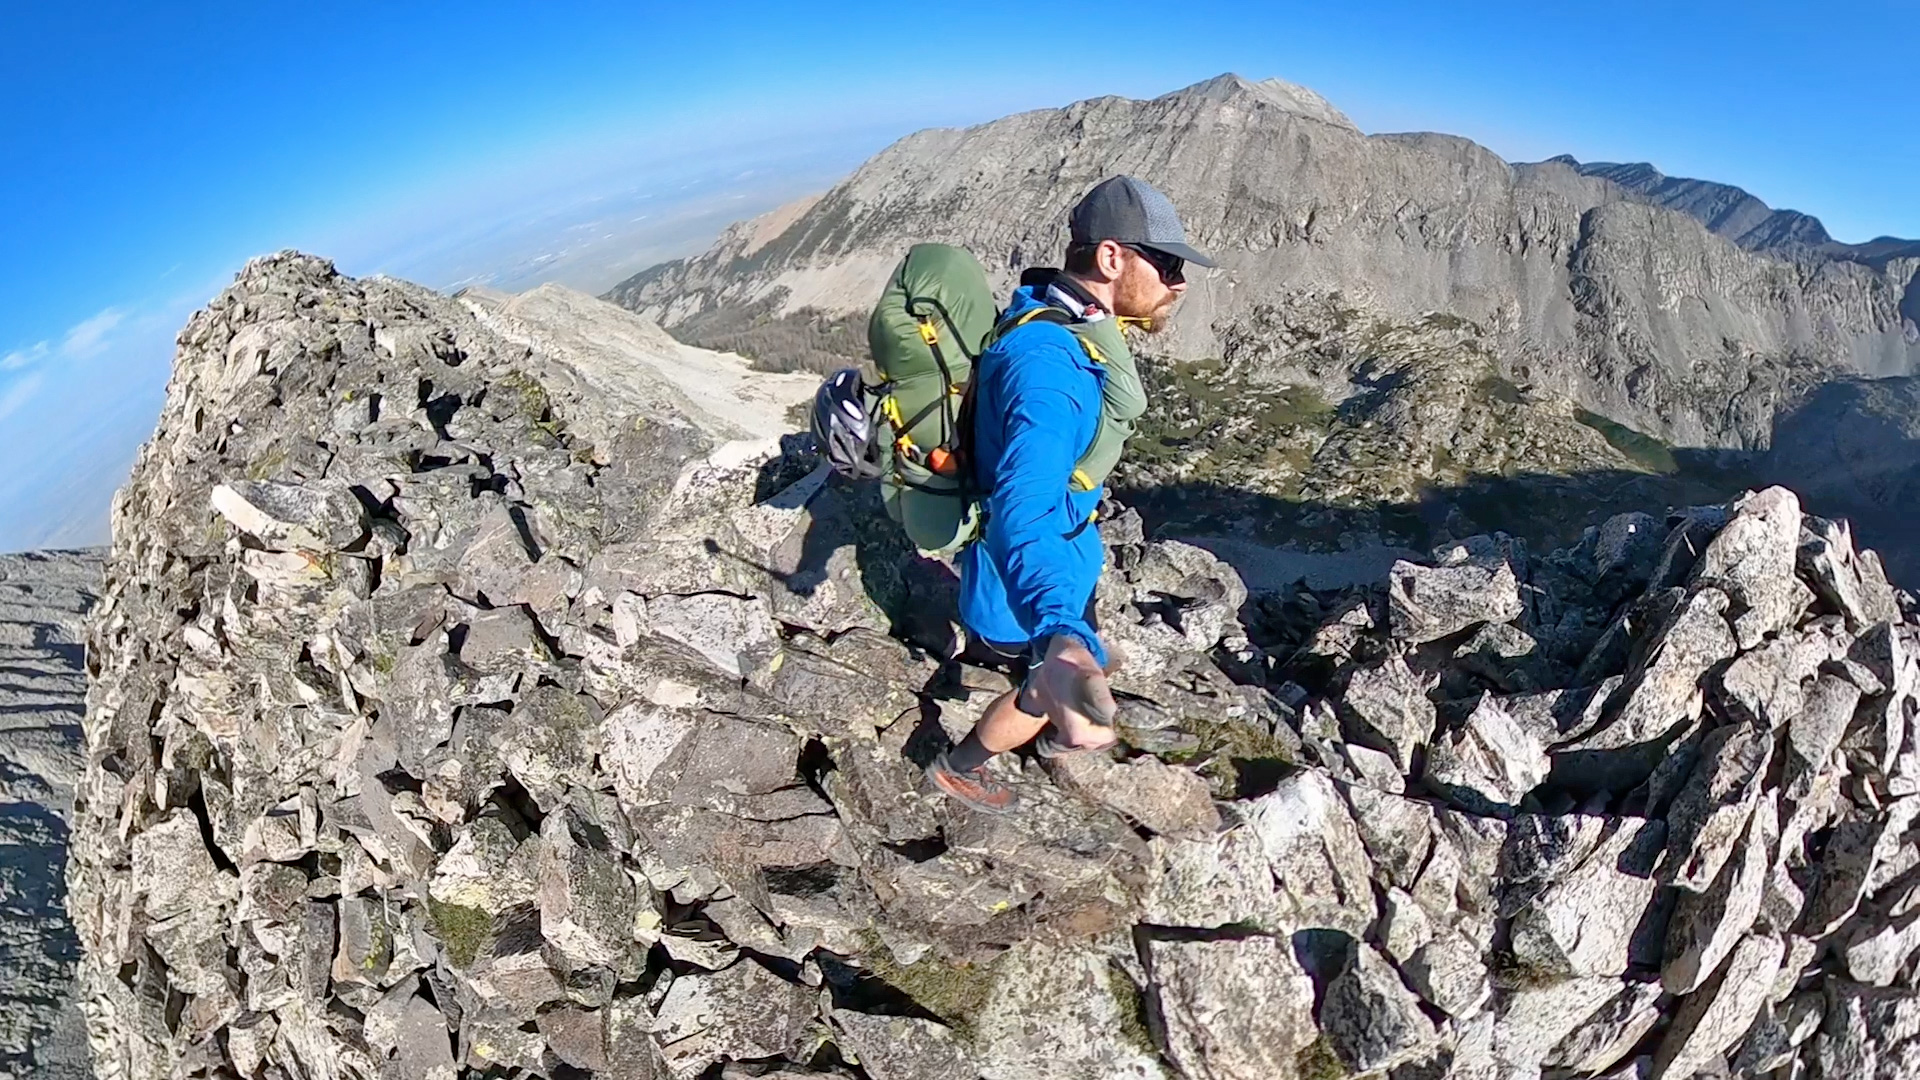
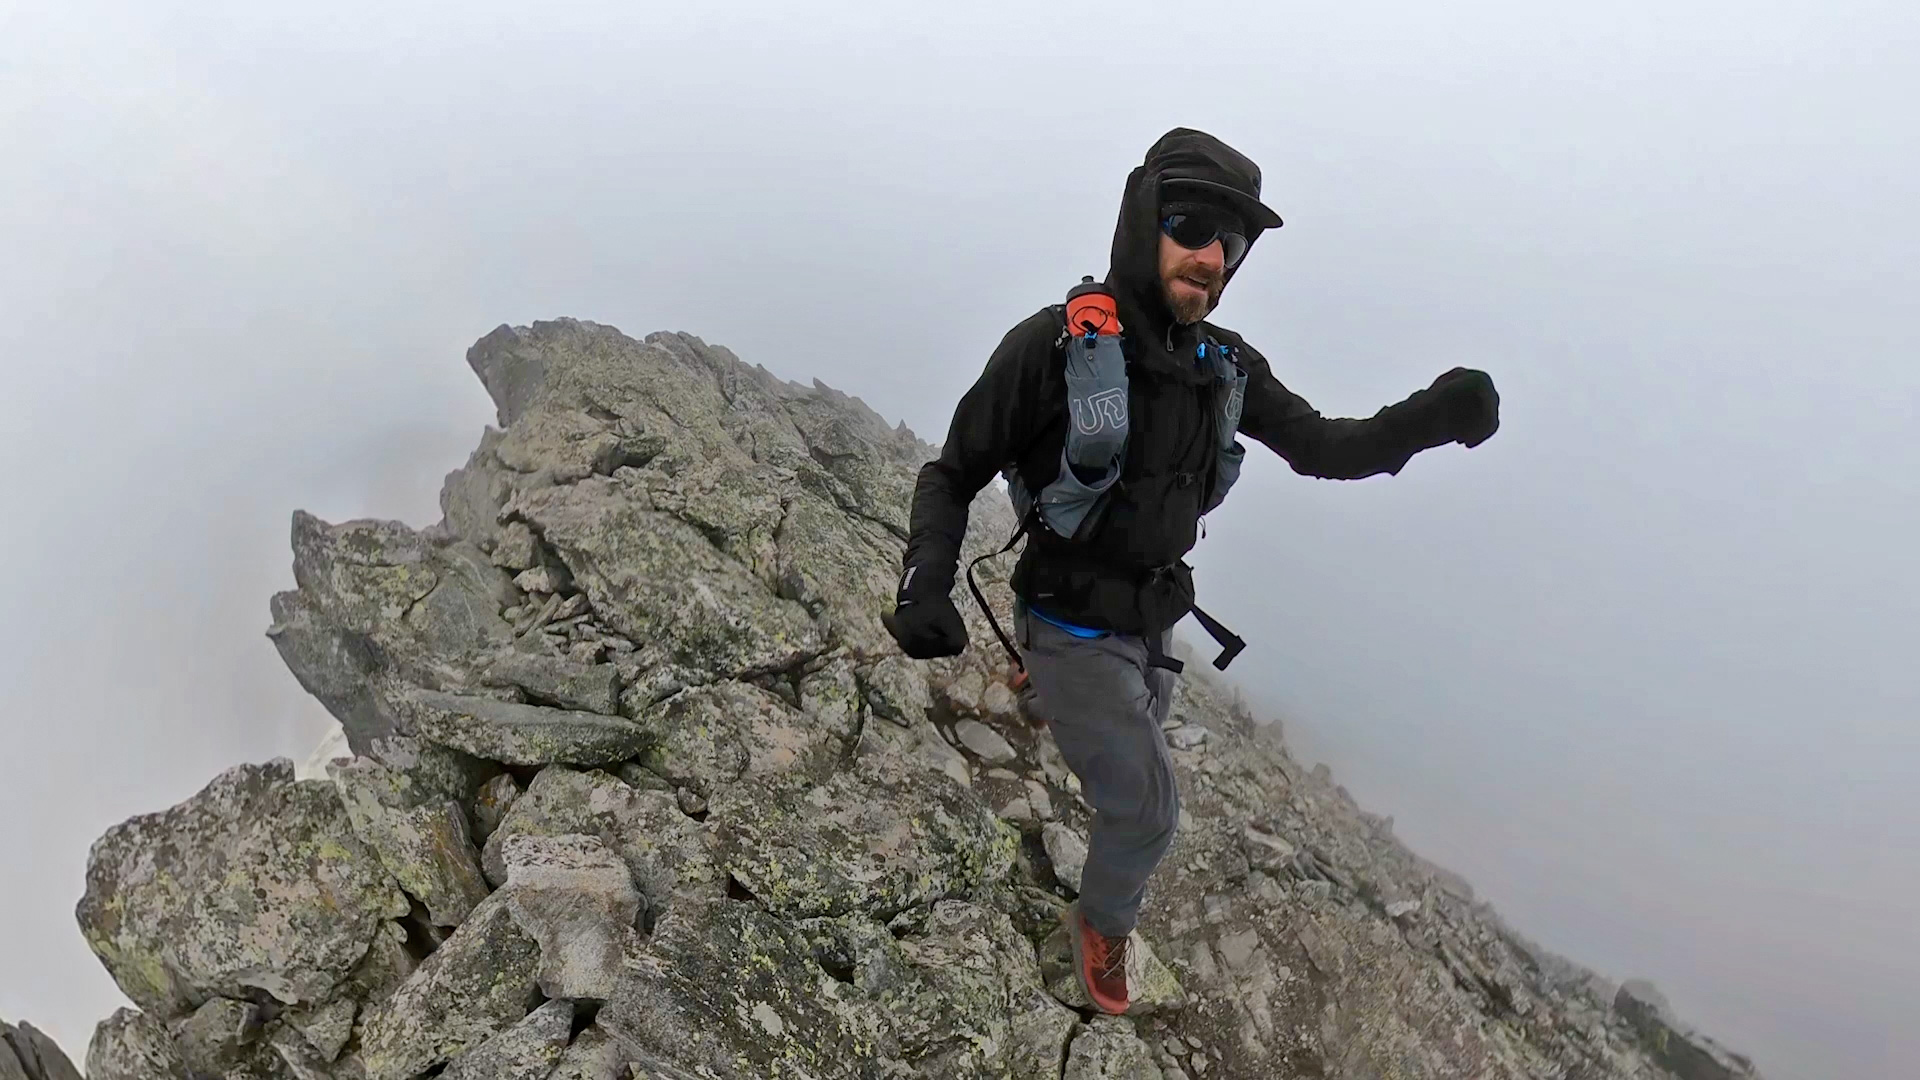
When you perform these practice runs, check in on yourself: how does your upper body feel? Some fastpack-specific packs, like his Fastpack from Ultimate Direction, are designed without an actual hip belt that rests on top of the iliac crest of your hip bone. This is to facilitate running with the pack, as well as making the pack easier to take on and off. I like it because it allows me to move more freely in my upper body, Which comes into play when I’m scrambling technical terrain , as I’m ought ta do. But it does come with tradeoffs.
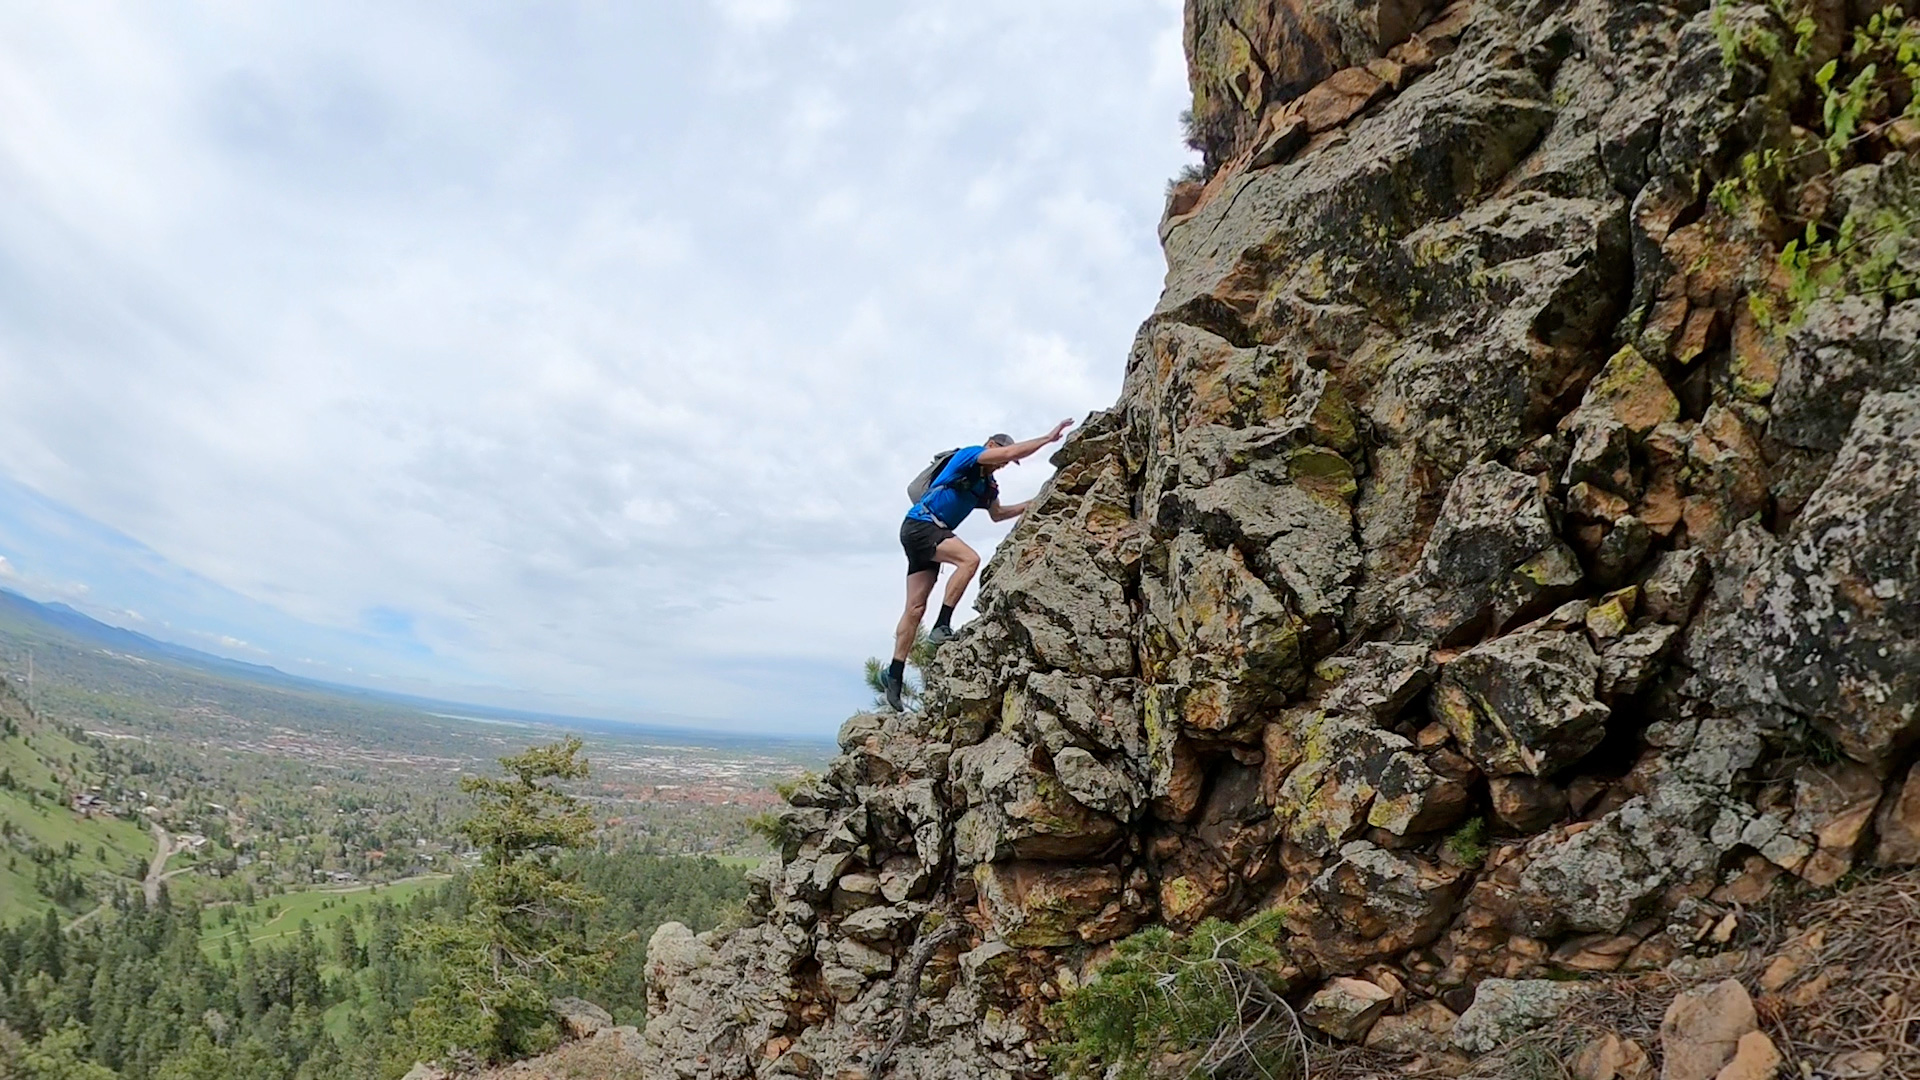
Is that design working for you? I know that my traps in particular get hammered on the first day loaded down with all my food and water. Without a hip belt, that’s where the majority of weight rests – and this does take some getting used to. There is a limit on how much weight I’ll tolerate before it’s too much. I’ve done trips upwards of 35lbs with the 45liter fastpack, but that’s really the limit of what I’ll do. This was for an almost 7 day trip! I do have a fairly large amount of upper body fitness from rock climbing, If you’re purely a runner, your tolerance may be less than it is than this beast of burden body
but even I have my limits. If you are having trouble with this additional weight, you may want to look into doing various core work to your workouts. Things like supermans – even deadlifts – anything that targets the posterior chain in particular. I haven’t gone so far as doing any sort of trap shrugs, but I often wonder if that would help.
As for what to use for your weight, You could use the exact gear you plan to take – and as your trip gets close, I do suggest doing that, once if you really want to be thorough in your trip preparation. What seems to happen to ME right before the trip, is that I quote, “need” to pack some extra items I didn’t think of beforehand – don’t give into gear creep! And don’t pack your fears. Doing so will also allow you to double check that your pack has enough space to carry the gear you intend to carry, or if you need to make modifications
But before then, you may not have that particular gear, and using the gear during training does risk that you’ll lose/damage it, So guess what? It’s back to using water flasks or water jugs. And again, you can tune the weight to match the amount of weight you plan on packing anyways, and leave the actual gear at home to save on wear and tear.
A lot of my ultralight gear is not as burly as regular backpacking gear – That’s just the nature of it, So I tend to be gentle with the gear when I can.
Balance
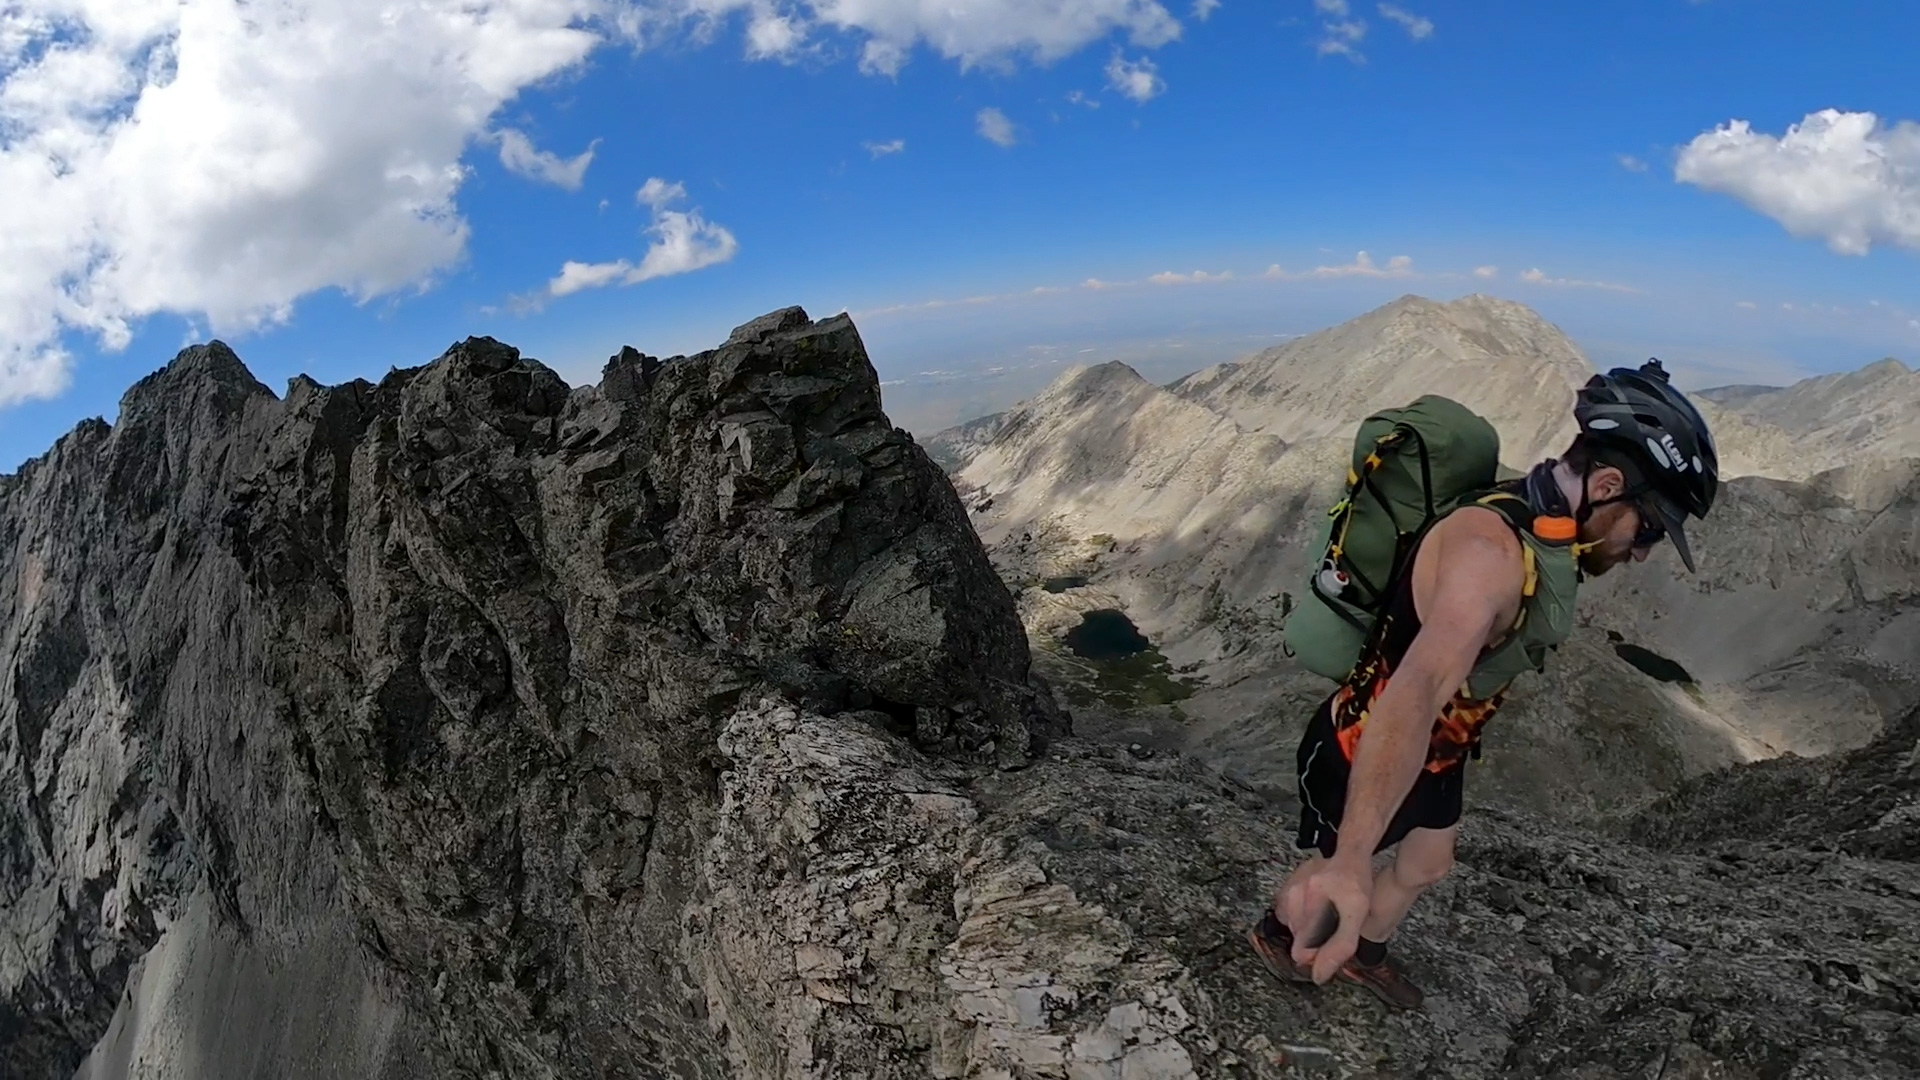
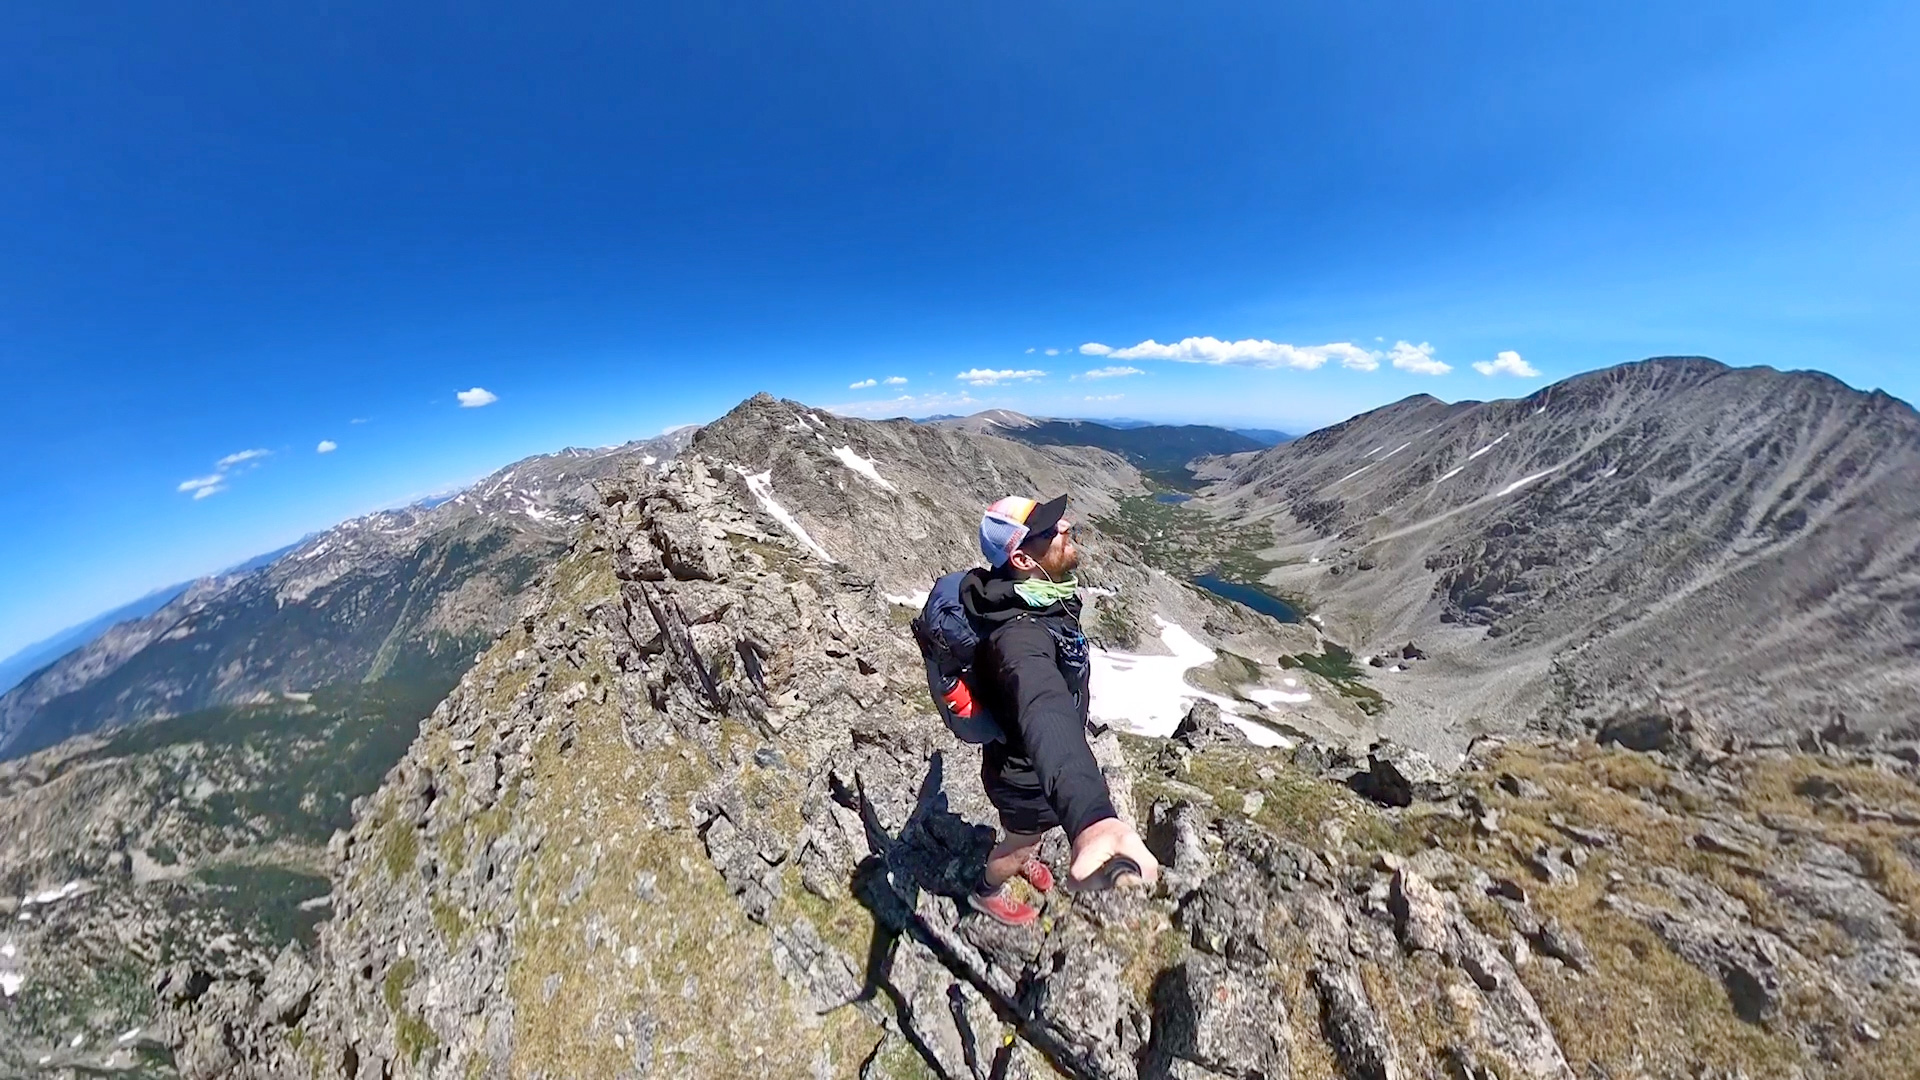
Your center of gravity is going to be different when carrying a heavy load, having additional weight likely higher and farther back. This center of gravity change becomes critical when it comes to negotiating loose, steep, and technical mountainous terrain. And you know what? A fundamental reason I fastpack is because I can take on this terrain – terrain that would be unrealistic to do so with 20 extra pounds.
So ask yourself: Will I even be comfortable to handle this type of terrain with an additional load? Or, would it be prudent to adjust my route? This is an issue with both climbing and descending – A scree field can be a nightmare if you have an overloaded pack.
In any case, find out before a trip by taking on some more technical terrain if you have some available to you, and see if things are comfortable. Better to know now than later.
Poles or No Poles?
Poles are popular to utilize in fastpacking and backpacking. In trailrunning/mountain running it’s more personal preference. They are an excellent way to assist with balance and load carrying. I also use them to as part of my sleep system to put up my tarp. My advice is to experiment and see what you feel you get the most benefit from. And this goes with weighted carry training as well. Using poles comes with it’s own learning curve to utilize effectively. For example, there is a time penalty in simply stopping to fetch them from where you’ve stowed them, to set them up and to start using them, as well as to stow them again. This can get annoying. And it’s amazing how much ground you lose when you constantly start/stop – try to do that as little as possible and optimize your entire setup to minimize this.
In very steep, mountainous terrain, it may also be difficult to use them at all, since poles tend to sink deep into talus – There’s a chance that they’ll bend/break this way too.

So, experiment! For me, I usually bring them as I find them useful some of the time, and because they’re a part of my own sleep system. The weight penalty is usually pretty low, even if I don’t utilize them at all. I don’t necessarily train with them – as I do enjoy the extra bit of workout my upper body gets, But again: that’s just personal preference.
Estimating Trip Time Using Mileage and Elevation Gain
In general, I would suggest to plan mountainous trips based on elevation gain as the limiter, rather than mileage. How much climbing can you do in a day, with your weighted carries? Use that to estimate how much you’ll be able to climb on your trip.
And this is important, as it’s harder to imagine how climbing/descending impacts daily mileage, just by looking at a map. Note that even though mapping software has ways to estimate elevation gain over a route, that elevation gain estimates in mapping software is sometimes off which all but killed a trip idea I had been working on. Thankfully, the mapping software, Caltopo, made changes to their app based on this blogpost, so that’s a happy ending.
Now ask yourself: are you even going to be able to finish your intended route, with the gear you plan to bring from start to finish? Or, does it make sense to leave caches for yourself along the way – or even make your trip supported?
I’ve personally had many days where I’ve legitimately tried to cover as much terrain as possible and by the end of the night, cold, tired and hungry, I’ve only gone say, 10 miles – far less than I had anticipated! Then, I’m in a very enviable position where I have to choose to either bail on my trip, or to start carefully rationing my food to make it to the end of my goal. Either choice is less than ideal.
So when you do your mock trip weighted carries at trip weight, make some rough calculations on how much mileage as well as elevation gain/loss you’re able to do with what weight. You may find there’s a hard limit your current fitness just will not allow you to do. And then use that information to more precisely plan your trip.
For example, I’ve Everested the local hill here in town, Green Mountain, in about 26 hours. That’s about 30,000’ of elevation gain! A 6+ day unsupported fastpack trip was more like 60,000’ in total. That 6+ day trip was only 120 miles long – I could see myself do 30, 40 mile days on relatively flat terrain for days on end, but my mileage is cut well more than half when things get technical and mountainous.
Your Turn
What types of training and practice do you do, if any, to get ready for your own bold fastpacking adventures?

[…] Weighted Carries for Fastpacking Training and Practice […]