
Like this? Follow me:
For my Colorado Trail FKT attempt I wanted to have the best footwear system I could possibly put together. Foot health and comfort is one of the most critical details to get right: if your feet hurt, if they’re covered in blisters, if they start looking similar to hamburger helper: you’re not going to have a good time out there.
The Colorado Trail is almost 500 miles long and I started out with a fairly heavy, 40lb backpack. I wasn’t going to be taking a resupply anywhere on the trail, so the shoes I started with would have to be the shoes I would finish with.
And, I was going for a record, so the shoes – and my feet – have to make it to the end in as good of a condition as I could possibly keep them, so that I could continue to hike as fast as I could, for as long as I could, even on the last day.
So I put together my dream La Sportiva shoe and a system to support my feet and my foot health. Use some of these strategies for your own long distance, fast and light backpacking adventures.
First, here are some constraints I had to work with:
Since I’m a La Sportiva Athlete, I wanted to pick from the La Sportiva Mountain Running Lineup – as an athlete for the brand, that’s my job. To be honest, most any shoe in La Sportiva’s Lineup would check most of the boxes of what I’m looking for, except for one big requirement: many of La Sportiva’s shoes don’t have a very wide toe box.
La Sportiva is instead known for aggressive mountain running shoes for technical terrain. The Colorado Trail just doesn’t fit the profile. I’ll want a wide toe box so that my feet can splay out, and so that I’ll have a bit of extra room if and when they swell, as they often they do in these sorts of things.
But La Sportiva does have a few candidates that are attractive to me: The Ultra Raptor II Wide, The Jackall II, and the Prodigio.
Ultra Raptor II (Wide)
I have never actually tried the wide version of the Ultra Raptor II but I have liked the non-wide version of the Ultra Raptor II and have used it often in the past. There are some marks against it for this project: The shoe is on the heavier side, the outsole wears pretty fast as it uses the softest and stickiest rubber La Sportiva offers – Frixion White – and the lugs are pretty minimal, exasperating this issue. The drop at 9mm is getting a little steep in the current running shoe environment. But, the upper is very, very durable.
I would categorize the Ultra Raptor still in the, “very aggressive shoe for technical terrain” category: when I want to go off-trail, when there’s scrambling involved, the Ultra Raptor II is one the shoes I would instinctively grab for.
Jackal II
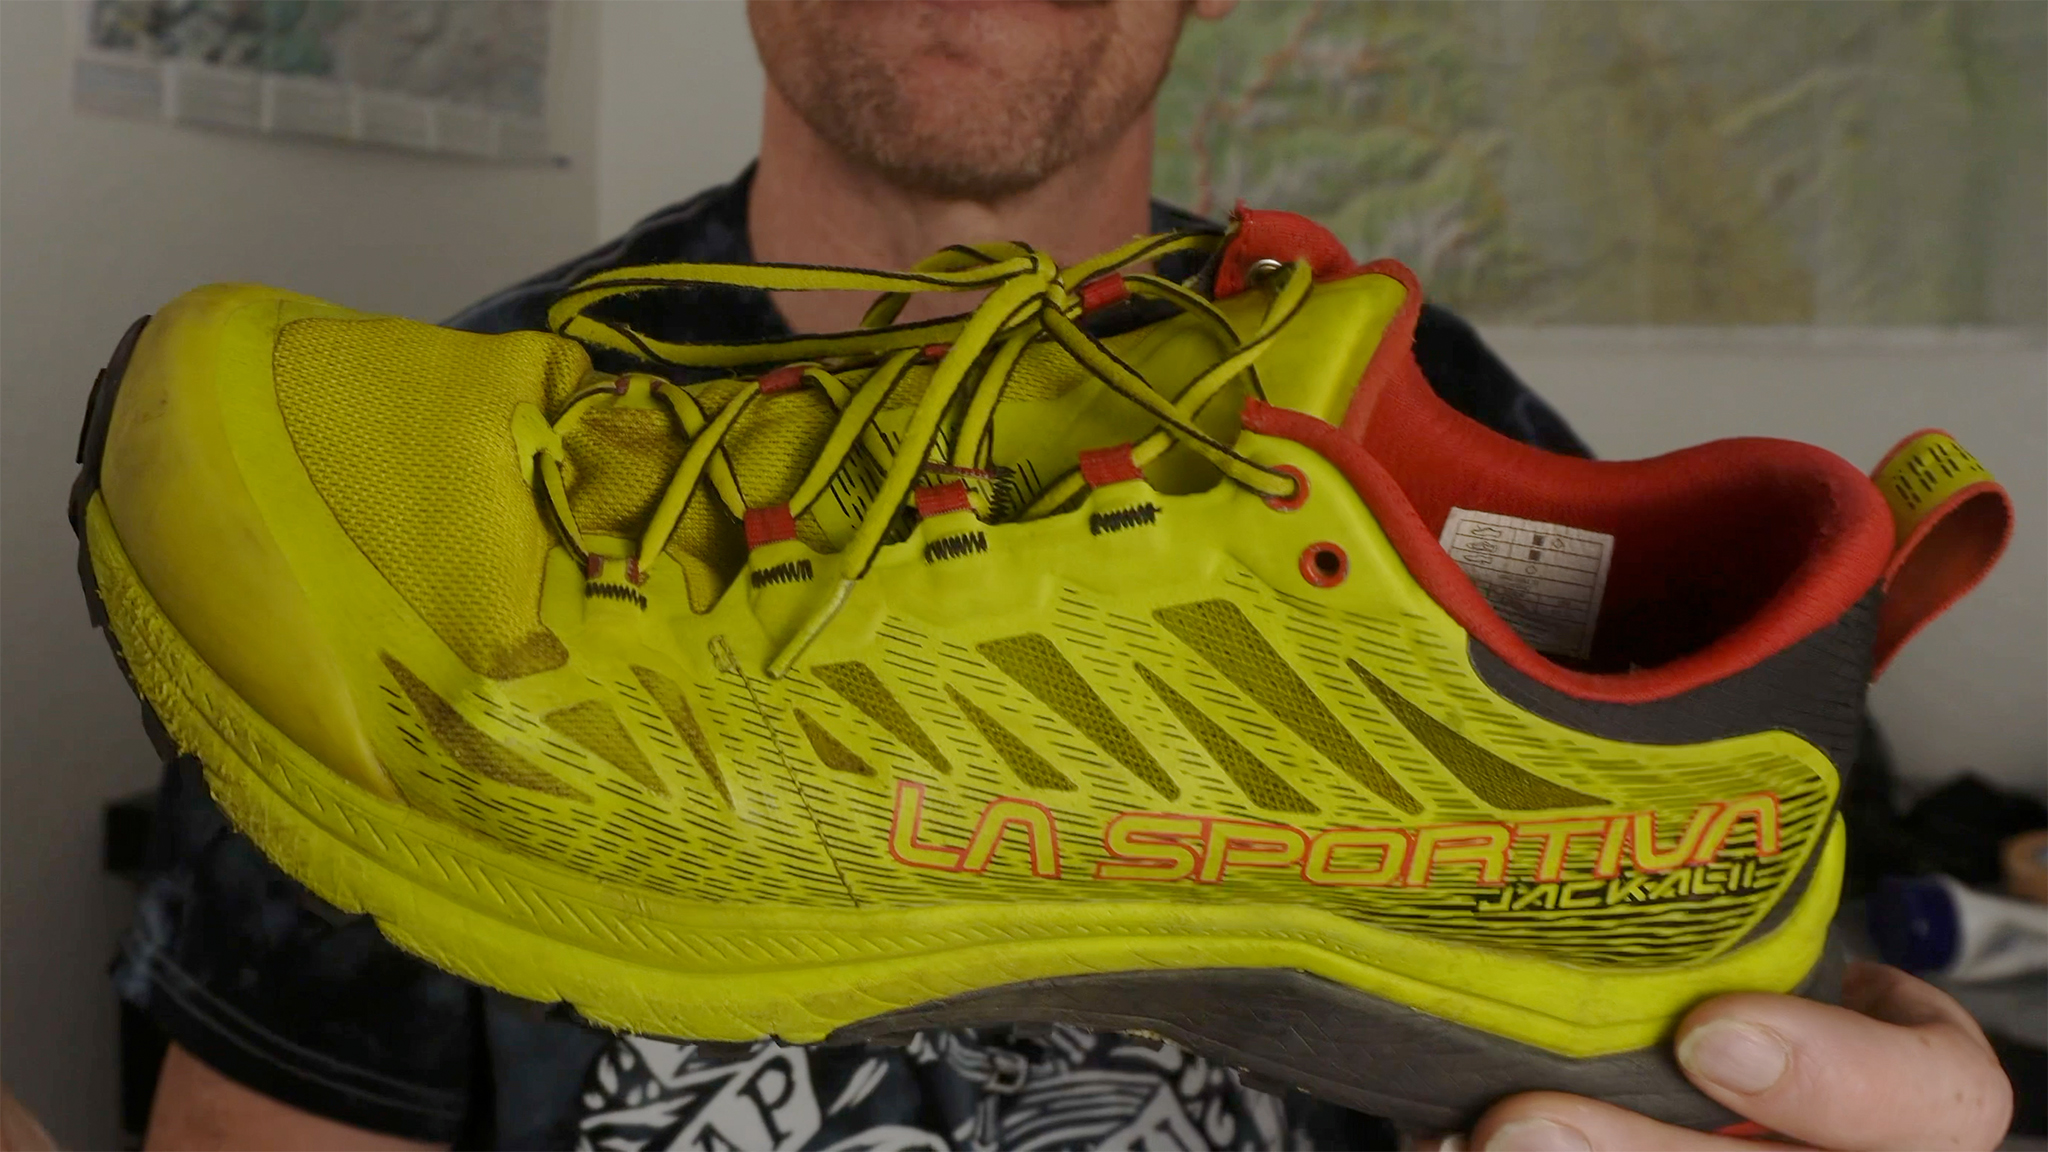
The Jackal II is a much less aggressive shoe, with a lot less drop and a wider toe box than most other La Sportiva Shoes. It you’re looking for wider fit shoes from La Sportiva, I have available a Google Sheet to help you compare all the La Sportiva mountain running shoes:
When you’re shopping around, look for shoes built around the Tempo Ultra last.
The Jackal II is certainly made for running miles and miles, this is the shoe I picked last year and it worked pretty well. I’ve also used it while training for this year, having hiked Segments 7 to 1 in around 55 hours a few weeks before my attempt on the entire Colorado Trail, and that test confirmed that my body – and these shoes – were ready for the entire challenge.
The upper of the Jackal II is one of its best parts, being a great balance of durable, light, and breathable – it’s become one of my favorites from La Sportiva, especially for less technical trails. The midsole is a little firm now when compared to the rest of the La Sportiva lineup (and this wasn’t always the case, more on that later), but that’s not a total deal breaker. And finally. the outsole really lasts: a pair I’ve used for over a year on runs, hikes, and backpacks doesn’t show a ton of wear on the outsole lugs. This shoe uses the Sportiva FriXion XT 2.0/Red outsole, which is their mixed compound, with softer/stickier rubber where you need it, and more durable rubber in high use areas.
As the shoe to pick for this year, It was really high up on my list. But, there was one more shoe to check out:
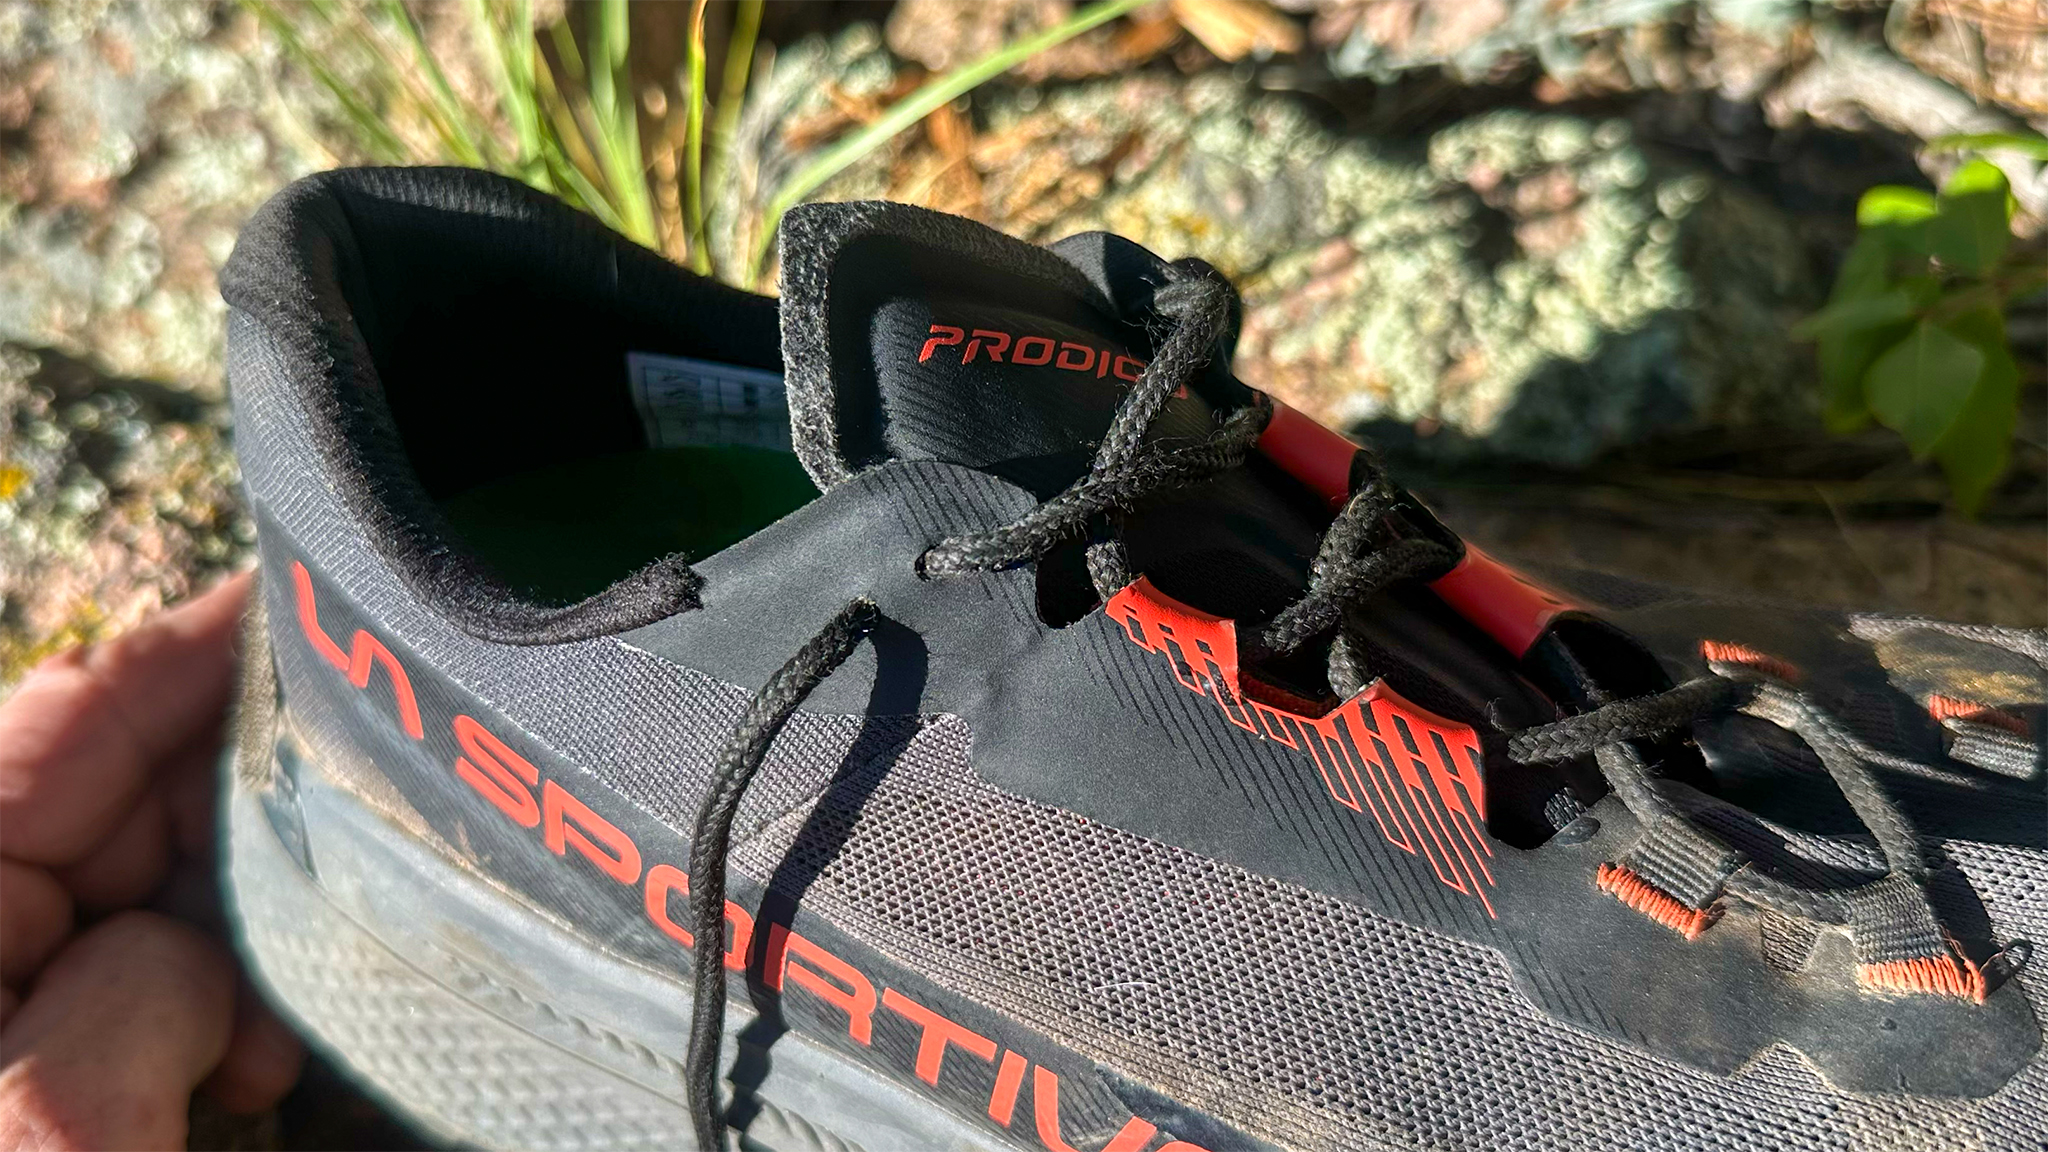
La Sportiva Prodigio
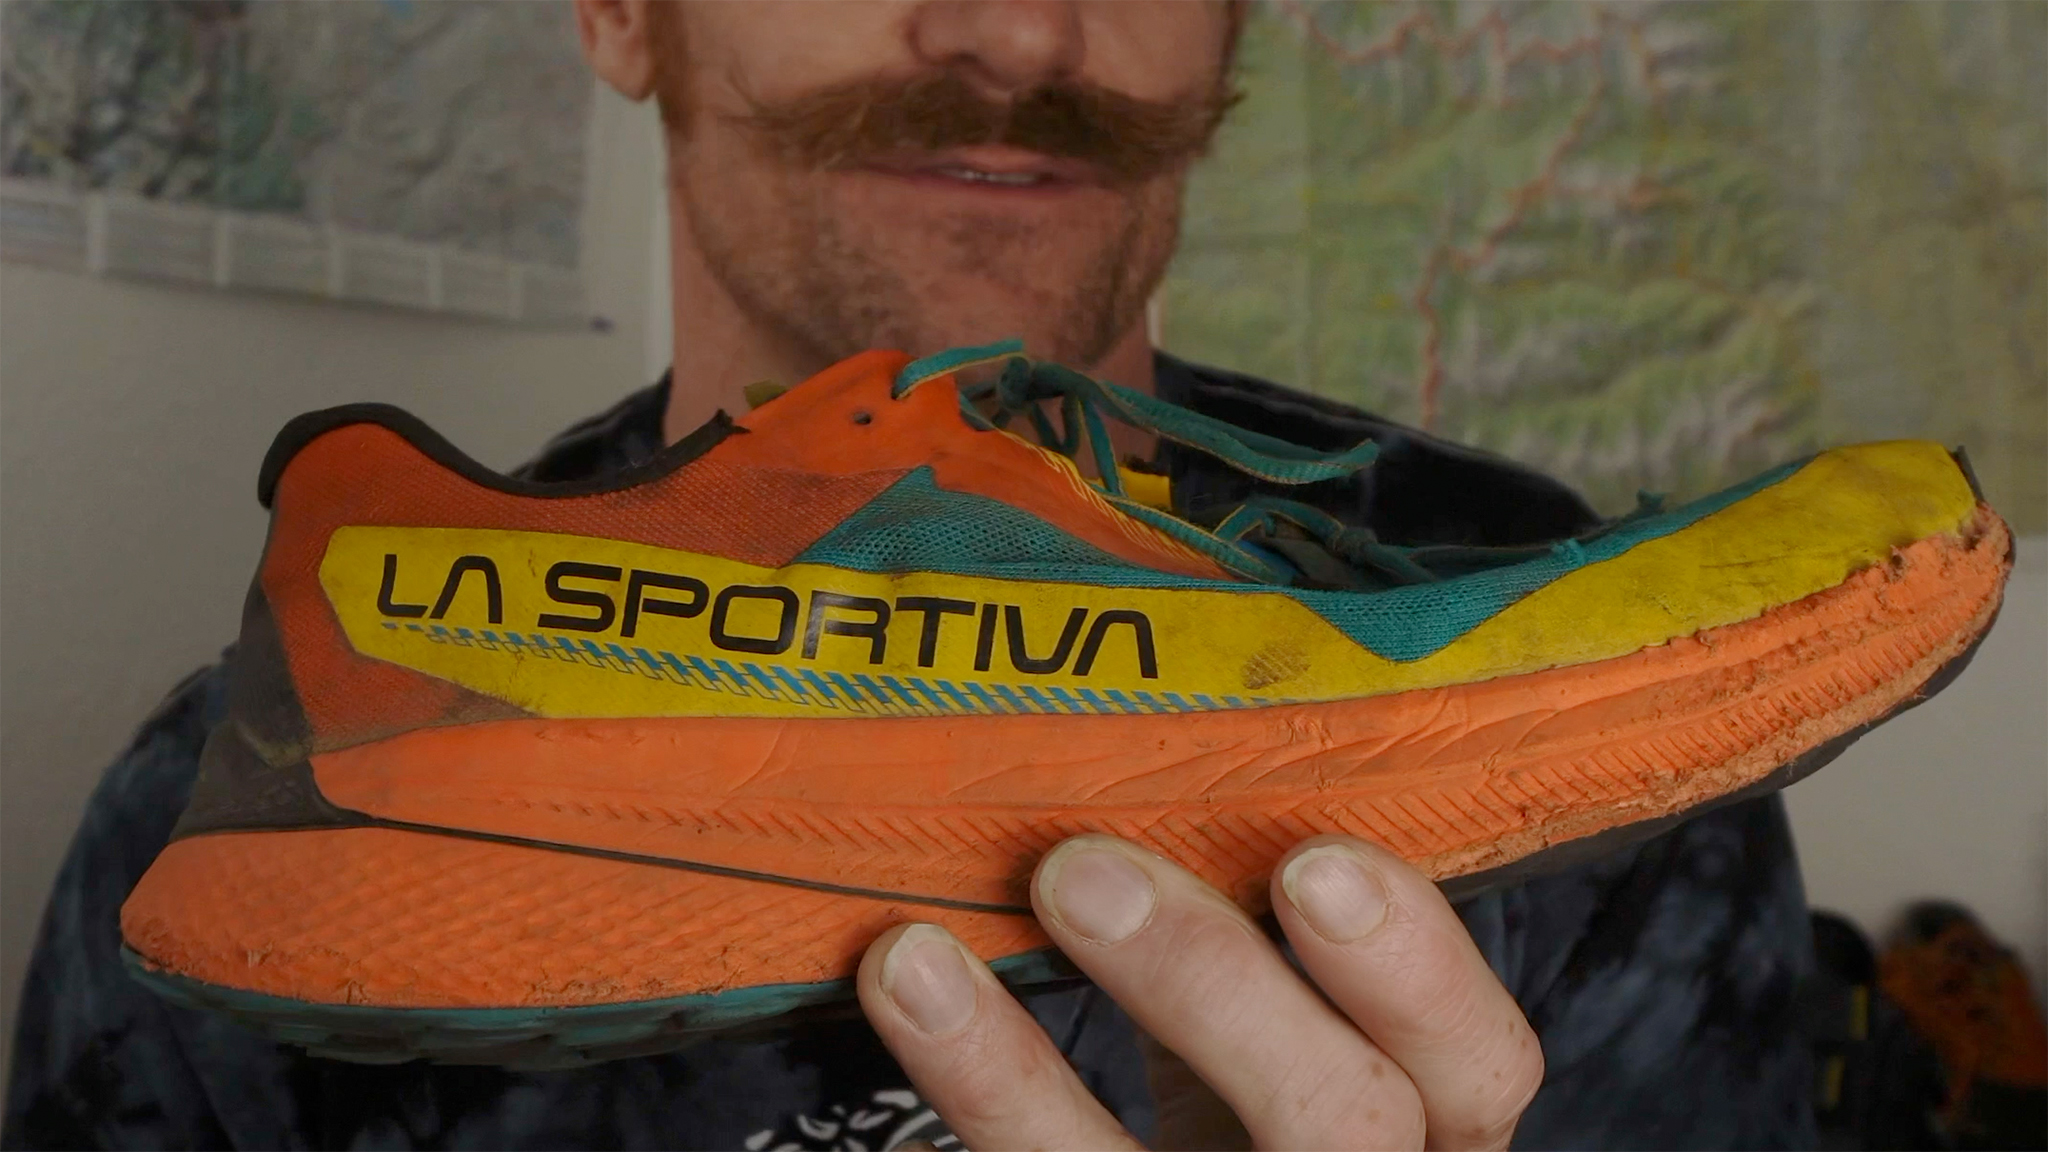
The Prodigio is now La Sportiva’s premiere long distance shoe. The midsole is the standout of this shoe with its soft, light, voluminous, cushy, “nitrogen infused supercritical foam”. Once you wear the Prodigio, it really is hard to go back to any other La Sportiva shoe – including the Jackal II – when you’re thinking: “long distance” and it’s all about that midsole.
The upper of the Prodigio is minimal and to be honest I’ve had some problems with its durability, mostly when I go off trail. Some of that is cosmetic, like in the front midsole here, you’ll see it kind of gets beat up. But some of it is not, like the eyelets getting damaged.
The outsole is really race-oriented, light, and performant, but not in a way that I want for a 500 mile hike, as it has smaller profile lugs than I would like for this project and little windows into the midsole. Those windows can shave a little weight and are stylish, but are a real red flag for me, as it means less surface area is keeping the outsole cemented onto the midsole, and gives an edge from the outsole to be ripped off from the midsole.
And The Winner Is…
So, none of these shoes would work perfectly for everything I want, buuut, I can take one of these shoes and customize it for what I want to do.
After testing the Jackal II and Prodigio all Spring and Summer, I landed on the Prodigio, because I knew how to get around its greatest limitation: it’s outsole; to take advantage of its greatest strength: its midsole.
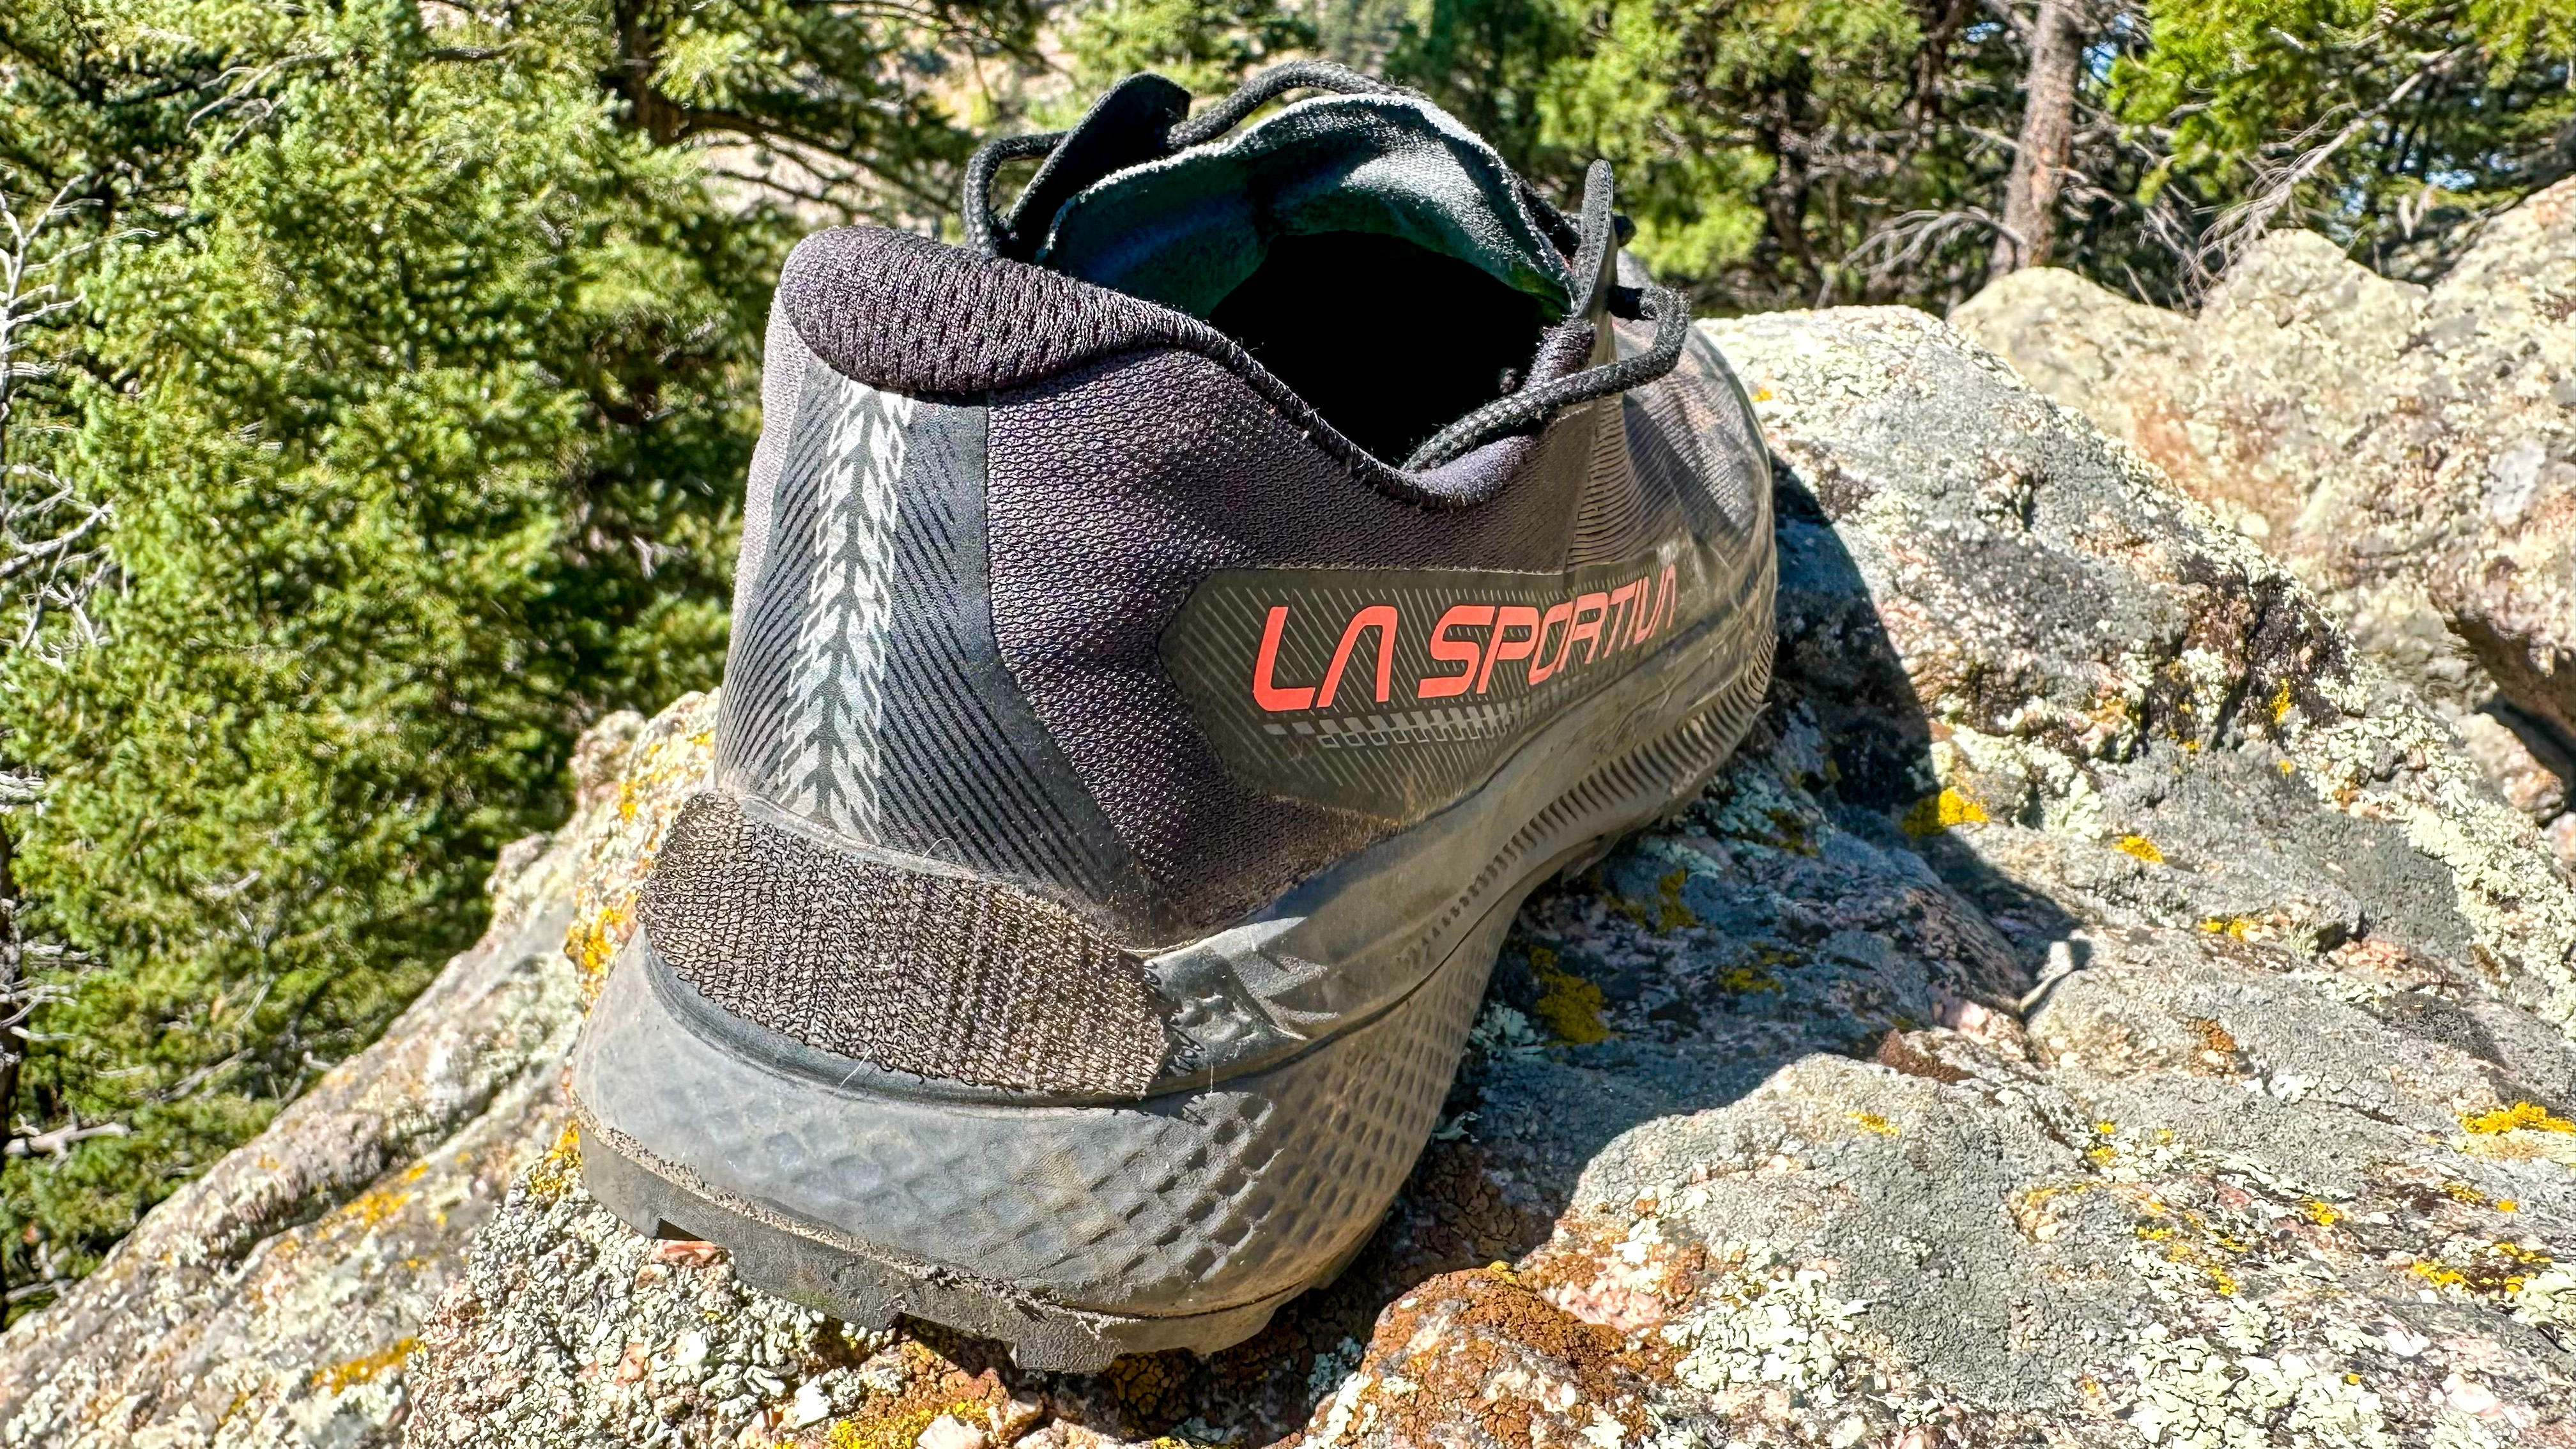
Resole the Prodigio with the Vibram Zegama
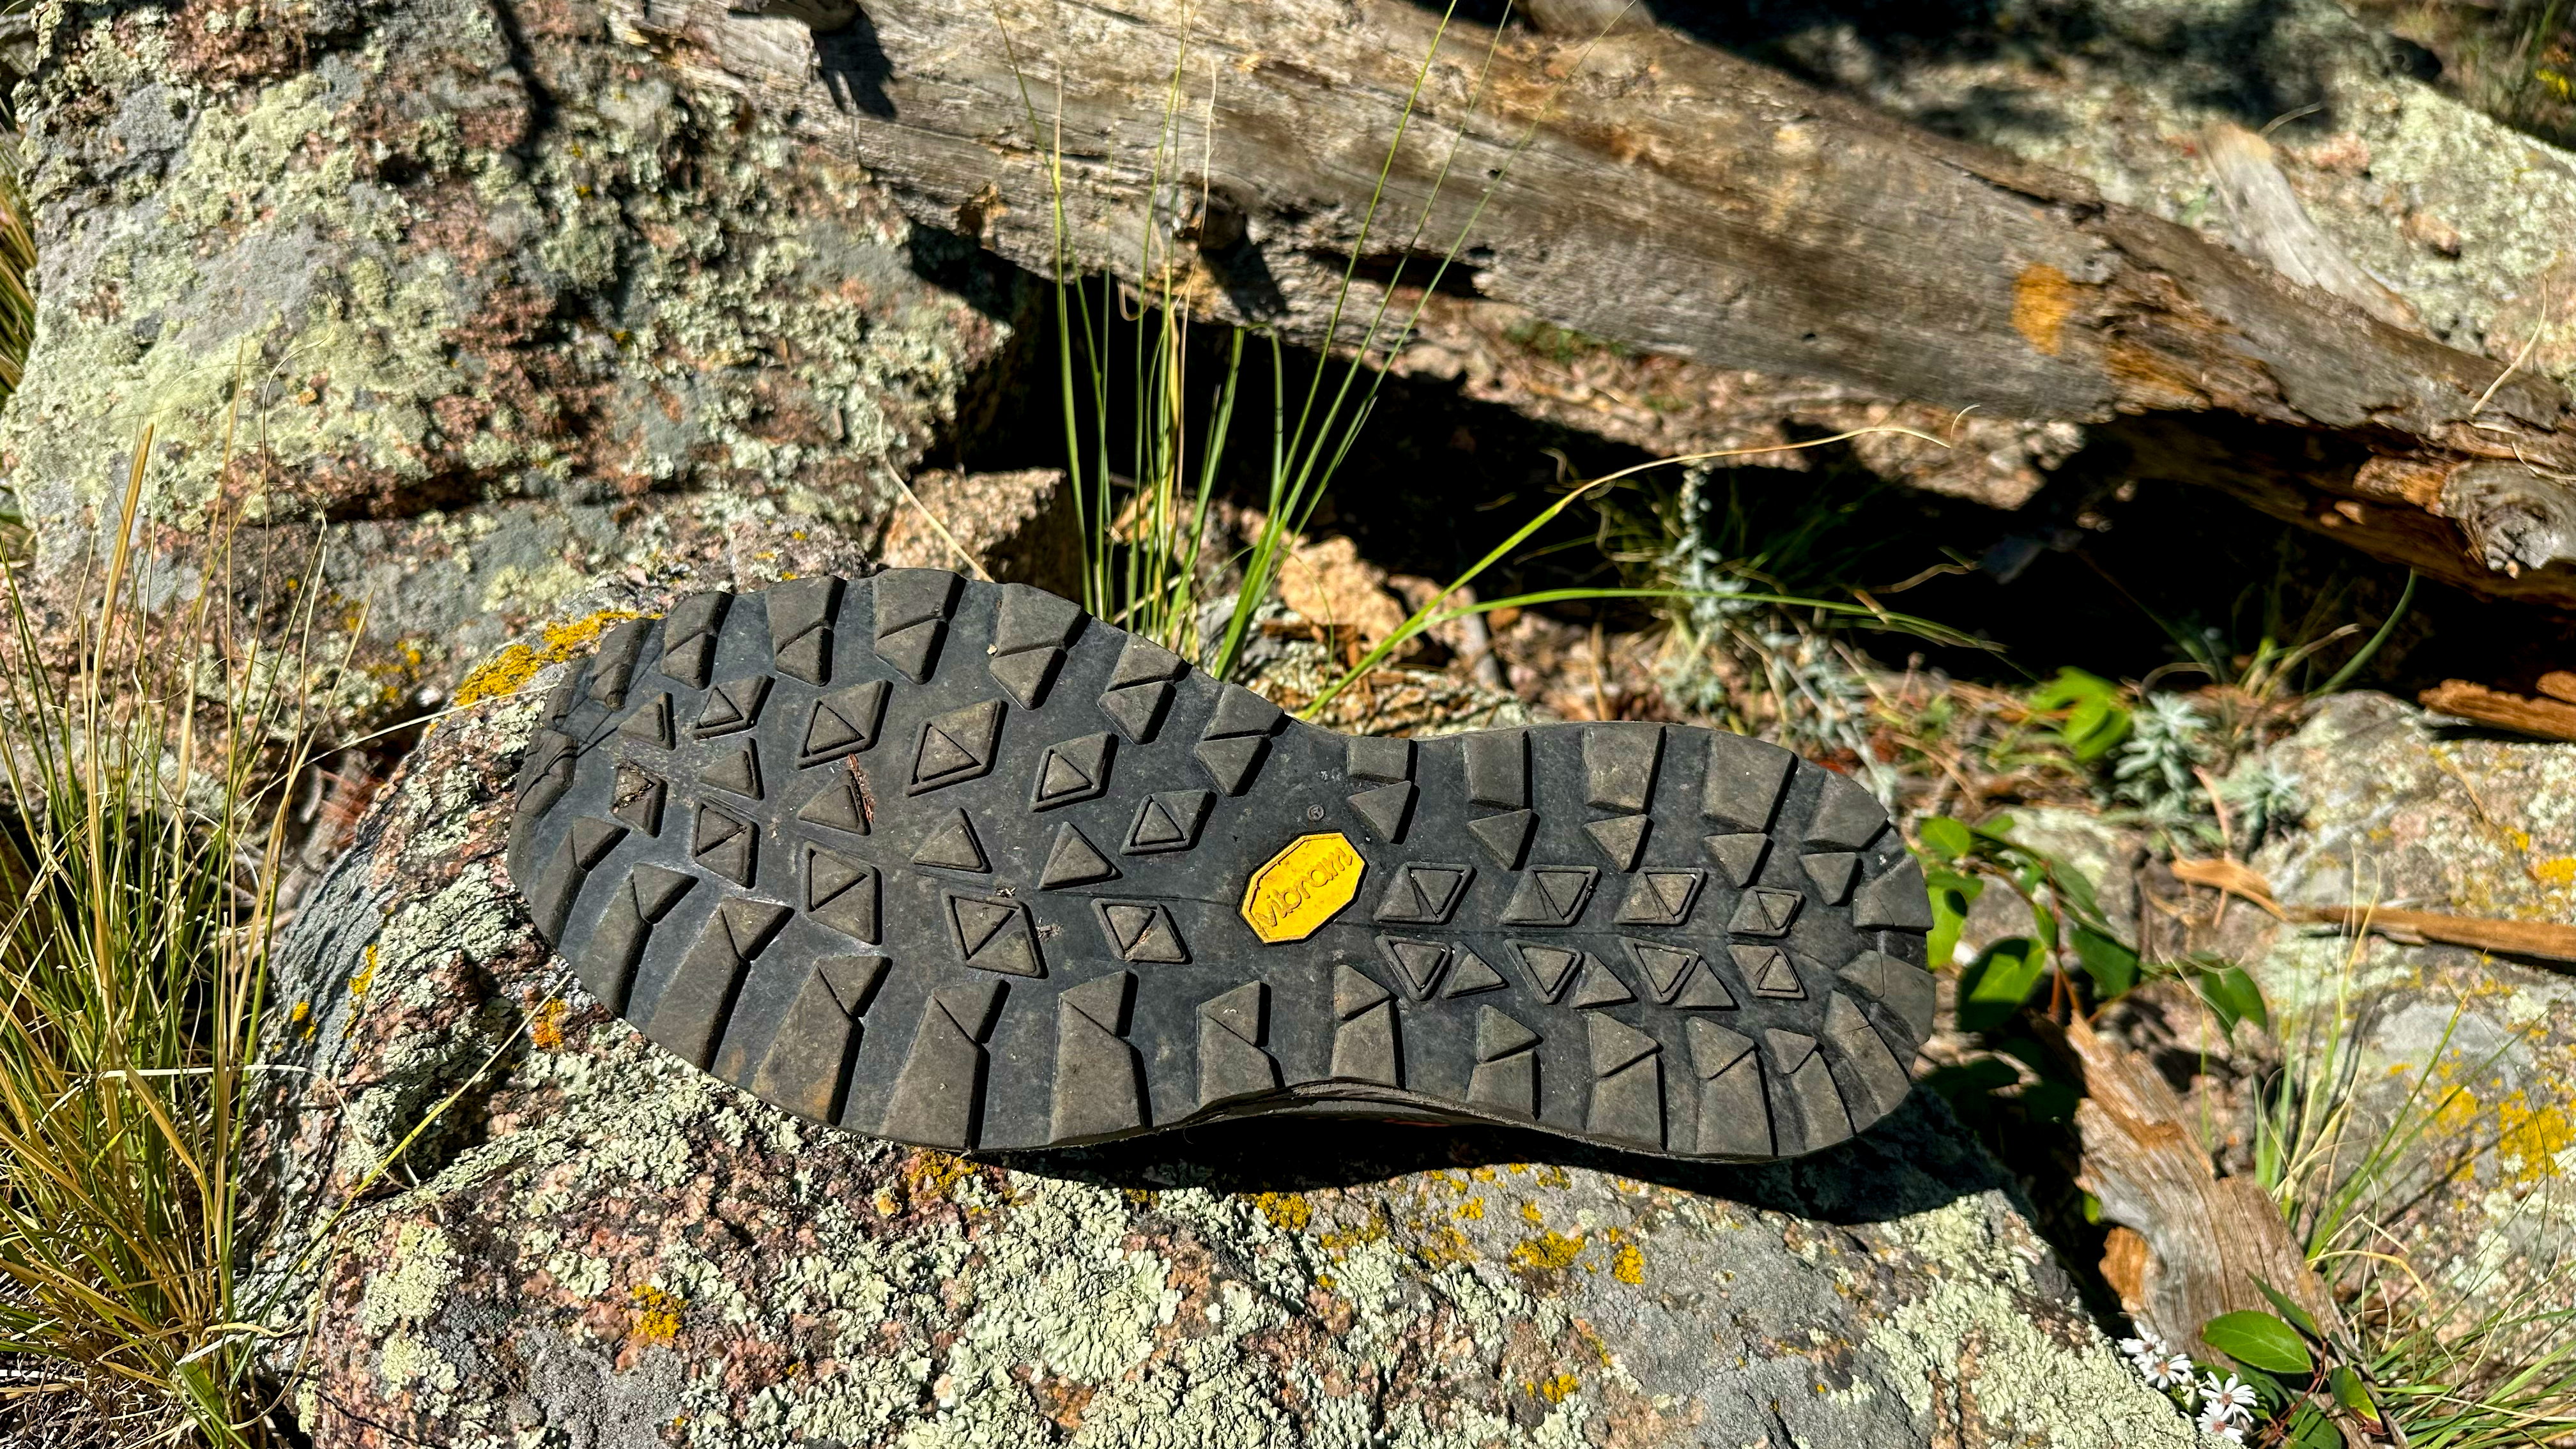
The biggest – and most expensive – customization I made to the Prodigio was a resole. The Prodigio’s outsole is just too performant for running/racing and would be the biggest problem in using it for the full Colorado Trail, which will have a lot of just… walking.
500 miles is about six million, two hundred and fifty thousand steps, so having shoes that’ll not wear through the outsole was pretty important.
Thankfully, the local climbing shoe cobbler – Rock and Resole – will resole running shoes – they do it all the time, mostly to satisfy us crazies who want to climb the flatirons outside of town, just to bomb back down. I would never have thought this was an option if I hadn’t been resoling my climbing shoes with them for the last decade as well.
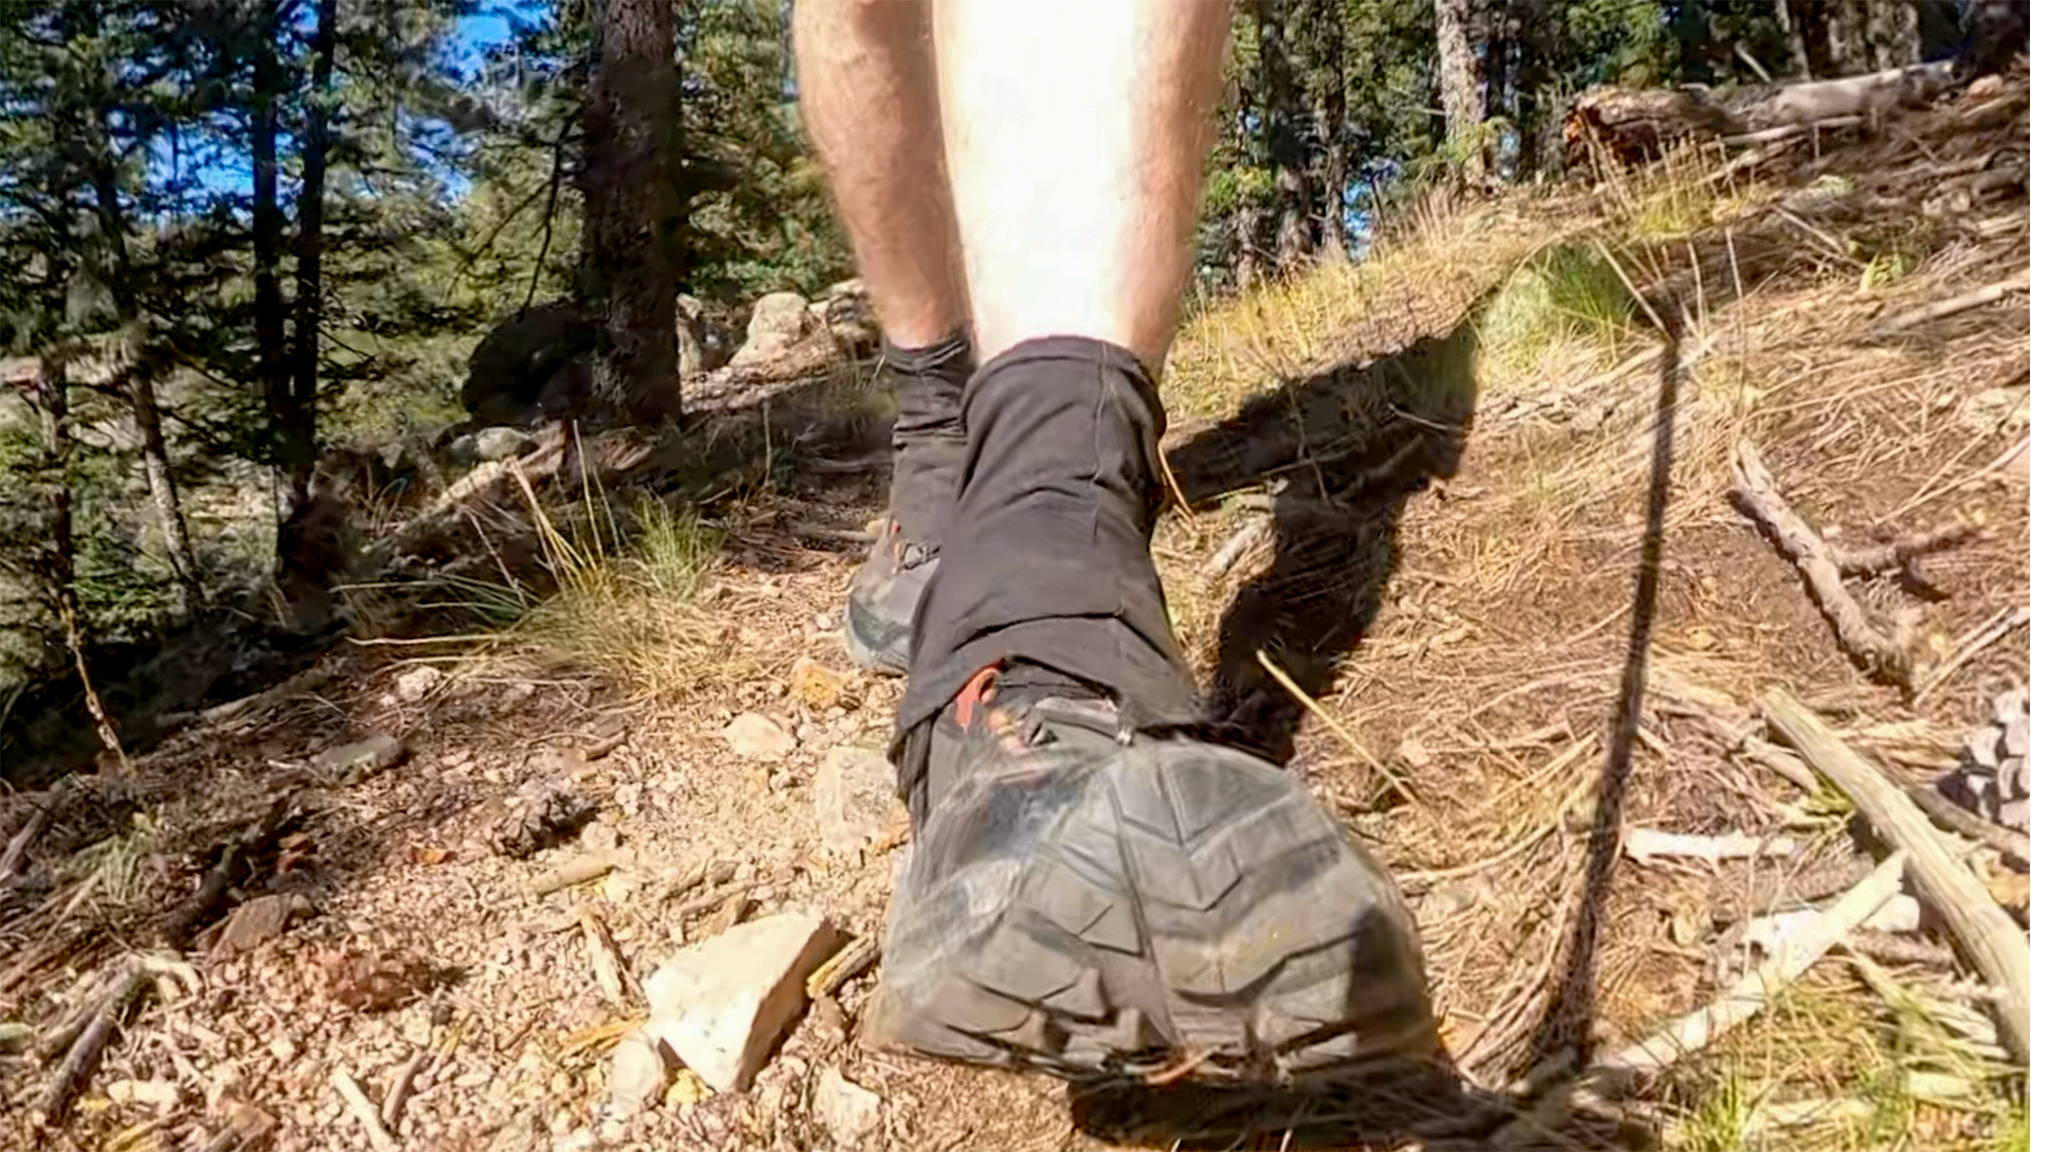
I chose the Zegama outsole, although there are other options. It closely matched the Mutant’s outsole, which I’ve always loved. And those chunky lugs did super well holding tight on the trail. The Zegama uses Vibram’s Megagrip compound, which is are also on my older approach shoes (the Sportiva TX3), so I know how sticky it is!
There’s another outsole Vibram has available called the Zegalite you may be interested in. I believe it has a kevlar reinforced outsole, paired with Megagrip lugs, making it lighter and just as durable, but it’ll be more expensive. I didn’t quite like the space between each separate lugs, so I went with the Zegama. Your tastes may vary.
With the Prodigio resoled, I’m seeing way more durability in the outsole, and those lugs are just going to take a lot longer to weather down. I also think the rubber that wraps up to the front of the shoe to protect the upper just looks a lot better

The compromise is going to be a little bit of weight added to the shoes and that extra cost to resole the shoe. I paid $70 for this resole.
Upper Reinforcement using Seam Grip
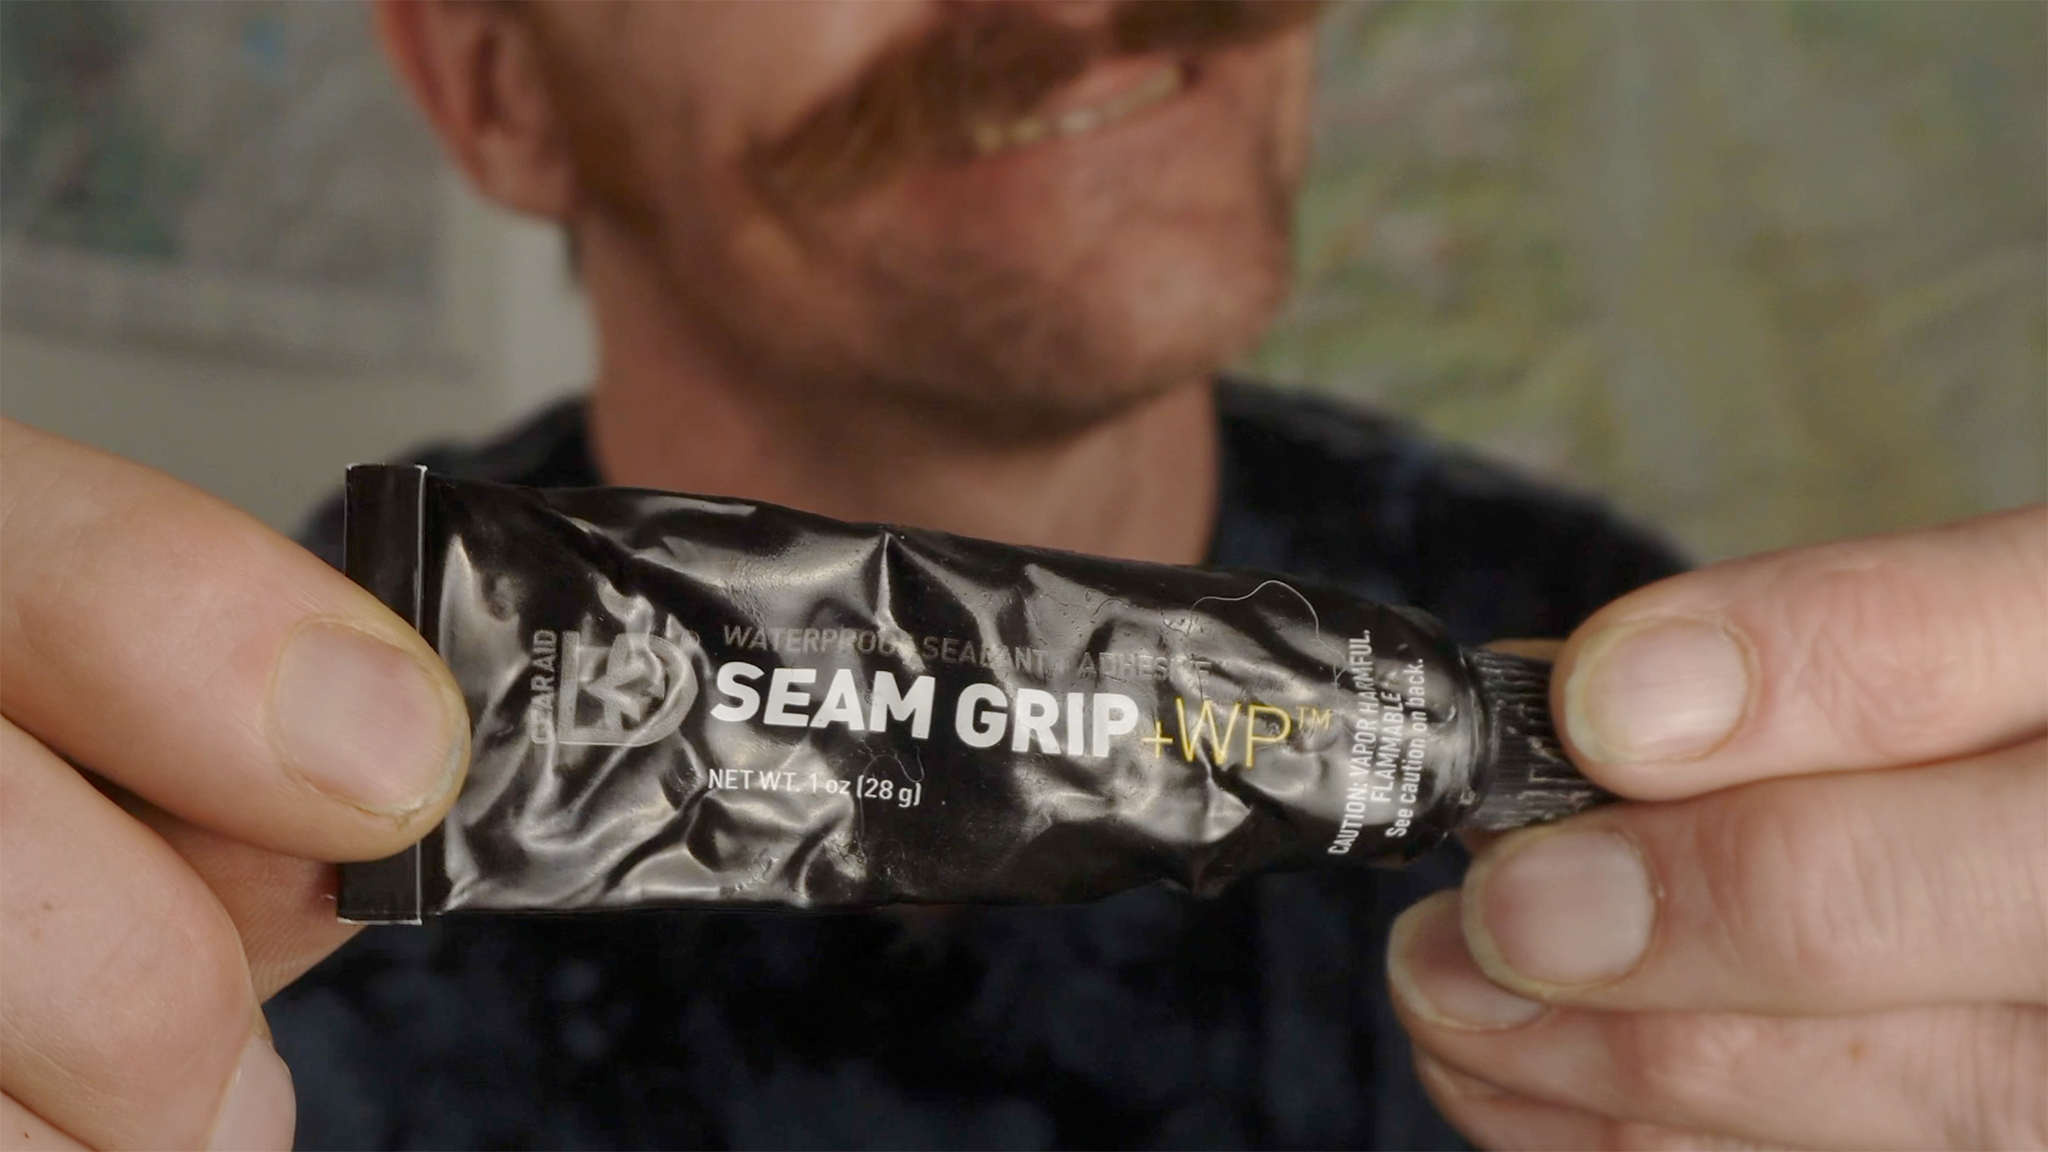
The Prodigio has a very lightweight, extremely breathable upper, but it’s not as durable as some of the other mountain running shoes Sportiva offers and I was starting to get cuts and abrasions in my initial pair.
So before the trip, I made sure to cover some of the upper with my favorite footwear accessory: Seam Grip! Seam Grip in this application will be used to reinforce the material in the upper (it’s also used for patching tents and as a adhesive).
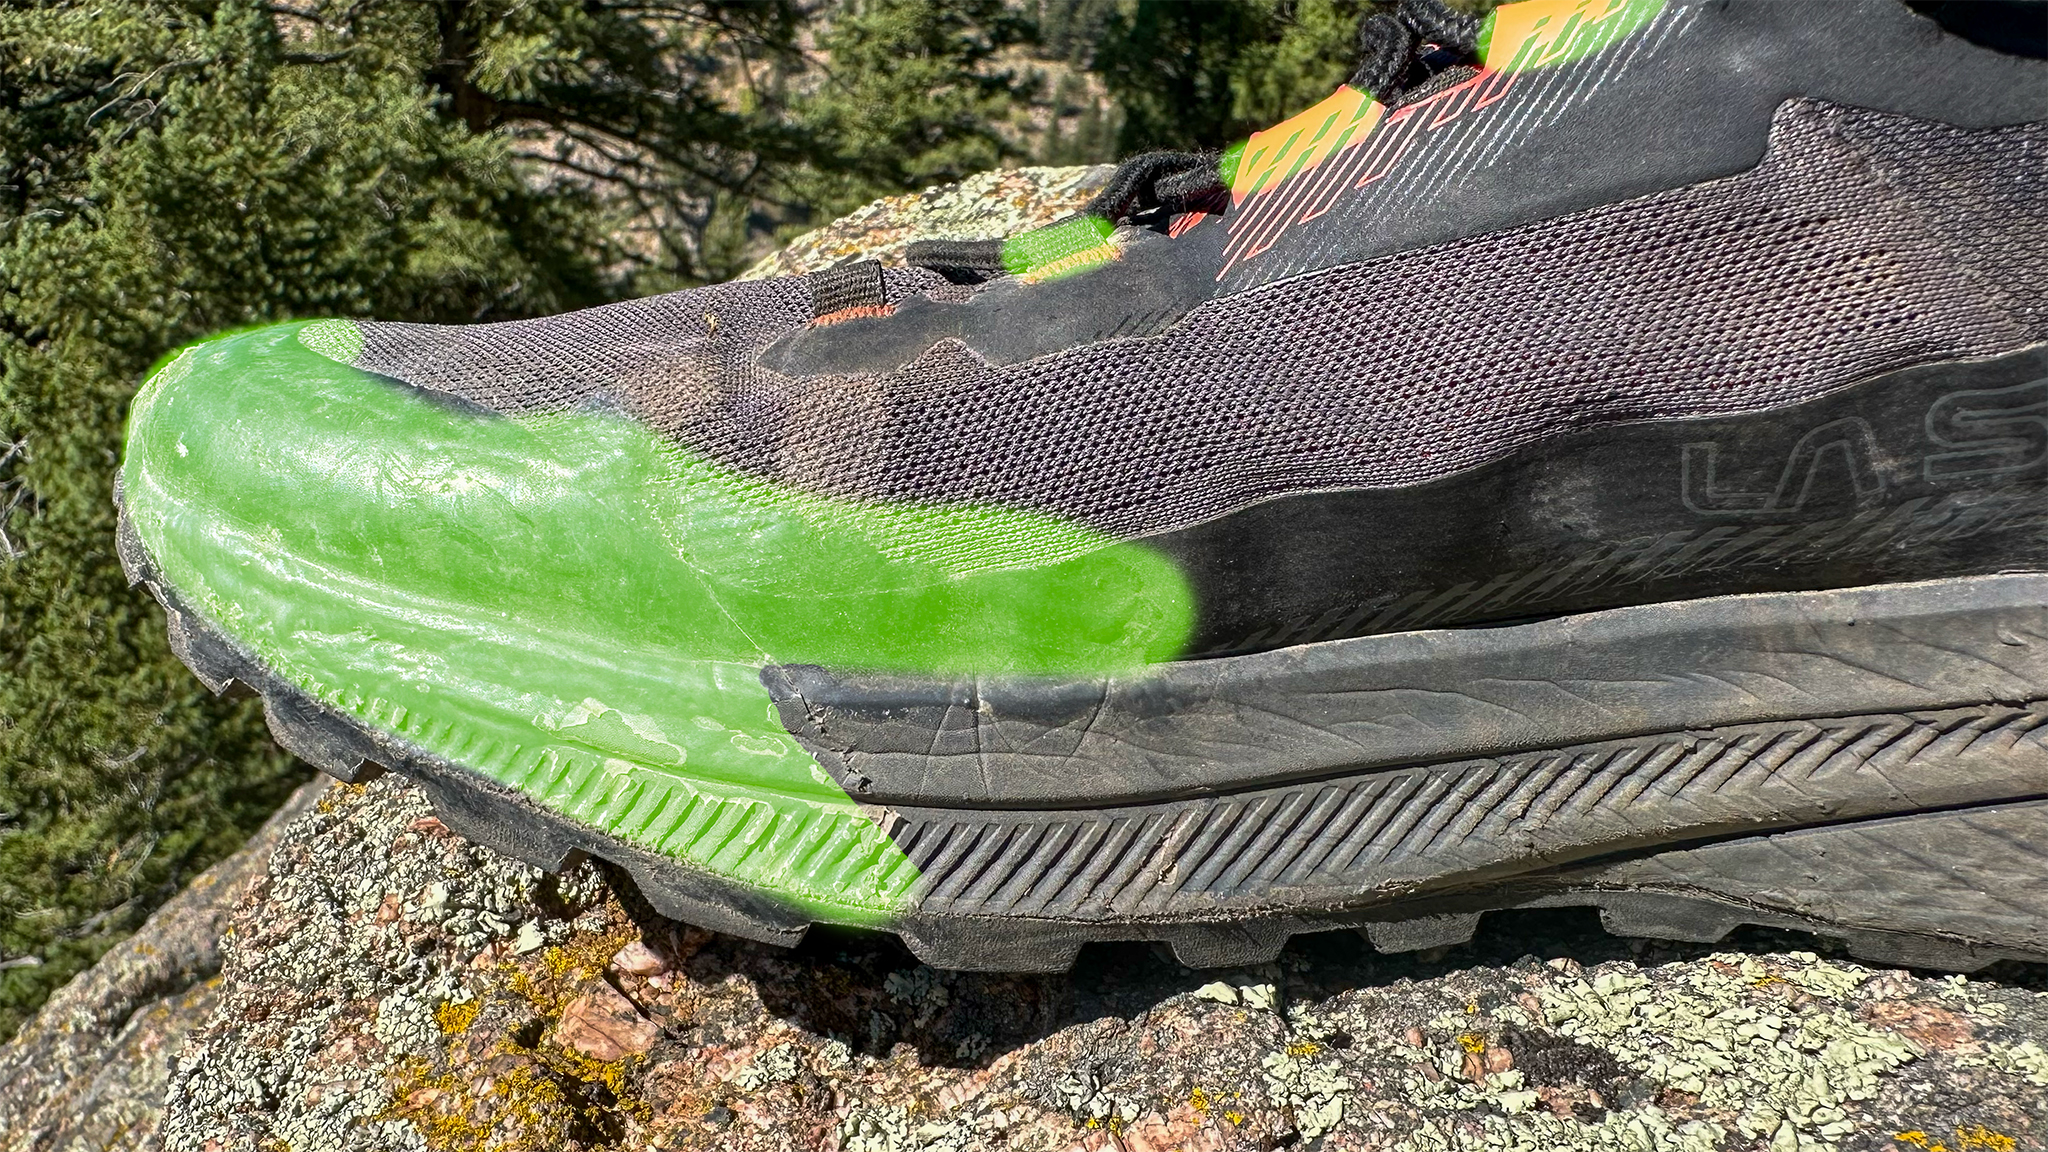
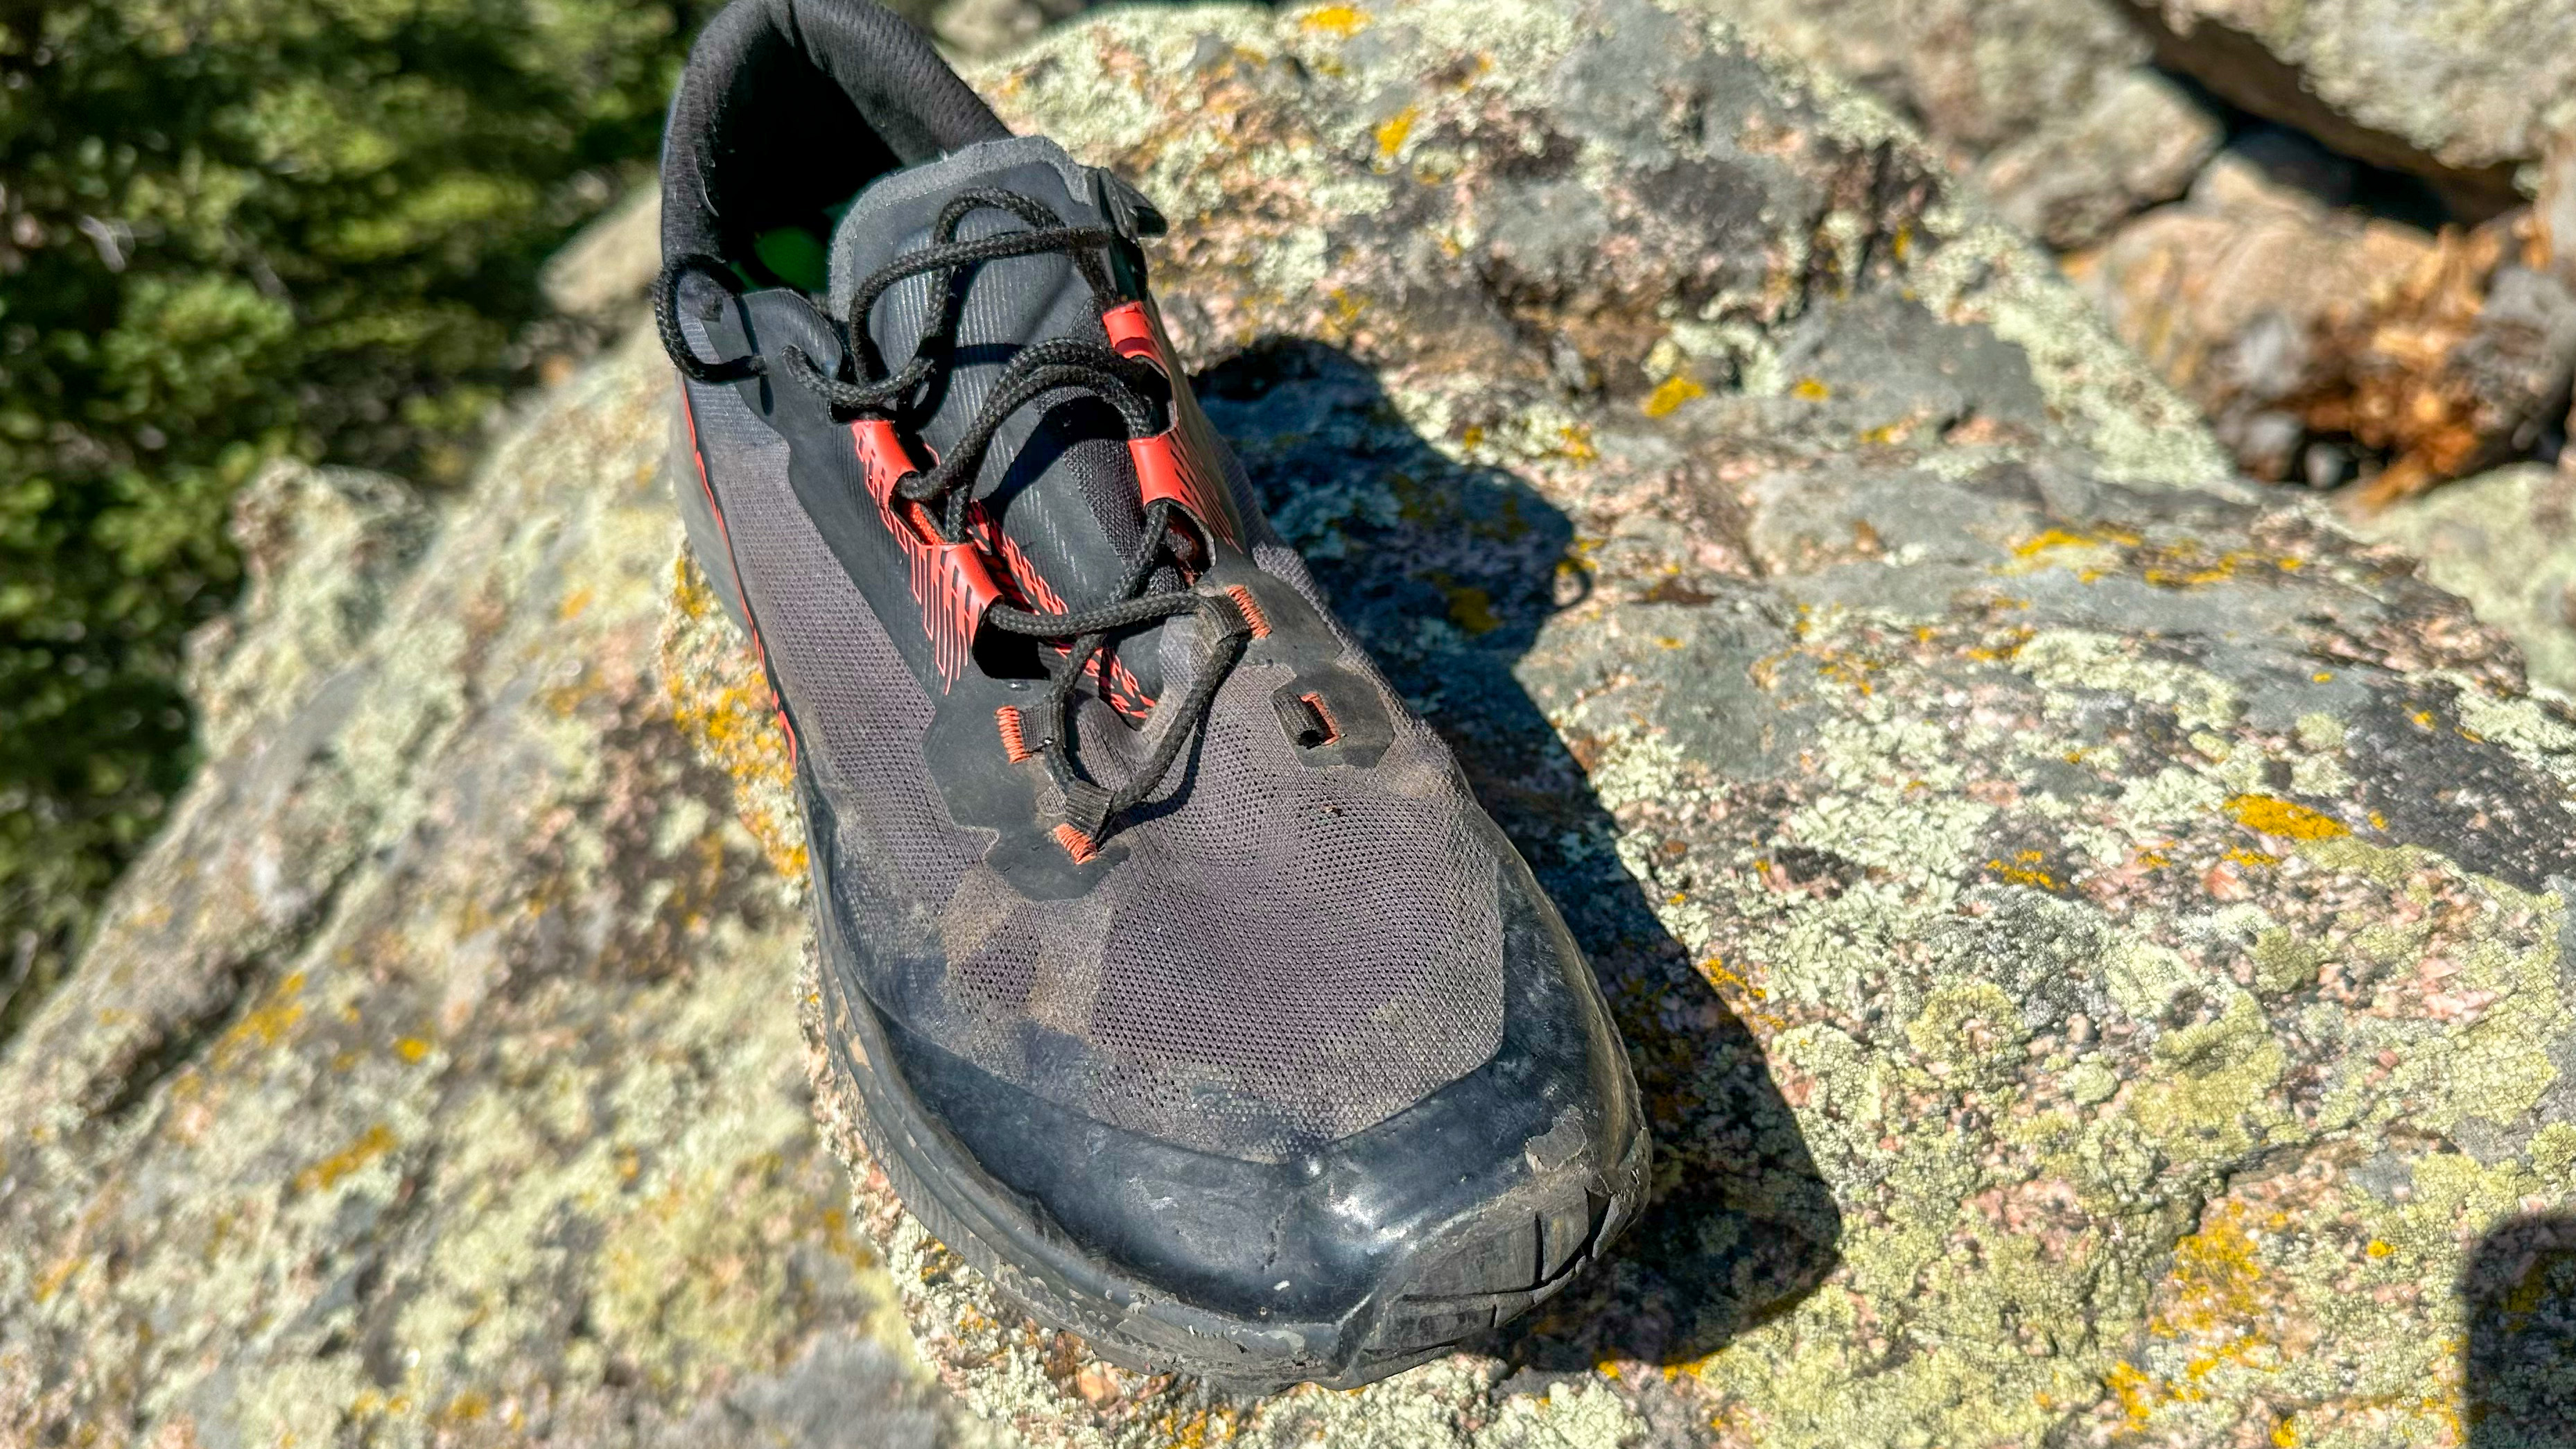
The Prodigio has a sort of faux rand around the toe box which I think is a great design and I love the nod to climbing shoe design. I extended the protection of the rand inwards towards the center of the shoe as I was starting to get cuts and tears on the side of my shoes, especially near that vulnerable Ollie patch near the little toe.
You don’t want to cover all this mesh material, as breathability is a really good thing in an upper, but we don’t want this mesh to have an untimely death scraping against the wrong rock. Balance it out if you do this yourself. You can start with a problematic area, and add more later.
Just clean your shoes as well as you can before applying – I use some alcohol and a rag, then let it all dry before applying.
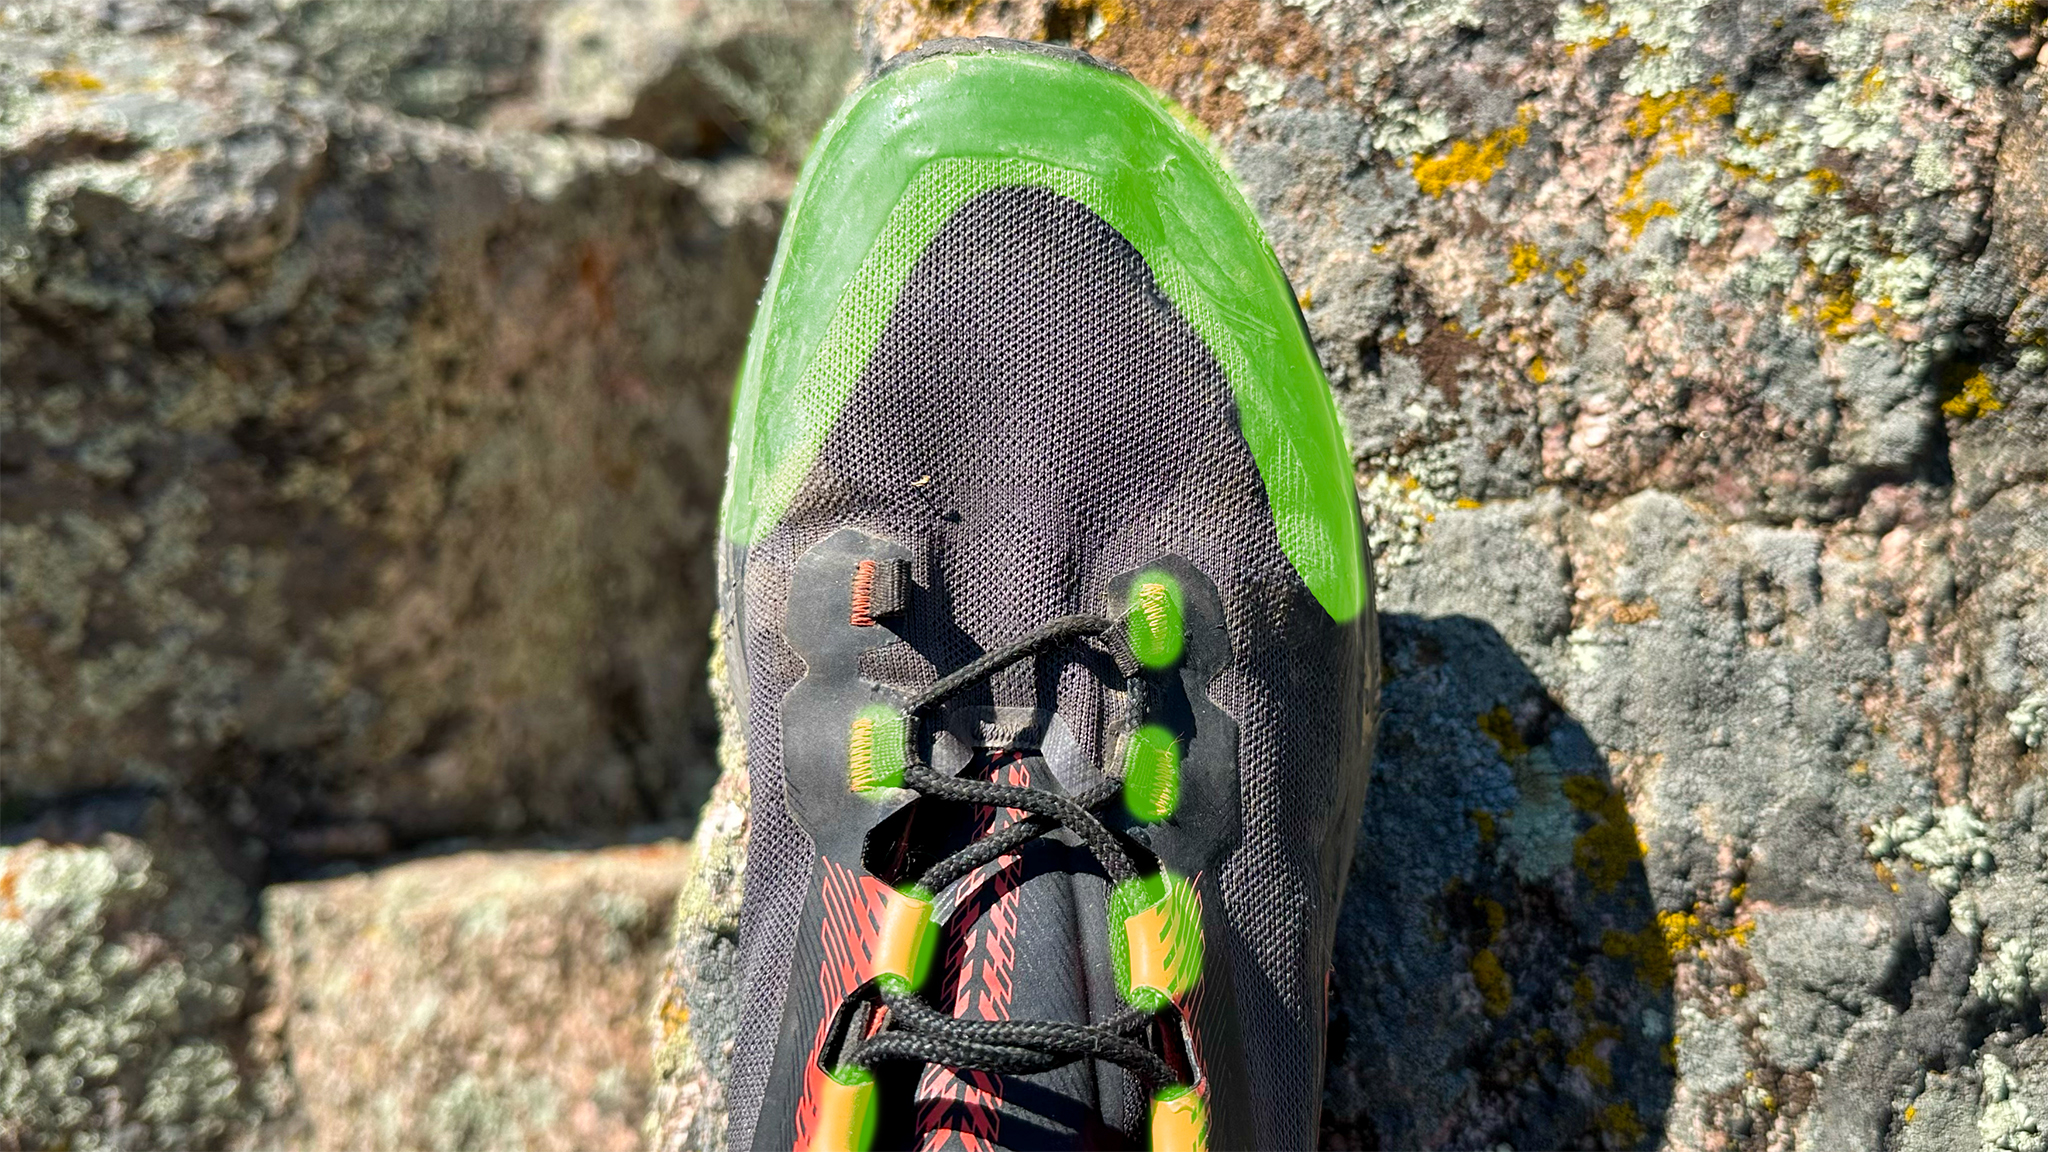
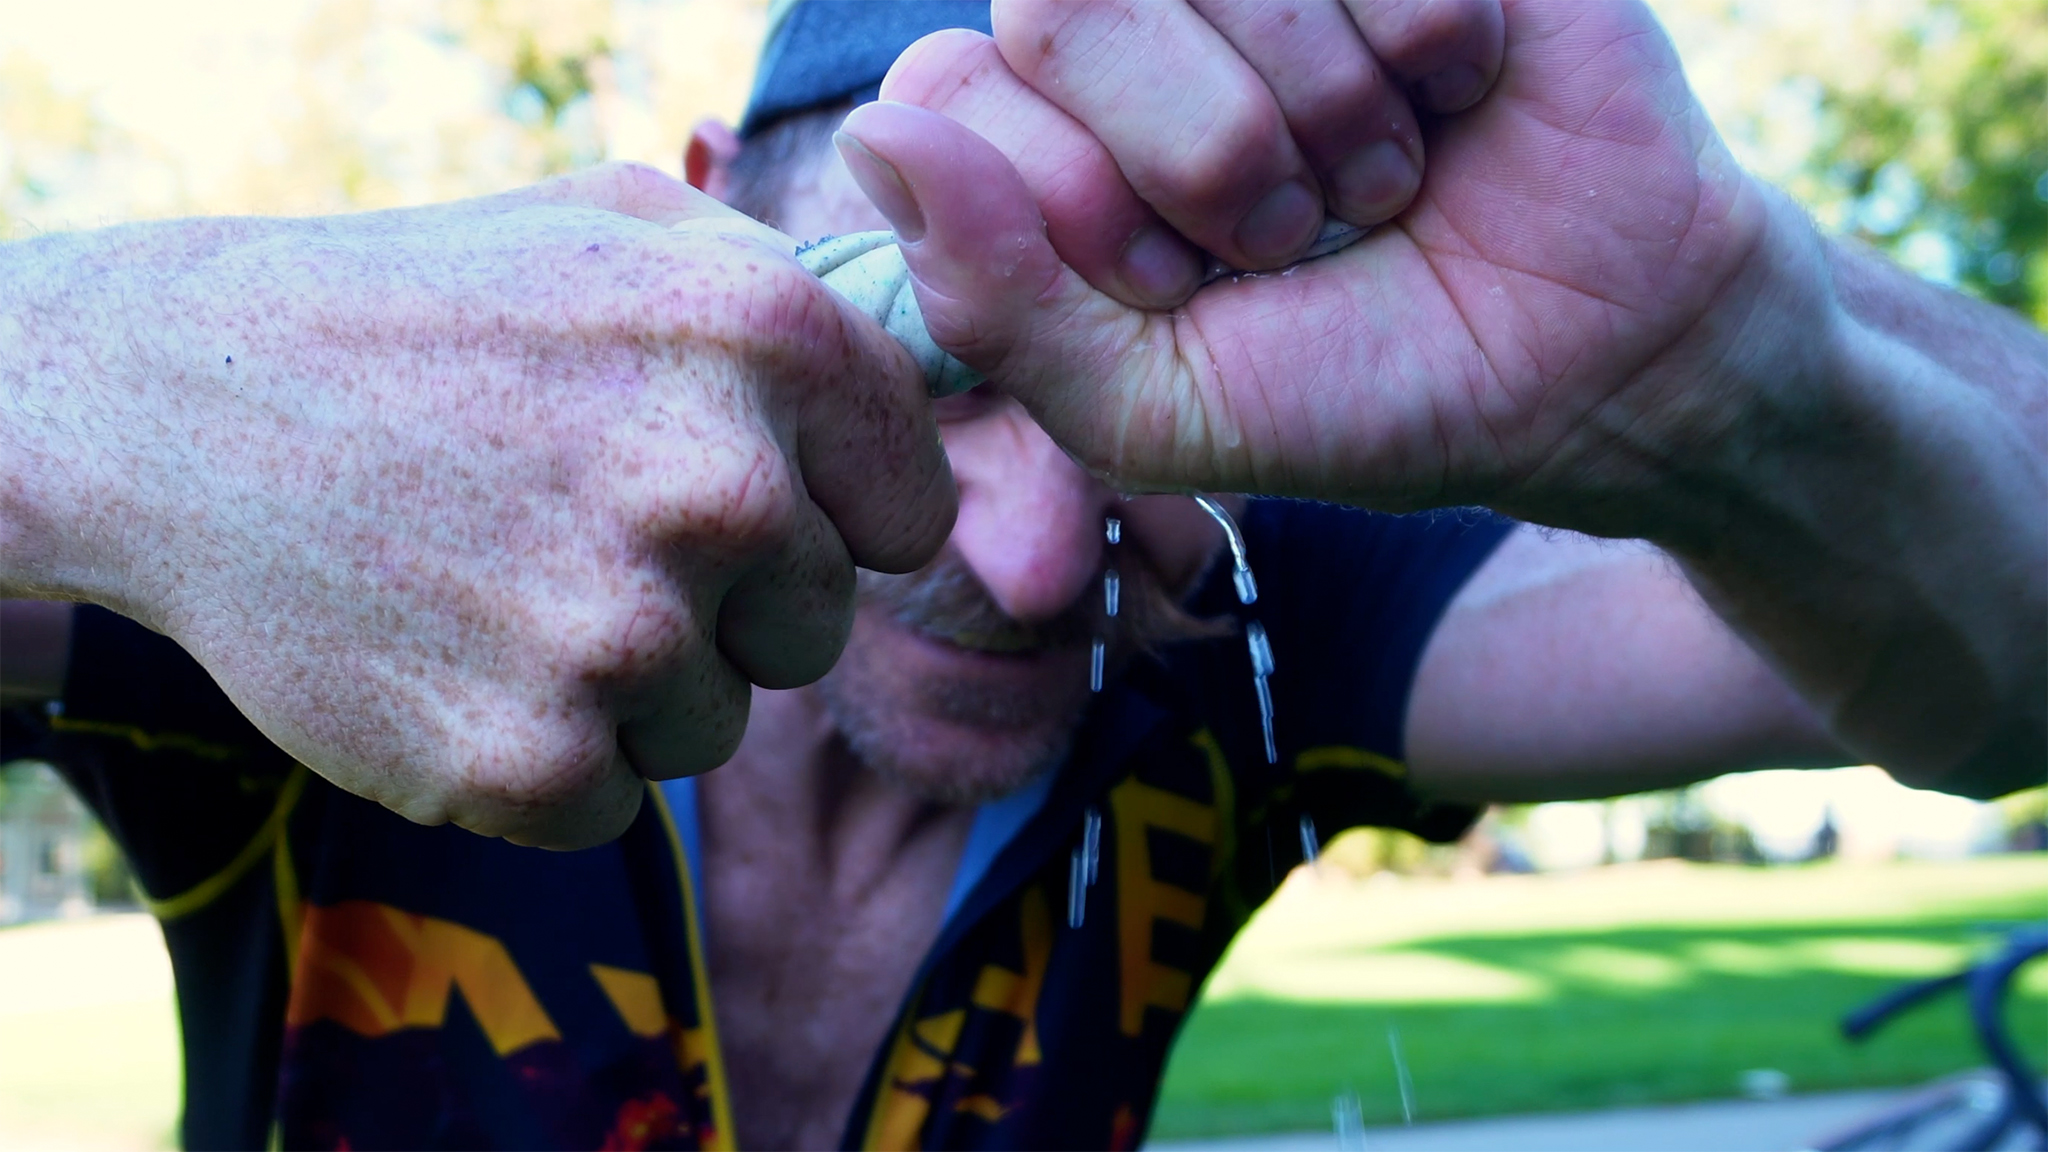
I also put a thin – and thin is the operative word —film on the faux rand itself, as well on the exposed midsole on the front here. Finally, I very carefully added a bit of seamgrip into the eyelets of the shoe, to help counteract the laces from sawing through the eyelets themselves.
Make very certain that you’re not gluing the eyelet shut! You just want a thin coat onto the inner surface of the eyelet. I dipped a toothpick in Seam Grip and threaded the toothpick through the eyelet, careful to keep the eyelet open.
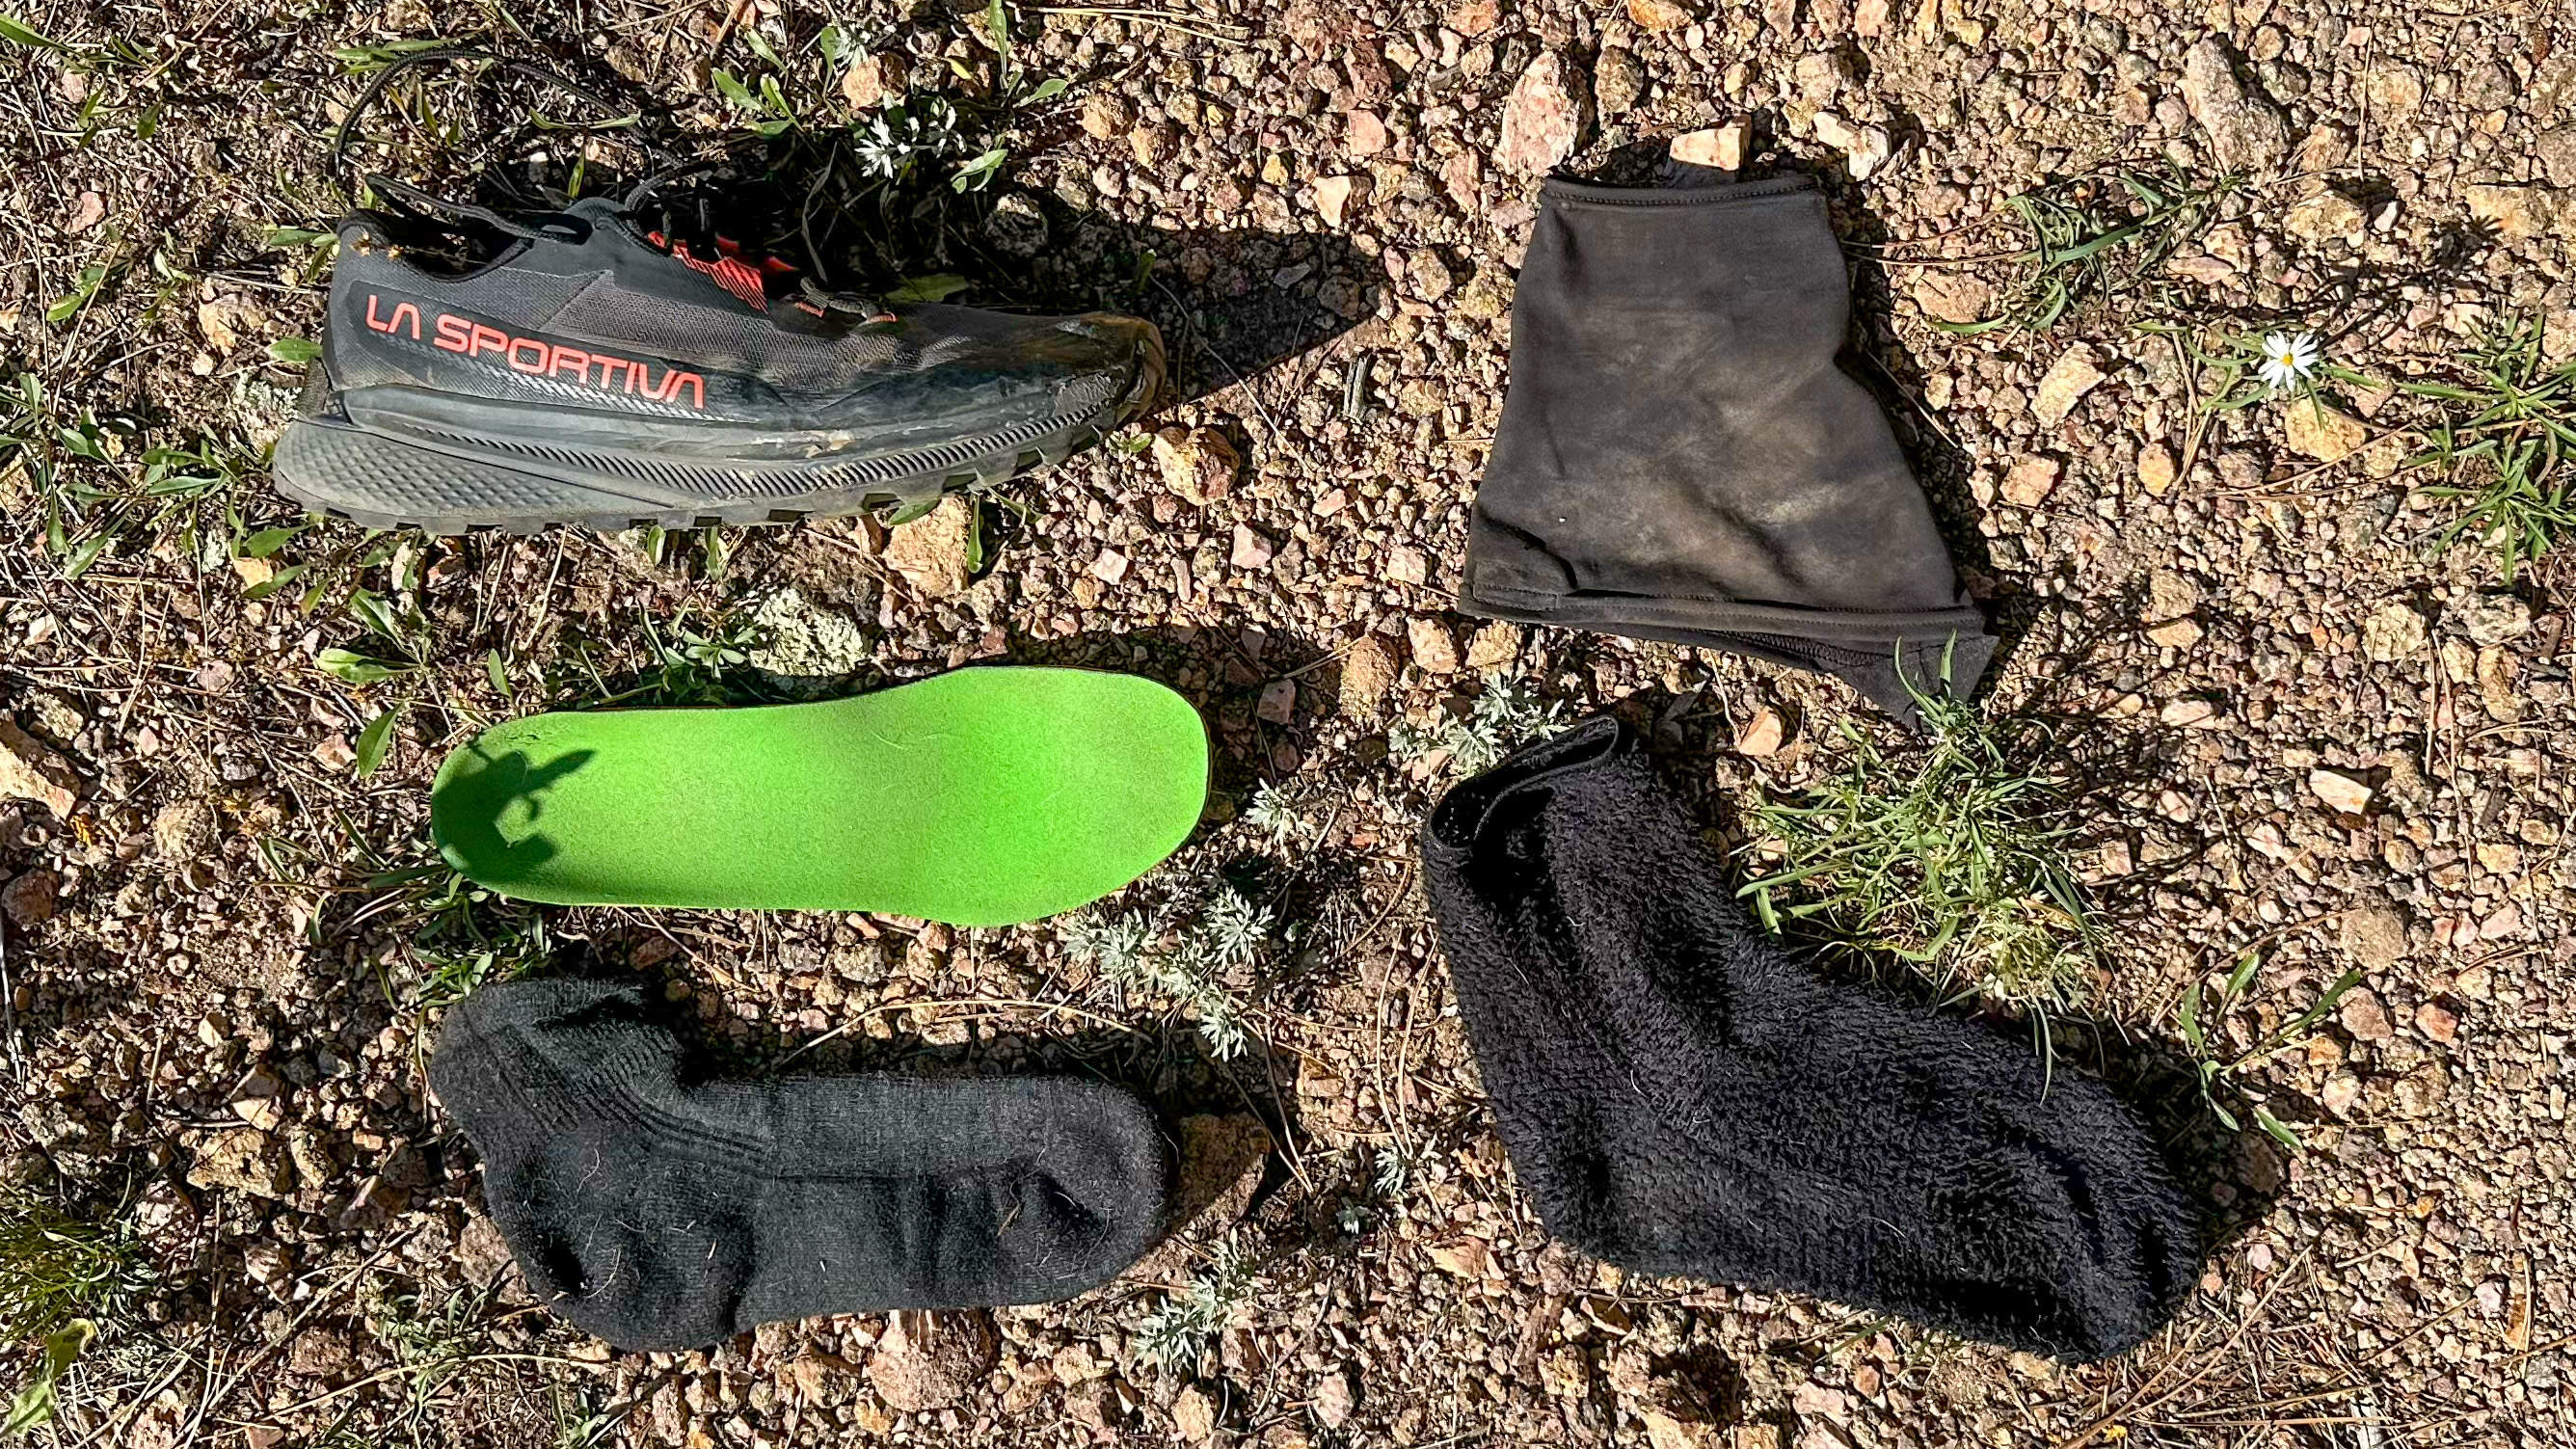
Swap out Insole with a Superfeet Green
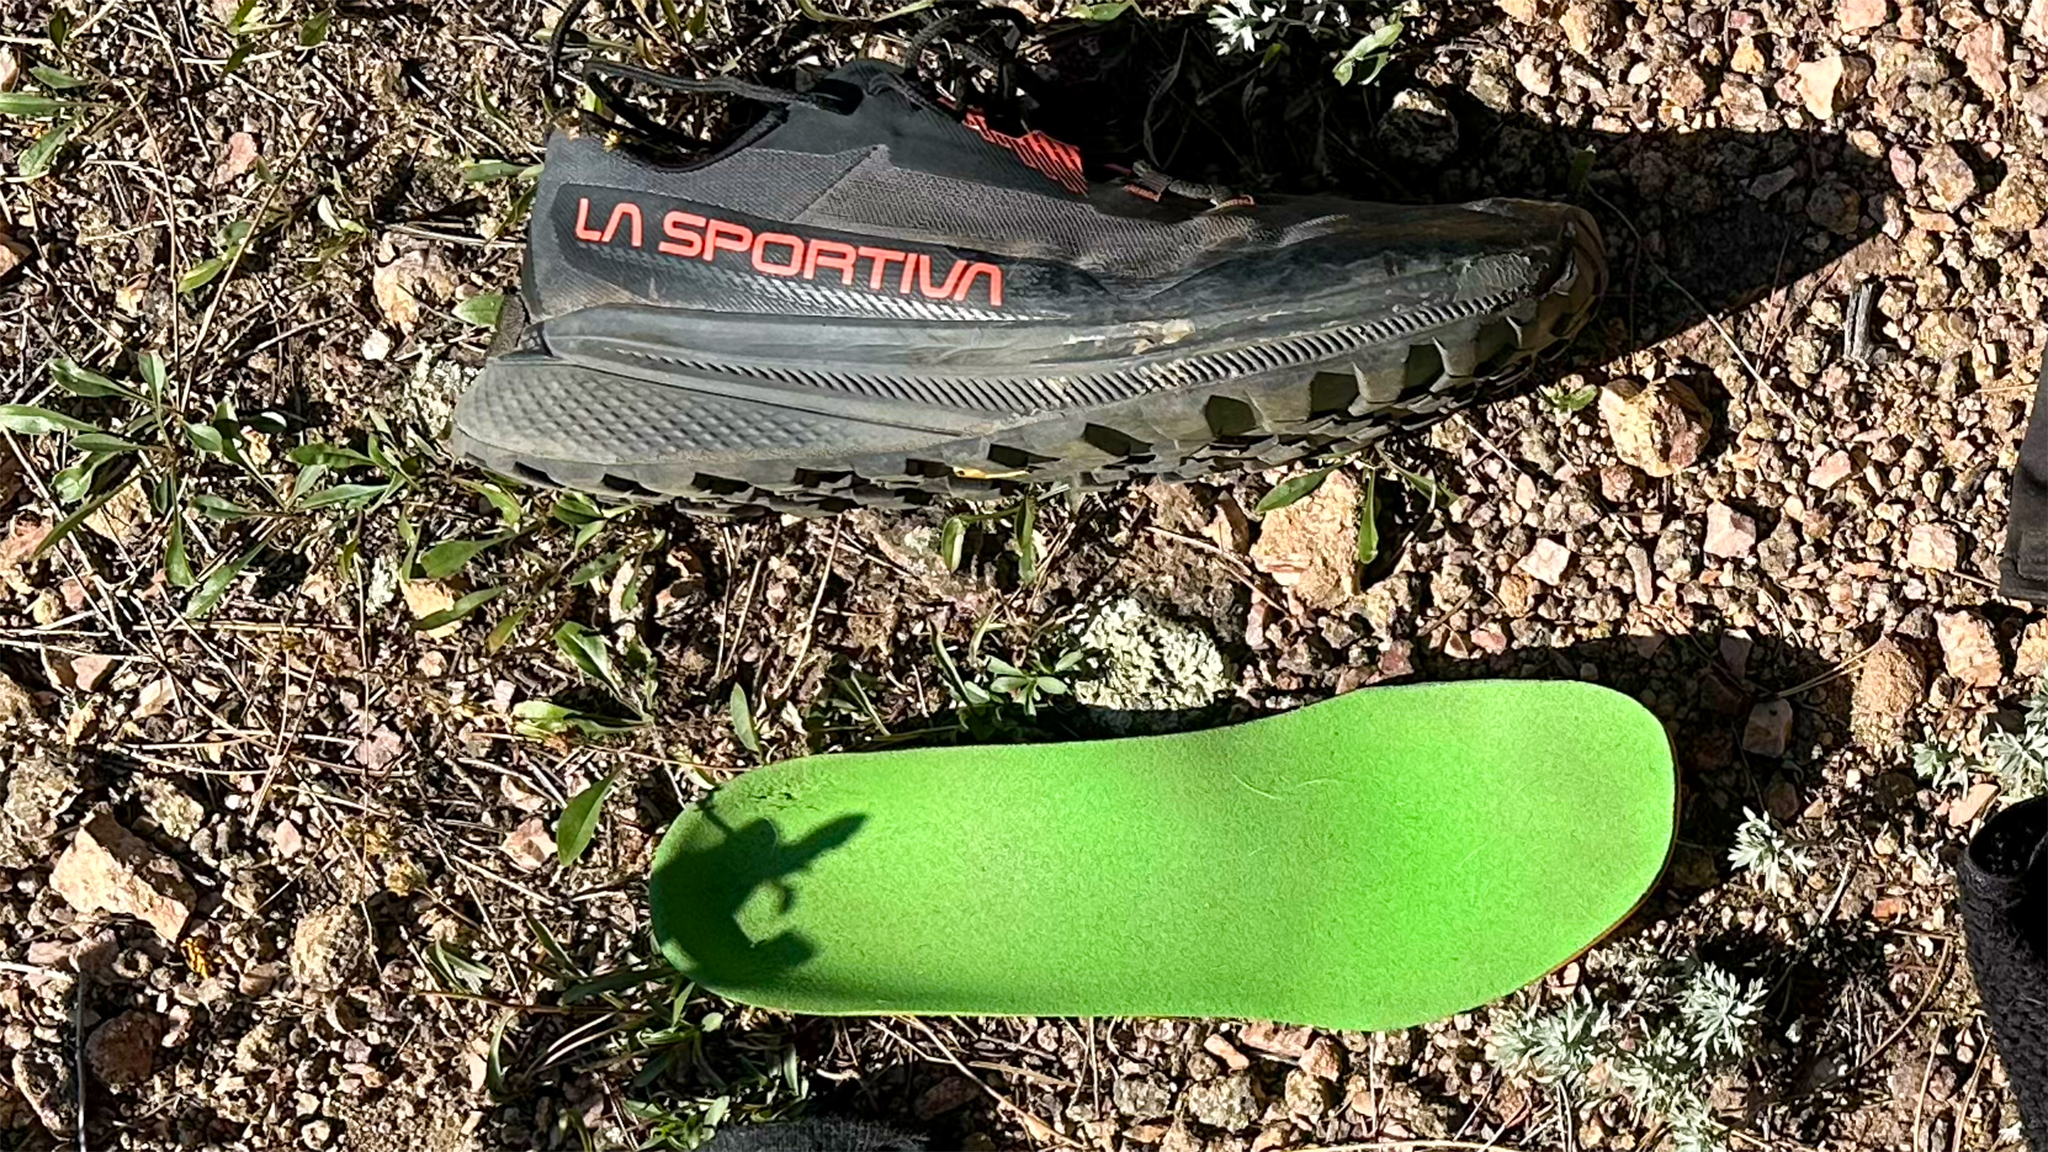
I was searching for a way to add just a little more comfort and protection to the shoe underfoot. I was also experiencing a little bit of a hot spot near the ball of my foot, and that spells “blister” if I let that go for too long. I’ve never really used insoles before, except for DIY rock plates I’ve added into shoes in the past.
So I experimented with popping in a pair of SuperFeet Green, which are made of a more dense material that doesn’t crush out as easily as the Ortholite sock liner that comes with the Prodigio. There was a difference in the feel of the shoe under foot in a way I preferred. The midsole just felt much more supportive too – and that hot spot went away.
An additional benefit is that this insole doesn’t absorb water as easily as the included Ortholite sock liners, making these shoes dry out faster, leading to less of a chance of experiencing blisters.
I was also experiencing a problem other Prodigio users were having in the ankle area: there’s a sharp, rigid piece of plastic that runs below the ankle, which can come in contact with my foot just below my lateral malleolus of my fibula. Adding the insole raises the footbed just enough where this stopped being an issue. If you’re having a similar problem with your Prodigios, give this idea a try!
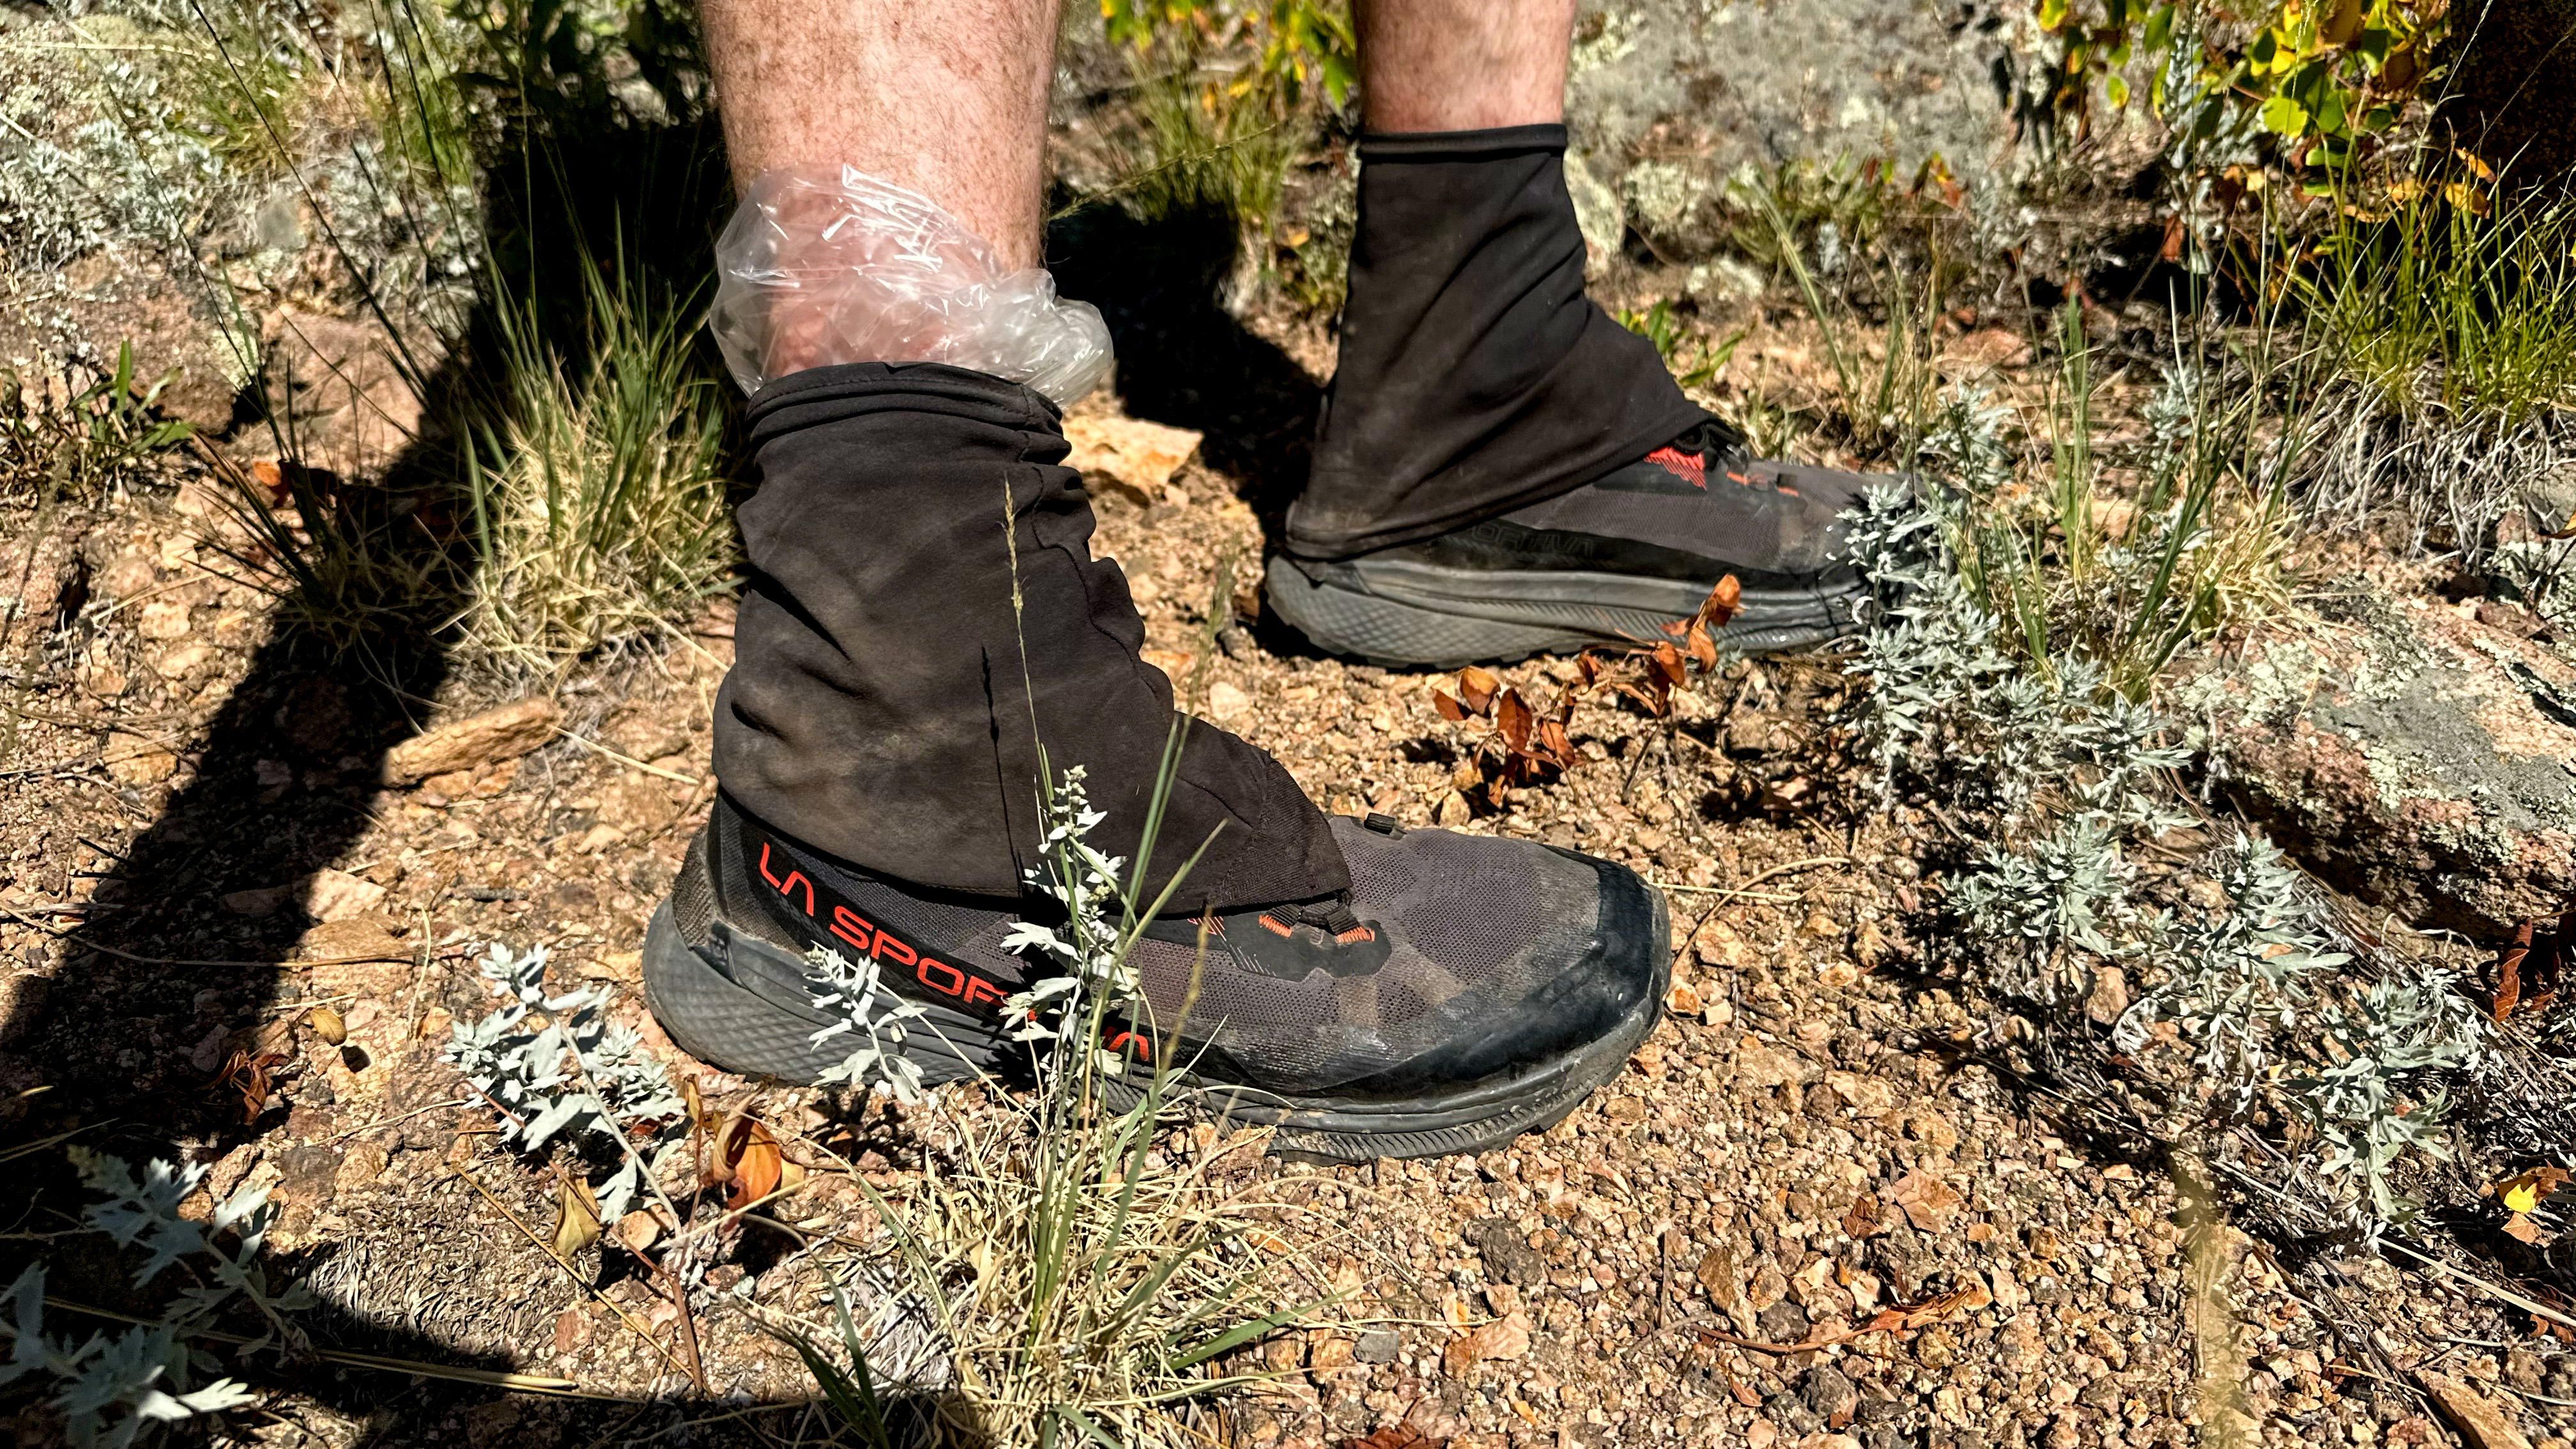
Dirty Girl Gaiters
Getting dirt, sand, and small rocks in your shoes from the top opening is pretty annoying, especially since it forces you to stop and dump out what got in, wasting valuable time. Gaiters make sense to use to stop all that crap from getting in.
From my research, Dirty Girl Gaiters seemed to be the best choice, were the lightest and simplest and seemed to have stopped most anything from getting in. I especially like that the design doesn’t rely on a strap that goes underneath the shoe. This doesn’t work well for most running shoes, as there’s no arch for this strap to hang out in and not get cut up from terrain you’re hiking in, like you’ll find on many mountaineering boots.
They do take a minor amount of customization to work with the Prodigio: you’ll have to stick on the included Velcro patch on to the back of the heel. To wear, slip on the gaiter, put on and tie your shoe, then hook the front of the gaiter to your shoelaces, and attach the velcro on the back.
These worked perfectly in keeping out debris from getting inside my shoe and as an added benefit, they kept the laces from untying as well, saving even more time. The Dirty Girl Gaiters come in all sorts of fun colors and patterns. I of course chose black.
If you don’t like the idea of a separate running gaiter, La Sportiva does have a few models that have a running gaiter built in, like the Jack II Boa. The Boa enclosure is awesome and I find it gives a really secure fit. These come with the Frixion White outsoles rather than the Frixion Red of the lace-up Jackal II’s, which is why I didn’t think about using them for the Colorado Trail, but I also think this pair may hold a place in my hurt near my Mutants.
Lace Pattern
While using the Prodigio for general running and some overnight trips, I found that one of the eyelet areas put a lot of pressure on one of the bone’s of my foot – maybe the First Metatarsal?
So, I tweak the lacing pattern to just skip that eyelet. This also makes sure that the upper in the toebox is never constricted. The fit isn’t sloppy and this worked well for me.
I also experimented with using the lace locks, but I usually warn people on utilizing lace locks unless there’s really no other option. If your shoes need to be lace locked, it may be more a sign that the heel of the shoe is just too wide. The danger is that you’ll put too much pressure on the top of your foot below the ankle, causing some really painful bruising that takes a while to really heal.
So, the takeaway is to play with your lacing pattern – there’s no real reason that the default lacing is going to be best for you.
I also swapped out the laces ahead of time. I find that the laces that Sportiva mountain running shoes come with are not as durable as really any aftermarket laces. These are just some round shoe laces, with a slightly greater diameter than what comes with the shoe.
Sock Choice: Darn Tough Men’s Hiker Quarter Midweight Hiking Socks
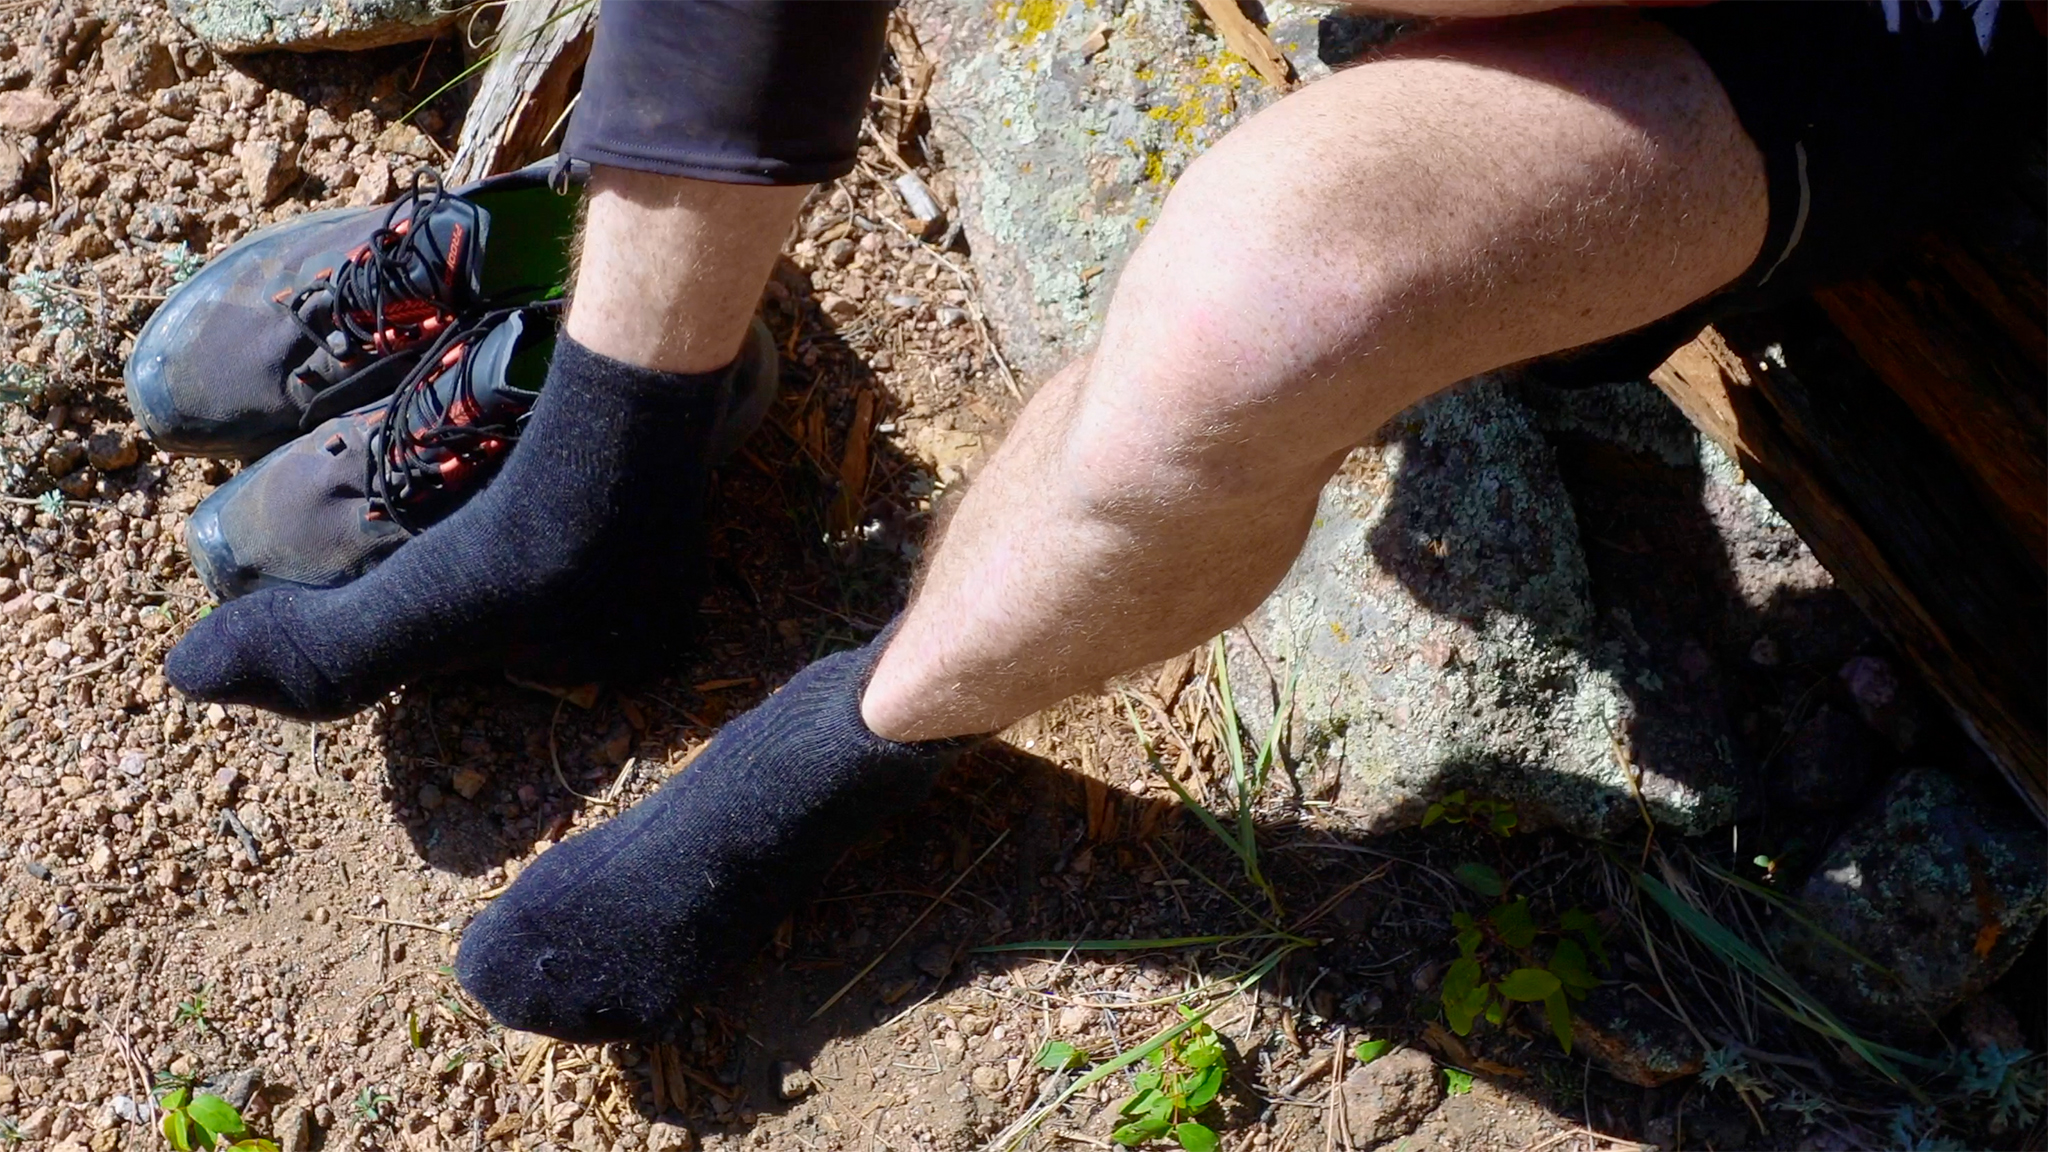
Socks do a few things. They keep your foot warm while staying breathable, and also adds a little cushion around your foot. I chose a ¼ length sock that goes just above the ankle. It complements the gaiters pretty well since they don’t stick above them and the ¼ length is just going to be lighter than calf length saving a bit of weight. This also means it should dry out faster if that’s something that needs to be done.
I used a wool sock from Darn Tough called the Men’s Hiker Quarter Midweight Hiking Socks which are quite thick all around. I find the thickness up top leads to some cushion and comfort against the upper which for the Prodigio is pretty minimal.
I’m usually a proponent of minimally designed uppers, so that you can add/remove any more cushion that you’d like, while keeping the shoe itself as light as you can. If this was a warmer hike, I may opt for a sock that’s a litter light on the top, and just has cushion primarily on the bottom.
For a trip like this, I think two socks to have on hand to hike in is a good number. You should always have a clean dry pair to wear, while another pair can be at the ready, already been washed, then drying.
Night Sock: Fairpoint Alpha Direct 90 Camp
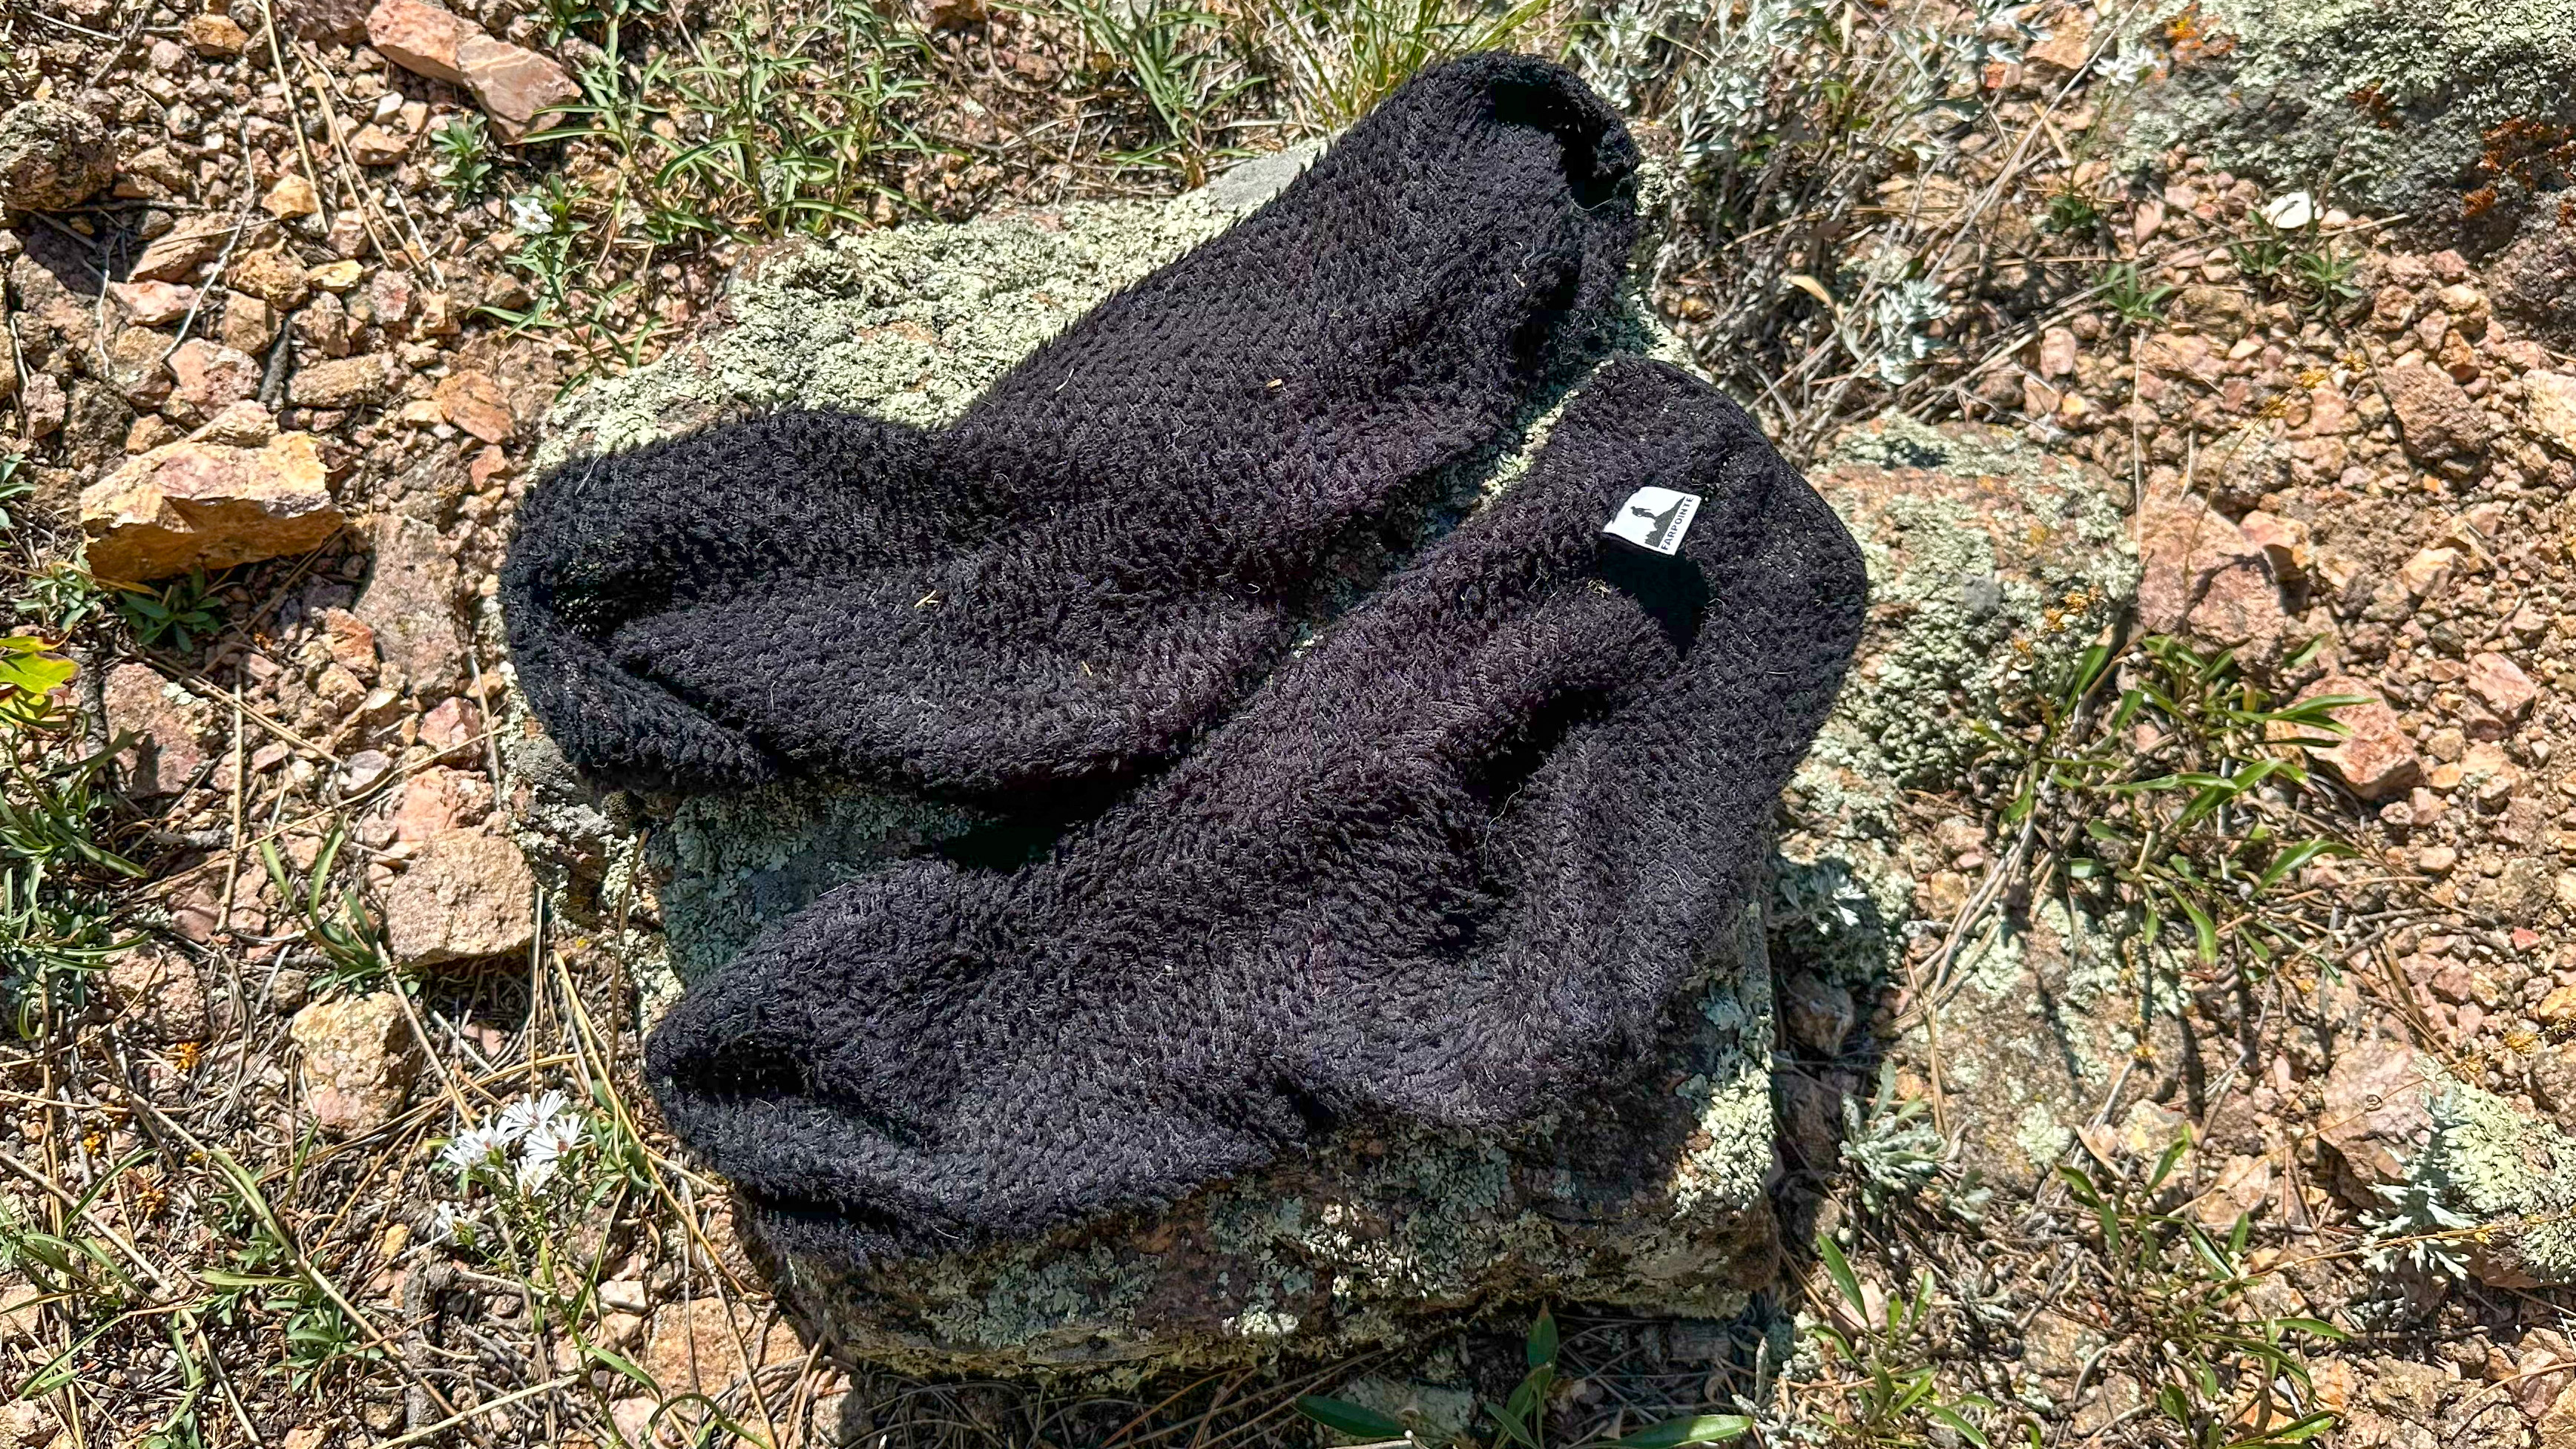
I’ve found happy feet to be generally dry feet, so at night, it’s best to take off the socks you were wearing to allow them to dry off and let your feet breathe. It’s not always warm enough to go sockless at night, so I brought along a very lightweight, very breathable pair of socks just to sleep in.
The Fairpoint Alpha Direct 90 Camp Sock are a good compromise. They keep my feet warm and are very light at only 25 grams for the pair and are incredibly breathable so I wake up with dry feet. Also, my sleeping bag doesn’t have to come in contact with my dirty feet directly, keeping the bag itself a little cleaner.
Aquaphor
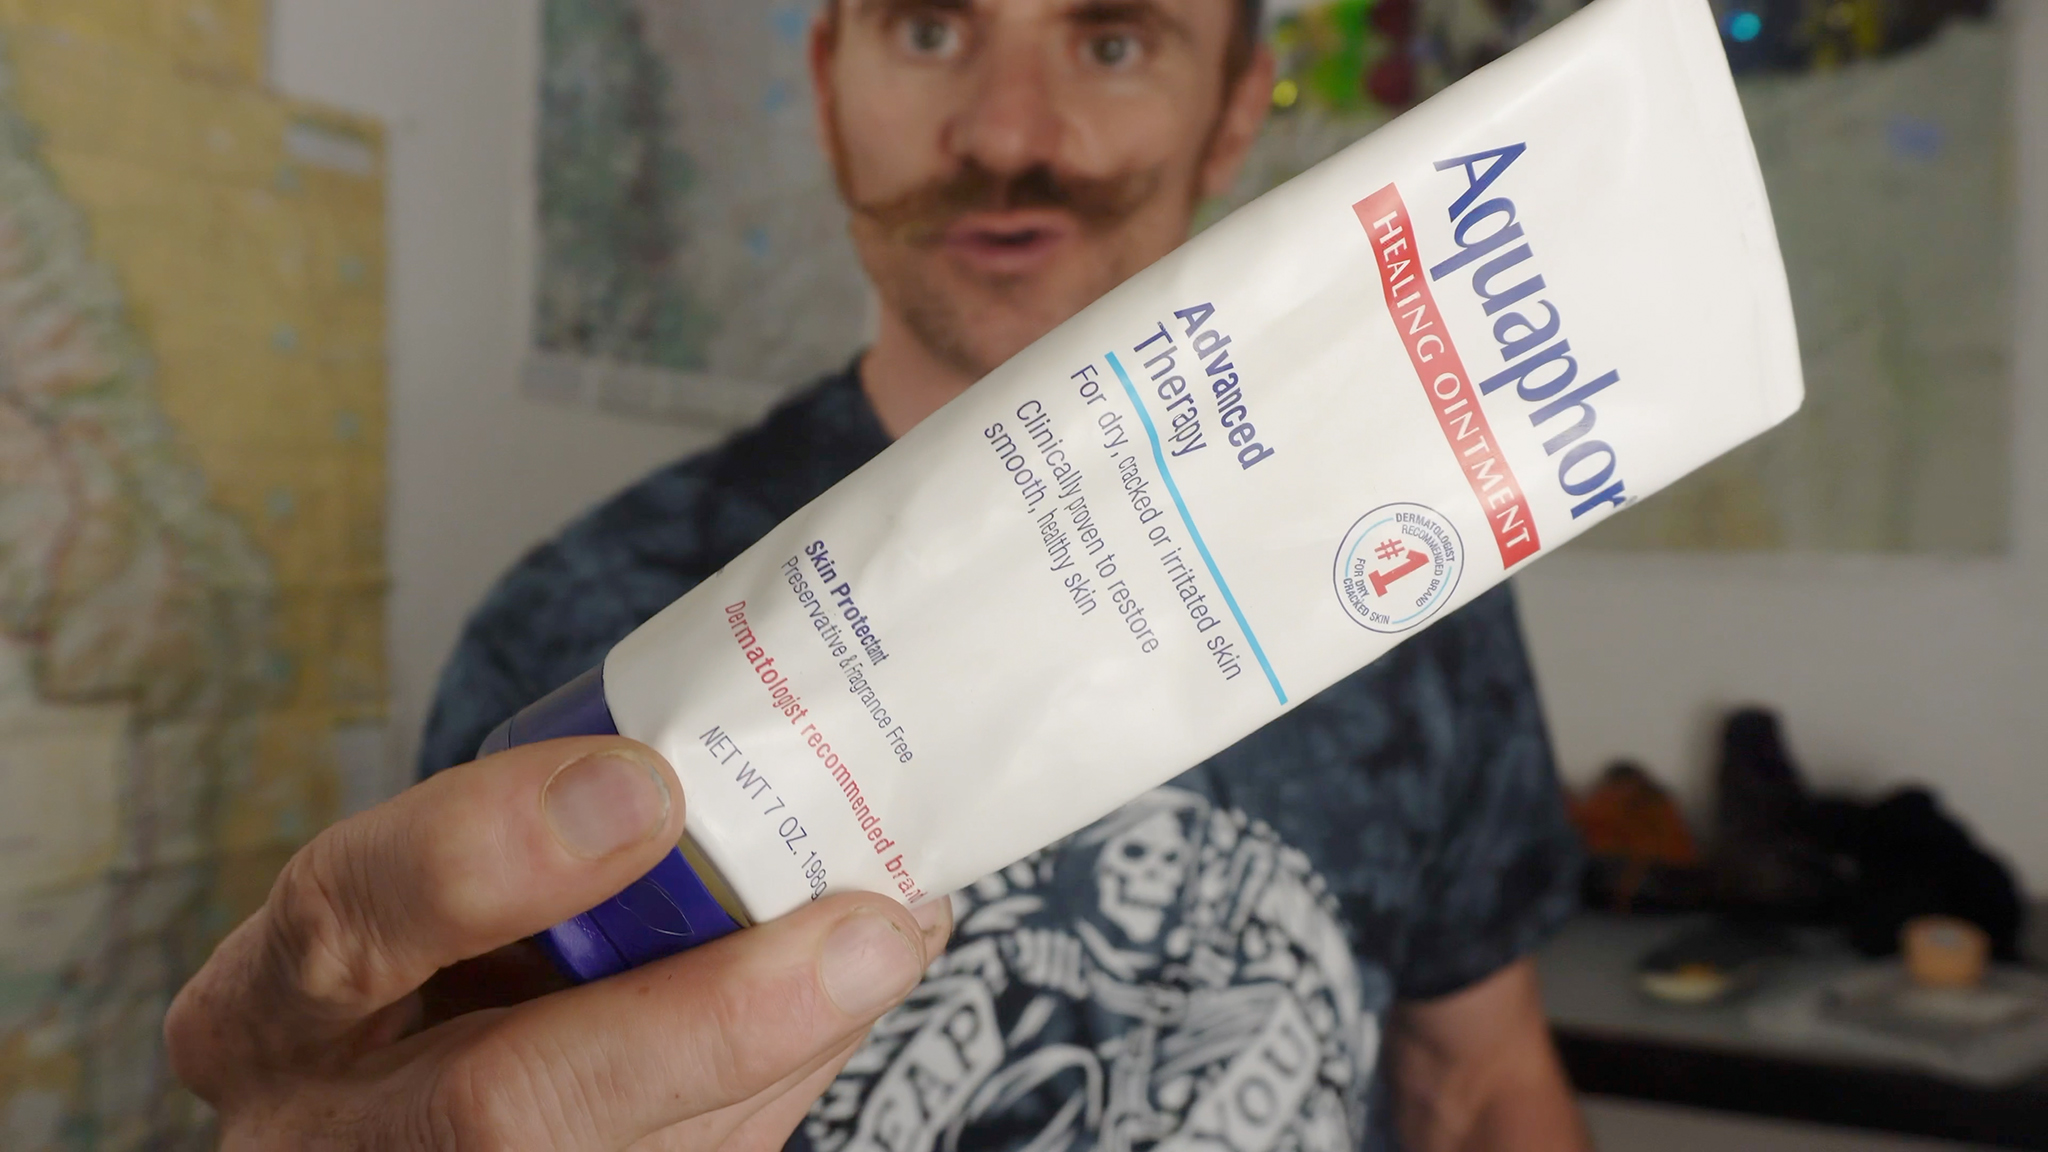
The issue of blisters is a real one – even for someone like me that doesn’t get blisters all that easily. Blisters happen because of a buildup of friction and heat and the best way to counteract that effect is with prevention. For that I use some Aquaphor. I’ve found that just slathering my feet in Aquamira before I start out, and then reapplying it on some areas where I feel there’s a chance of friction has been a winning strategy. Pretty easy morning maintenance.
You can find really small tubes of Aquaphor, but the price is way more expensive per volume than the big tube, so I take some from a big tube and transfer it into a small pill bag and double bag that to stop it from getting everywhere. Not perfect, but it’s pretty lightweight.
You may want to see how much you personally use daily per weight, so that you don’t run out on a trip.
Nexcare Absolute Waterproof Tape Tape
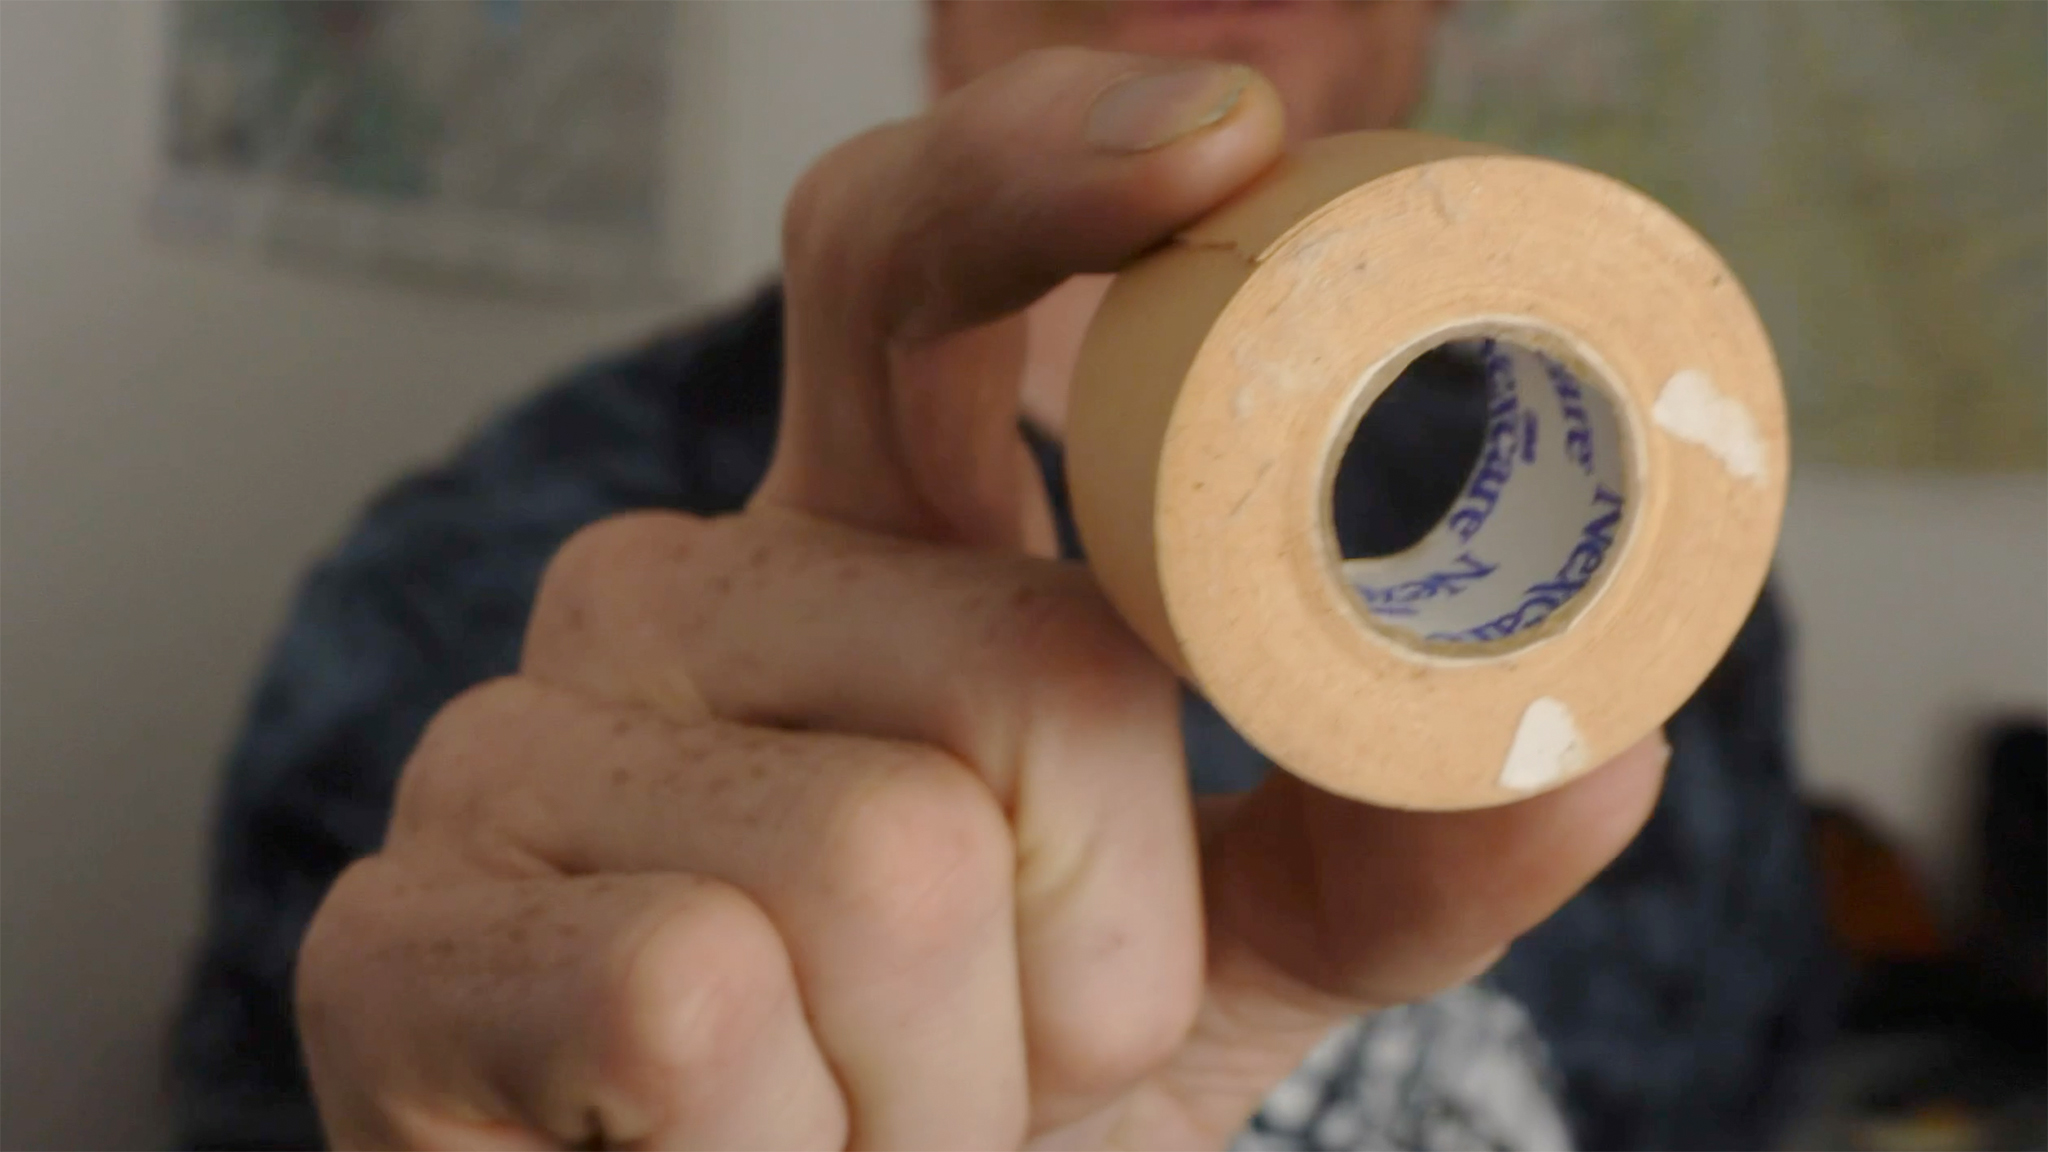
Tape can help to keep the surface of damaged or annoyed skin away from whatever is causing it distress. I use tape sparingly. The tape I’ve been using is this kinda foamy, cushion-y tape called Nexcare Absolute Waterproof Tape. You could also potentially put it around a blister and reduce the pressure on the blister itself.
Turkey Oven Bags
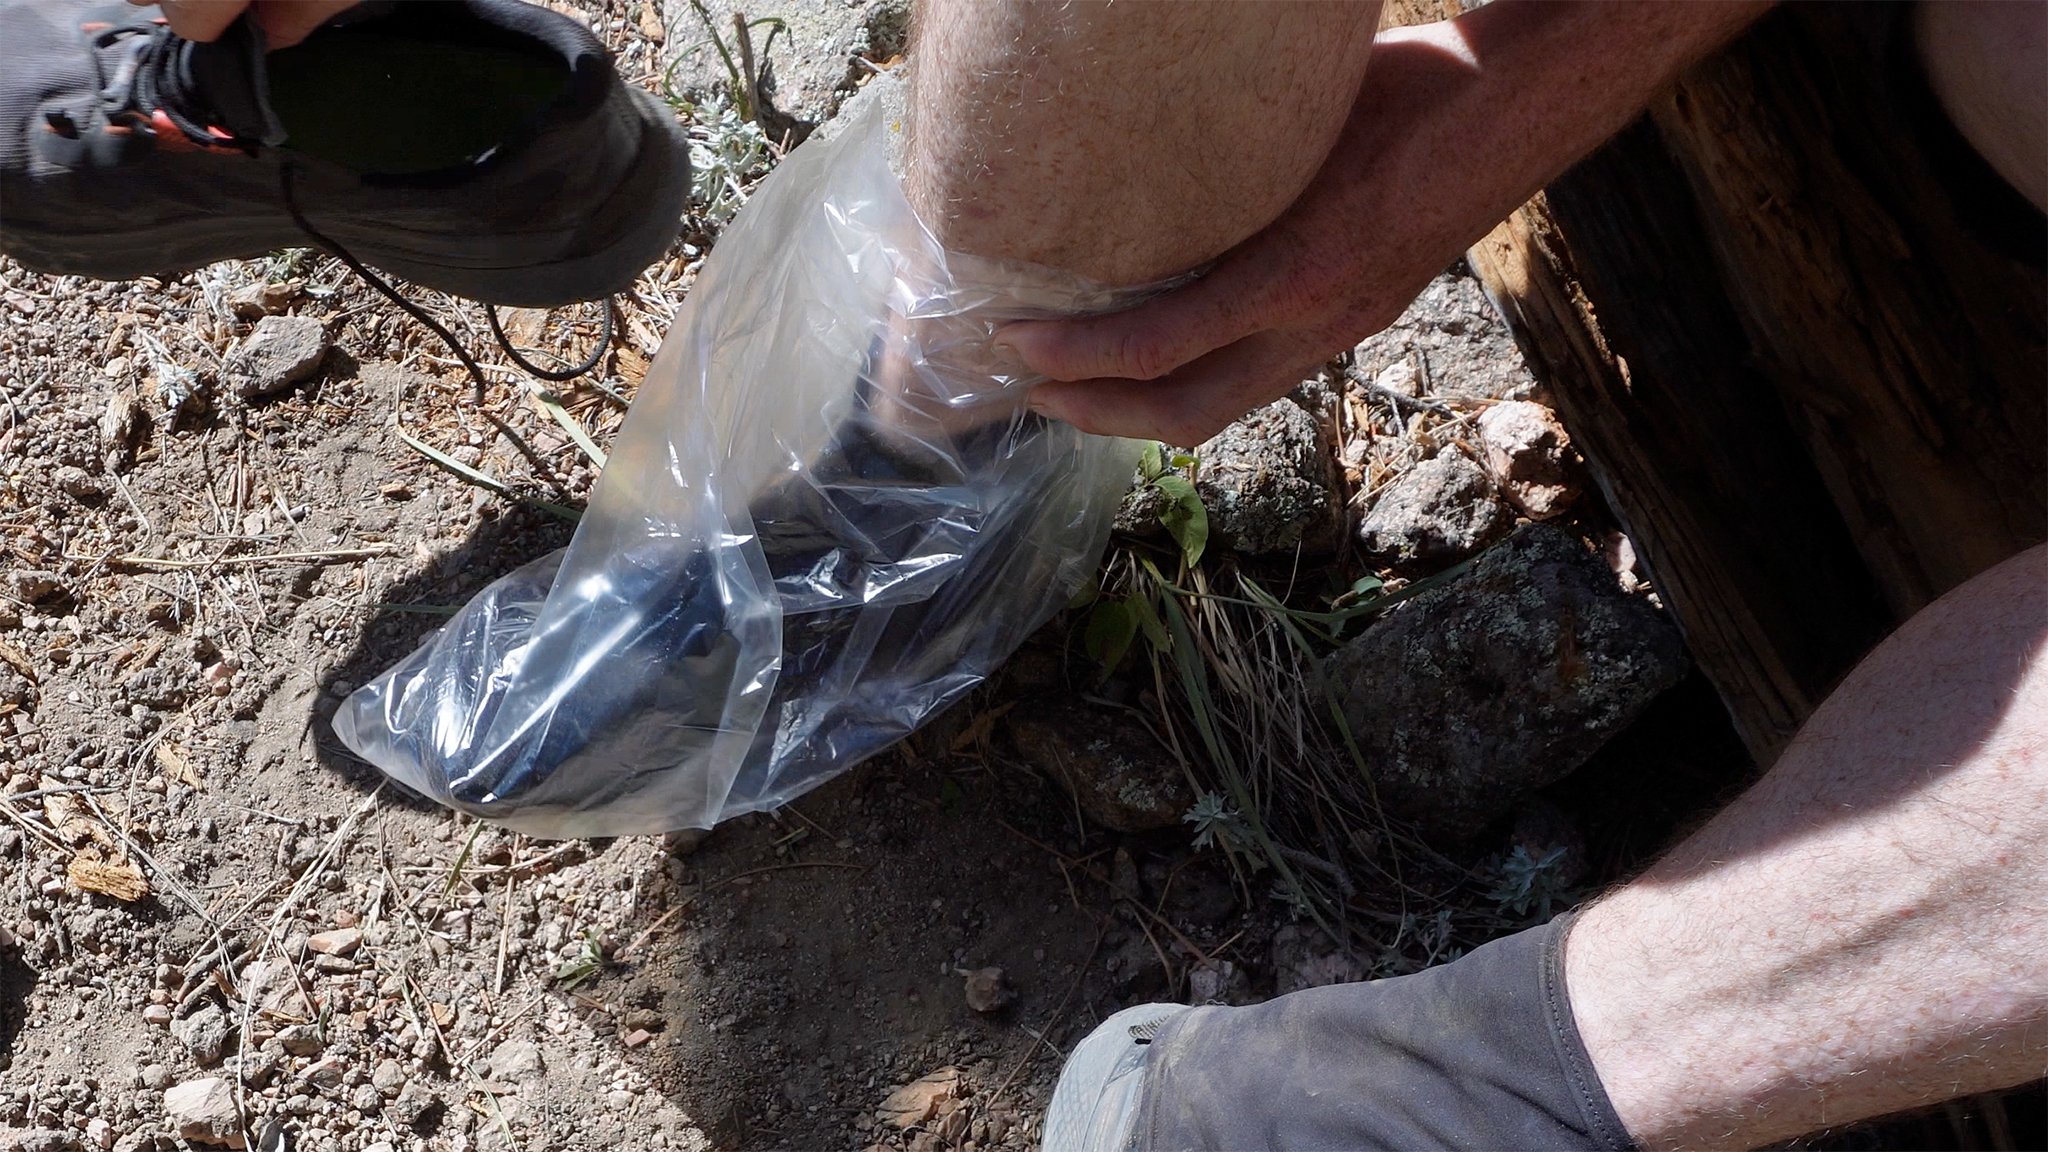
I’ve written about how it’s important to keep feet relatively dry, but what happens if it rains – or even snows? For that I bring along some turkey oven bags. This is a piece of kit I grabbed from my winter kit, when I wanted to create a vapor barrier. I may have to do a separate video on that later.
It’s not a perfect solution, but could buy you some time as a passing storm rolls overhead.
GORE-TEX Shoes?
Temps wouldn’t be low enough for the need to create a vapor barrier, but these are still useful to just simply wrap around a clean, dry pair of socks to separate your socks and feet from your shoes in an attempt to keep your feet from getting soaked.
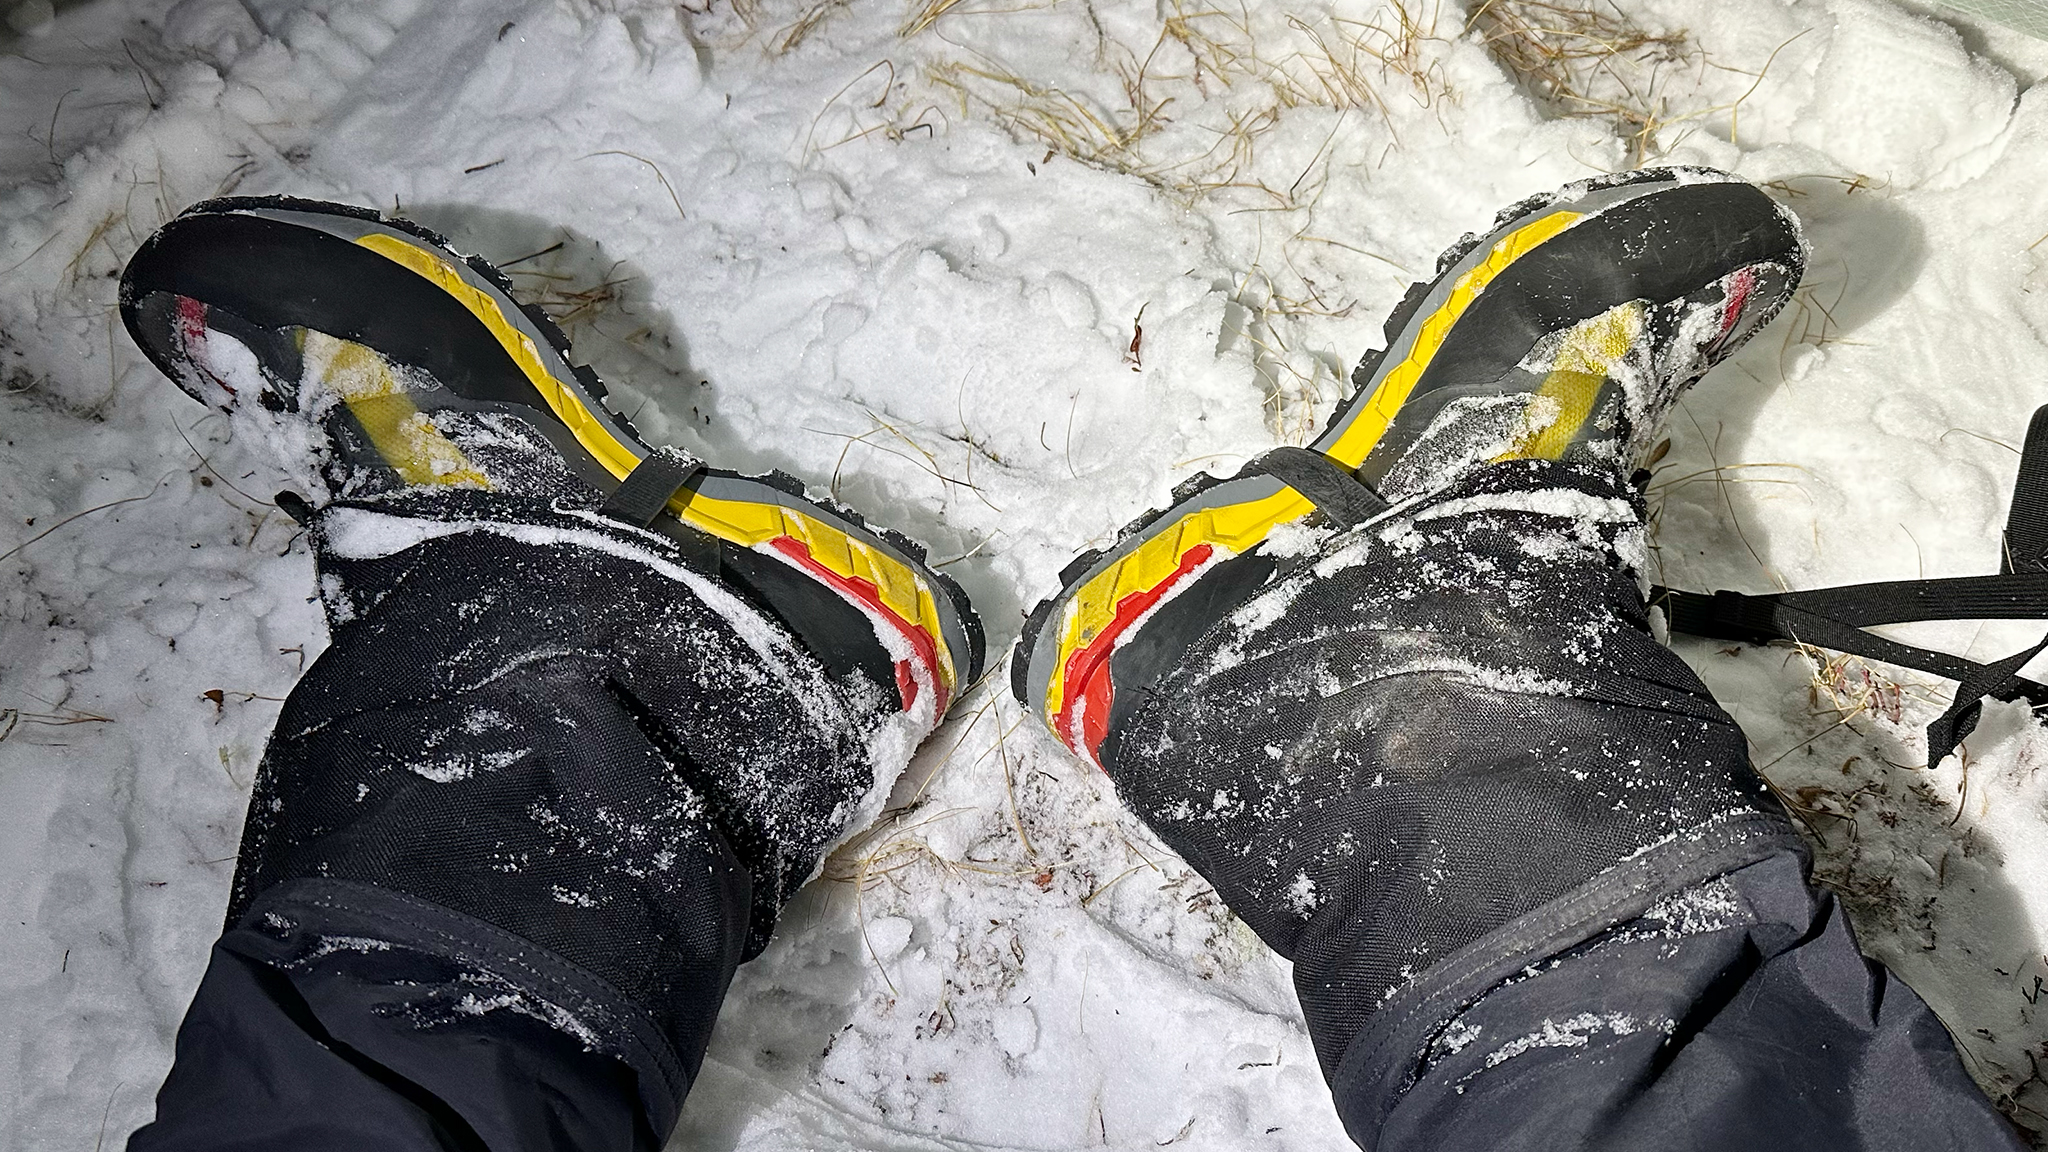
I generally do not use GORE-TEX shoes in the summertime – or anytime the temperature is above freezing. Eventually the uppers of most any running shoe will get wet and GORE-TEX uppers just take a longer time to dry out. Oven bags aren’t a perfect solution, but they don’t weigh all that much and could prevent a problem from becoming too unmanageable.
Conclusion
So that’s my footwear system fro the Colorado Trail FKT. In general I was very happy with everything, especially the resole. If I was to do this again, I may opt to size my shoes just a half size larger to deal with swelling.
My Super Prodigios still have a ton of life left into them and I can’t wait to get out to go on some more trips!
