The Ultimate Direction SCRAM is a large-capacity running vest that’s been toughened up and given storage capacity for all-day missions, allowing you to take it anywhere to help in supporting you doing essentially anything.
- Pros: Classic Ultimate Direction Running Vest Design, tons of storage, tough materials, minimalist.
- Cons: Maybe too minimalist for some? Not perfect for a dedicated running vest: if you don’t need the storage, this isn’t the best vest for you.
- Weight: 445 grams / 15.7 ounces
- Storage Capacity: 23.5 Liters
- Interesting To: mountain runners, skimo, fast-and-light climbing missions, bikepacking
- Best For: those needing a lot of capacity, but not yet Fastpack-capacity; people who are very tough on gear
- Price: $134.95
- More information: The Ultimate Direction SCRAM | Adventure Collection
- Purchase at Ultimate Direction | REI | Backcountry
Choosing the best running vest can sometimes be distilled to: is it comfortable for you? And is it large big enough to carry what you need? But, what if your day involves more than the run? I usually bike out to the trailhead, then take a trail run/power hike to the crux of my day: some sort of mountain scramble high above treeline – take my Longs Peak multisport missions, as examples.
Sometimes just a running vest leads much to be desired. The vest may not have enough storage for all the extra water or gear I may need to haul – sometimes it’s just that the little pockets of the vest aren’t enough to hold the bulky items I need to bring. The light materials of a running vest may, in time, get damaged from abuse. I abuse things, and I’m sometimes left with broken gear.
Enter the Ultimate Direction SCRAM. A pack that may have started out as a running vest, but has since mutated into a minimalist all day pack to do, well: anything.
What else to do, but show you what I use mine for?
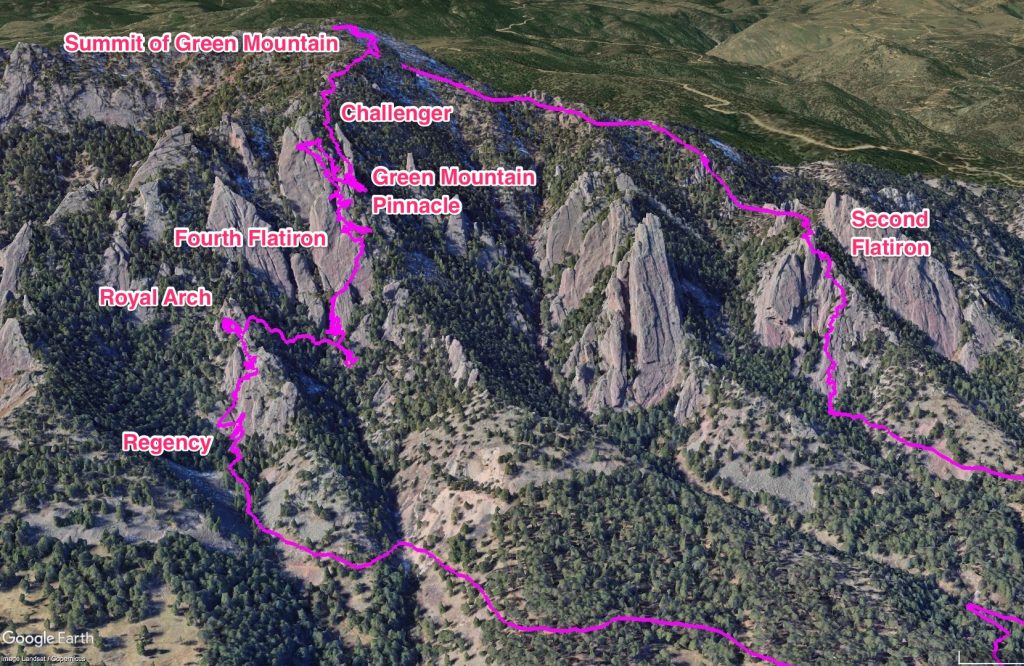
Green Mountain Mountaineer’s Route
Green Mountain watches over the city of Boulder like a gentle sentinel, but hidden within its ponderosa pine forests, are enormous monoliths of Fountain sandstone formations to adventure around. Many pedestrian trail routes will allow you access to its summit, but one can also piece together a more exhilarating path to the top by linking these crags together. One early summer day, that’s what I intended to do.
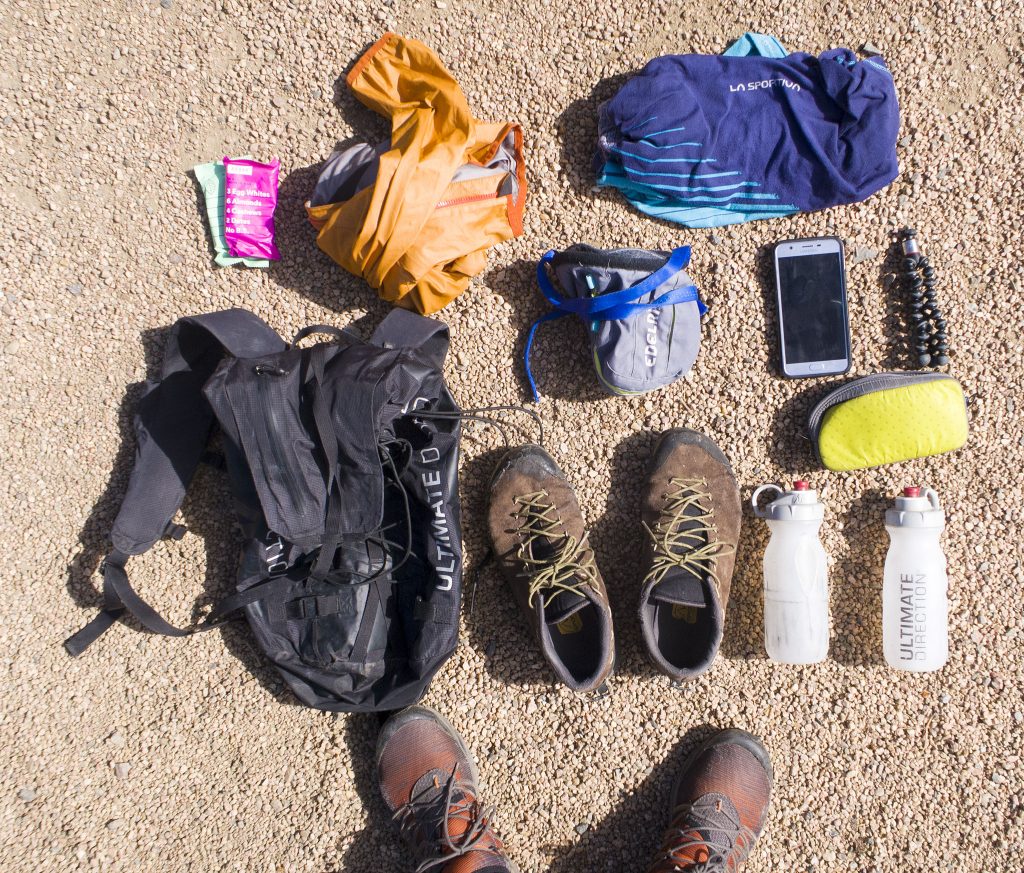
To make that happen, I brought along a few things to put in my SCRAM:
Pack list:
- La Sportiva TX2 approach shoes
- 24 ounce UD Kickr Valve bottles 2x
- Canon GX7 Mark II Camera + Sea to Summit camera pouch
- La Sportiva Knit Shirt
- La Sportiva Odyssey GTX Jacket, XL
- Jolby GorillaPod 325
- Android Phone
- Elderid Chalkbag
- RX Bar x2
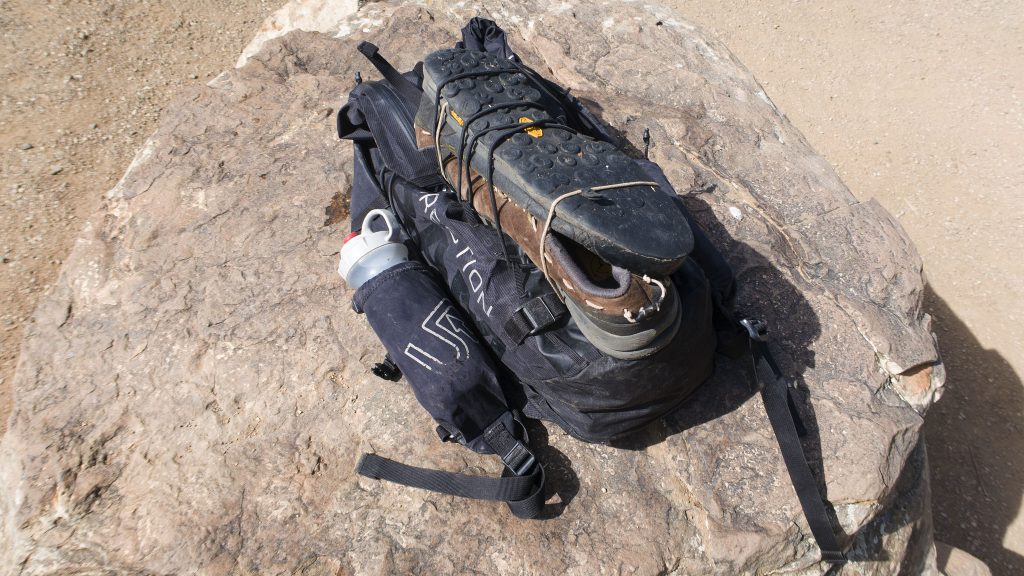
Some scrambling gear (sticky approach shoes, chalk bag), a bit extra food + water, plus some gear to document it all for this very review. The SCRAM eats up the gear. I lash my approach shoes to the back of the pack for easy access, using the included bungee chord accessories. The SCRAM comes with a few different accessories that UD calls their “All Season Kit” to help you make the pack your own, for whatever it is you’re adventures call for, including:
- Bungee cord, useful for lashing gear to the back of the pack and extra capacity
- ski hook + ski loop for ski mountaineering missions
- removable and adjustable waist belt, good for hauling heavier loads]
I start my day gingery jogging up the popular and busy Mesa Trail, but only after a few minutes, I cut right onto an old quarry road unknown to most, just hidden out of easy view in the trees and soon I’ve left the trade route and am alone. The road narrows to a social trail, and I’m soon below The Regency: my first piece of rock for the day.
I change into my TX2‘s, and start up this awesome rock for a stout warmup. After a few pitches, the route culminates at a pinnacle of a summit, overlooking Royal Arch to the west, where hikers have congregated near the arch to eat some snacks and take in the views. They spot me, and phones come out to capture a curious sight: what is that person doing over there – and how did they get there?
Quickly though, I descend the steep west face of the Regency, and disappear down a chimney. I squeeze through a hidden passageway, and soon I’m at the foot of Royal Arch, far below the hikers I just saw. I scramble my way up from the east and am soon on the top of the Royal Arch itself! The hikers are unaware I’ve passed them, not thinking that such a thing is possible. I carefully make my way down one of the cruxes of a day – a short 5.6 pitch on the west side of Royal Arch, and scramble onto the Royal Arch trail, down to the base of the Fourth Flatiron.
In just a few minutes of running, I’m at the base of the Fourth. I again make haste up the steep, grubby slabs. This flatiron is secretly three smaller flatirons, each with their own different character and challenges. It’s the third piece though, that gets most people’s attention, as the climbing gets a little more difficult; the rock quality a little more varied.
I piece together a route that’ll get me up, and spy a roped party on top of the nearby Fifth Flatiron just to the south – and they see me. I wave, letting them know that I know that I’ve basically become their entertainment. The Fourth isn’t very popular, and the route has a bit of a bad reputation, so the party on the Fifth is no doubt curious how – and I guess: if I make it to the summit safely (climbing is filled with gallows humor).
I wander carefully using the various diagonal ledges, trying to gain upward progress with full confidence in my sticky rubber’d TX2’s,, until I get to a peculiar offwidth crack – sometimes you would usually avoid on this type of route, but for some reason, I’m attracted. Maybe it’s my recent introduction to crack climbing of all types this past Spring in Indian Creek?
With a deep breath, I jam a knee into the crack, and stack my hands. I successfully wriggle my body up this highly irregular flatiron feature. The line is a good one, as the crack opens up to wonderful climbing above, and I’m soon at the summit. I’m surprised to hear cheers from the party on the Fifth Flatiron! I ham it up, by doing my best Rocky impression towards them – the summit of the Fourth makes a good stand-in for the top of the steps of the Philadelphia Museum of Art. Arms reached out above me, I am victorious!
And making good time, too! I PR the route @ 34 minutes, 14 seconds, taking almost 45 minutes off my previous time. Sometimes crack isn’t whack.
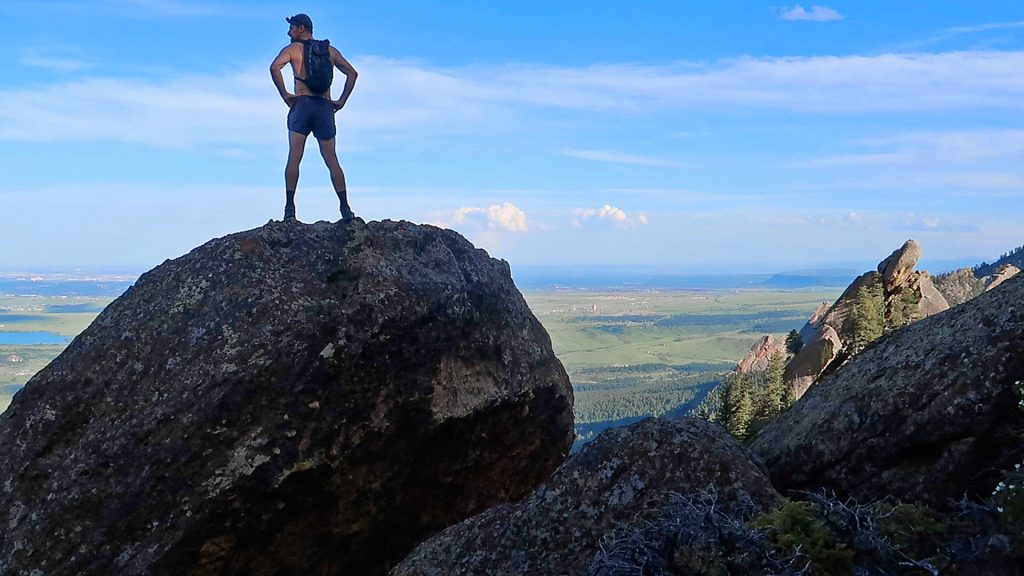
High as I may be, my day is only halfway over. I gingerly make it down the north side of the Fourth to a hidden jewel of the Flatirons, Green Mountain Pinnacle’s enormous chimney route: Takin’ Care of Business. I drop my SCRAM on the Challenger formation and do a quick lap – it’s just too much fun,
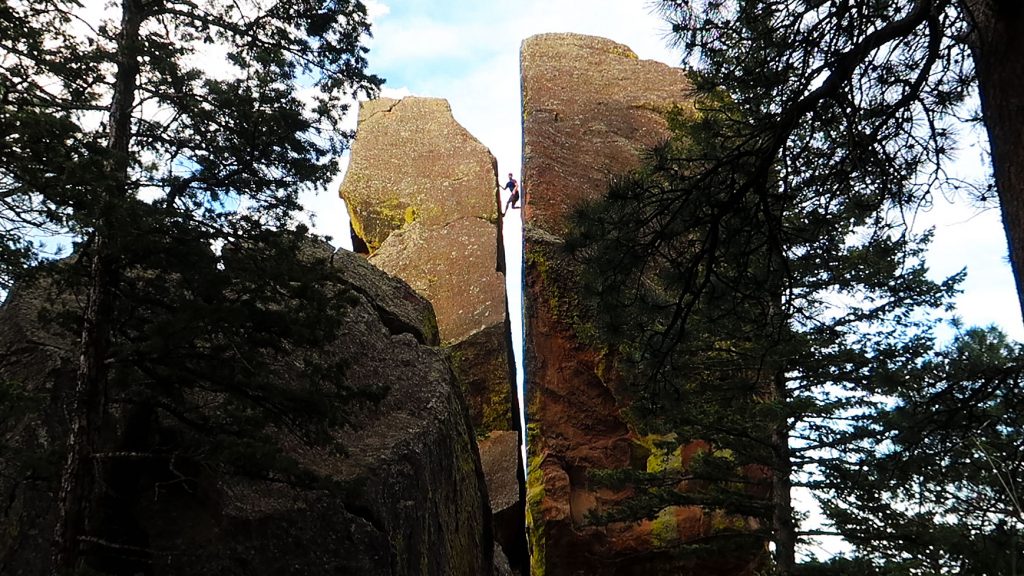
Topping the chimney and after a brief downclimb, I’m reunited with my SCRAM. I then indulge in the awesome finger crack of Challenger and take in the rare views seen for its summit, including one of the best of Royal Arch itself,

As well as a unique view of the flatirons to the north.
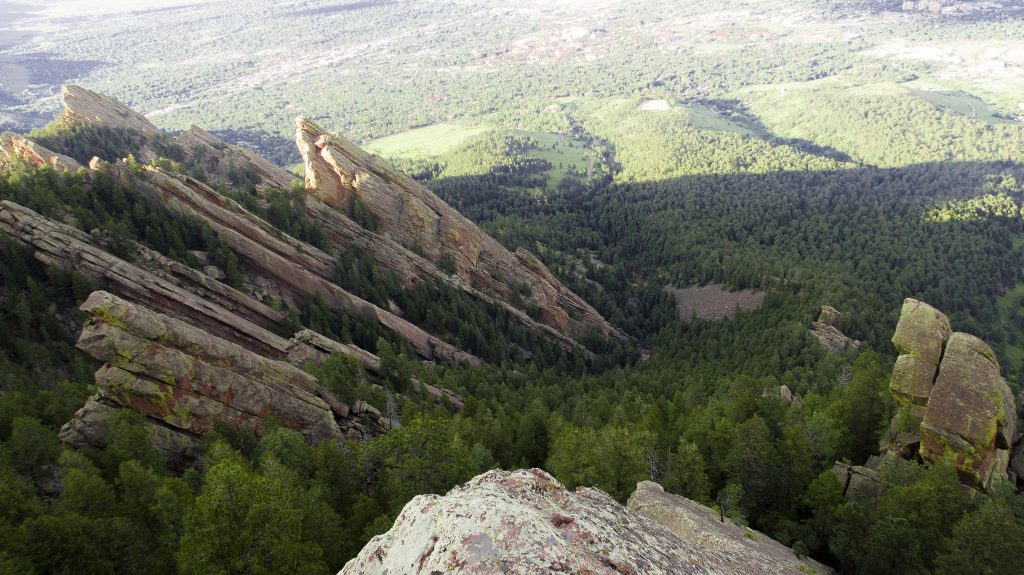
It’s a wonderful line, and I’ve found myself at a terminal ridge that’ll lead me to the summit of Green Mountain. I switch out shoes to my La Sportiva Mutant, and stow away my TX2’s, as I won’t need them for miles and miles. The SCRAM has enough capacity to swallow these up, too!
A few minutes of jogging, and I’m on the summit of Green Mountain, enjoying the fading light engulfing the Indian Peaks and Rocky Mountain National Park to the west/northwest.
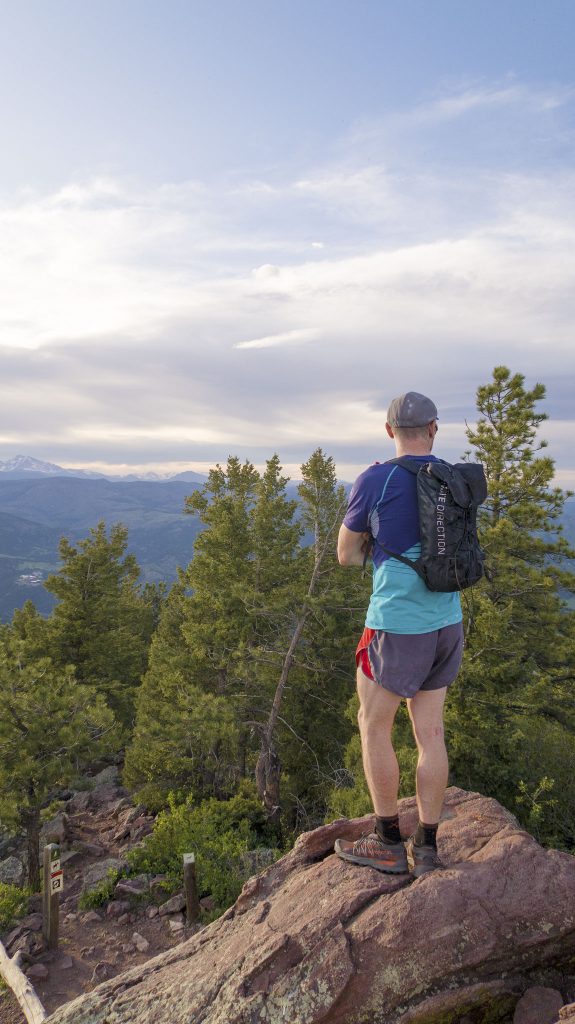
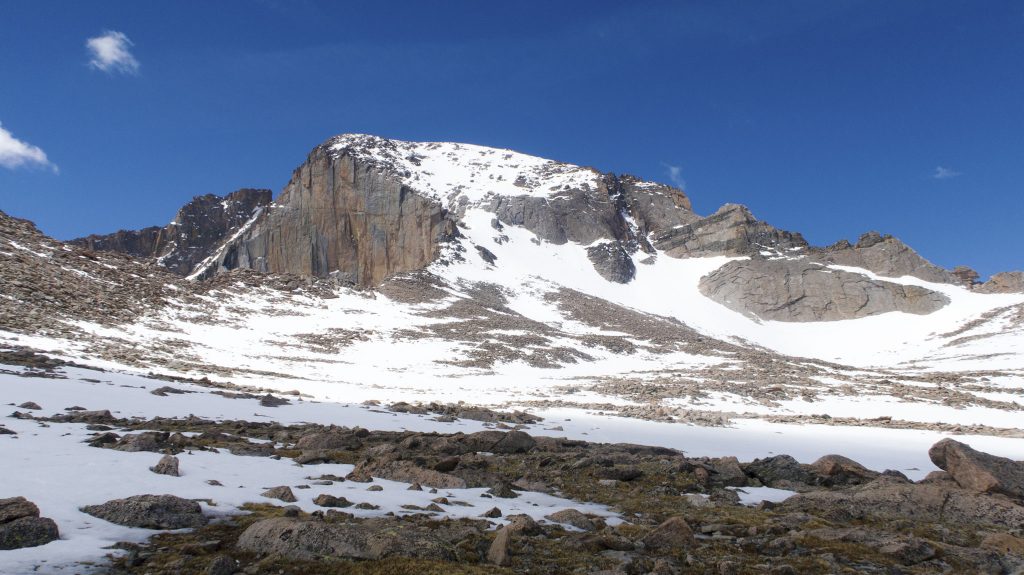
Longs Peak looks particularly beautiful, with all the lingering snow,
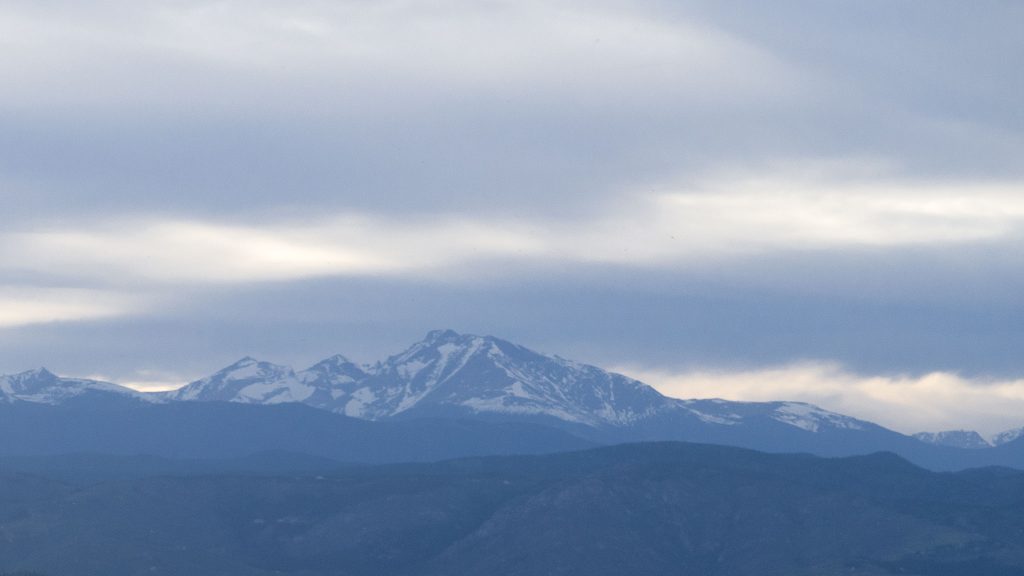
I make a mental note to get in touch with Peter Bakwin, and see if he wants to get out to Longs Peak soon. I end the day by downclimbing Freeway on the Second Flatiron, culminating with racking up dozens of easy climbing pitches on my mountaineer’s route of Green Mountain in just a few hours an during my day’s run. Freeway is a fun route, and one I’ve done to point of memorizing most every little feature, so downclimbing it at speed is full of joyous movement. I leave with a grin,
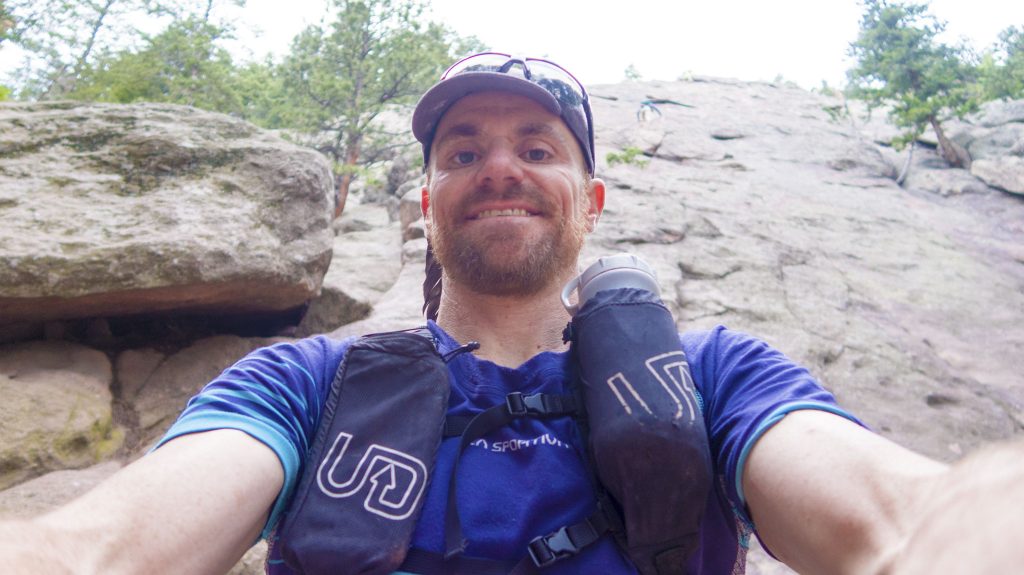
My route (also find it on Strava):
Longs Peak, Cables
Peter got back to me, and was also interested in going to Longs Peak, “On the condition that you haul the rope!” Peter is convinced I need more condition training for my backpacking guiding in Alaska starting the next day, so I throw the 8mm, 30 meter rope in my SCRAM, along with a pair of crampons, my climbing harness, food for the day, and an extra jacket, gloves, and lash my ultralight Camp Corsa Nano axe to the SCRAM‘s dedicated ice axe loops. The loop is actually a buckle that can be snapped off with your fingers without taking the pack off, then reattached via it’s magnetic ends. Clever.
The SCRAM has a few interesting details on its exterior, including,
- Small external zip pocket – good for keys, wallet, food
- (aforementioned) futuristic magnetic ice axe buckle/loops
- external pockets on the front for phone, water
- daisy chains on the back of the pack
I also decided to attach the optional hip strap to my SCRAM, to help me with the weight of my mountaineering gear.
Peter leads the way, navigating the various secret shortcuts, and we’re soon above treeline.
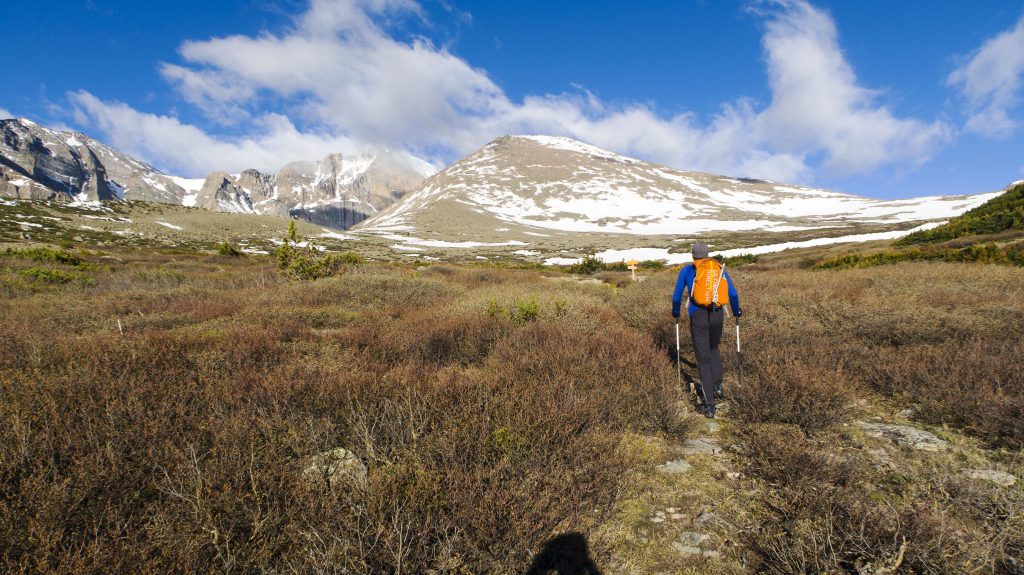
Looks like good conditions on Longs! Our summit bid looks likely!
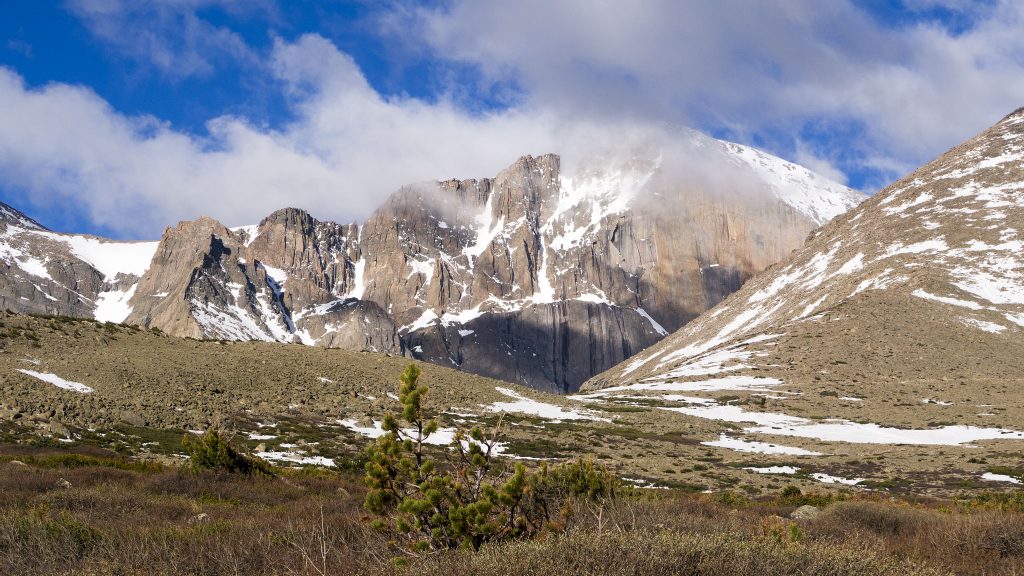
With too much adoo, we gear up at the bottom of the Cables route, donning our hiking crampons, and get our axes out. Cables is absolutely covered in snow and ice making for legit mixed conditions. We get through the alpine ice-encrusted crux without issue; all we have now is a very long snow climb to the summit.
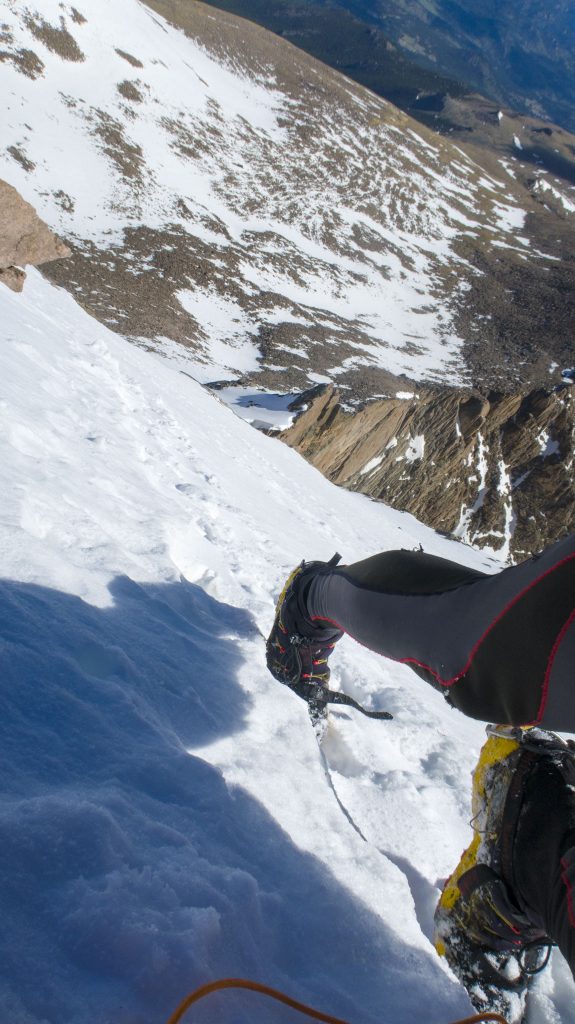
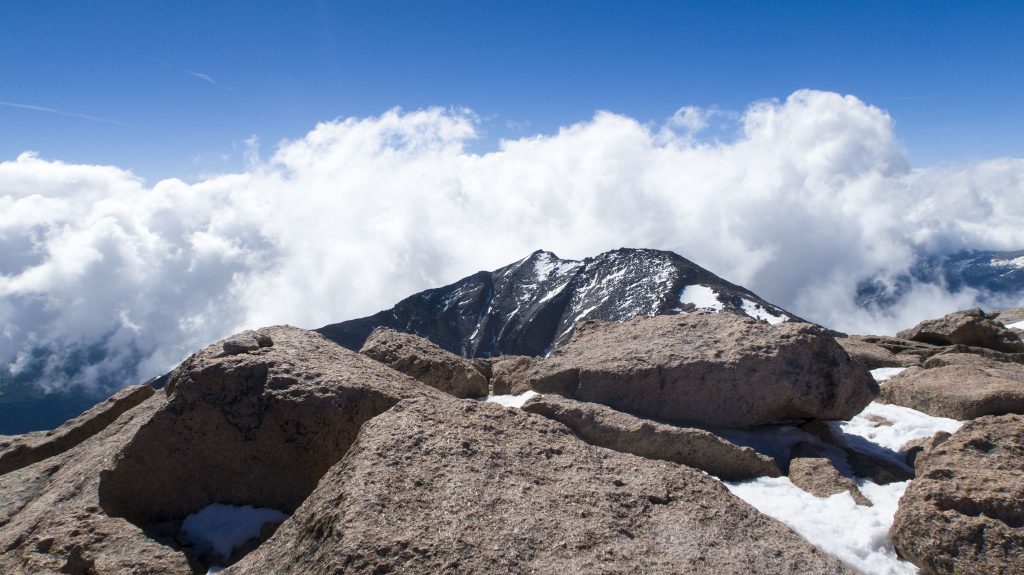
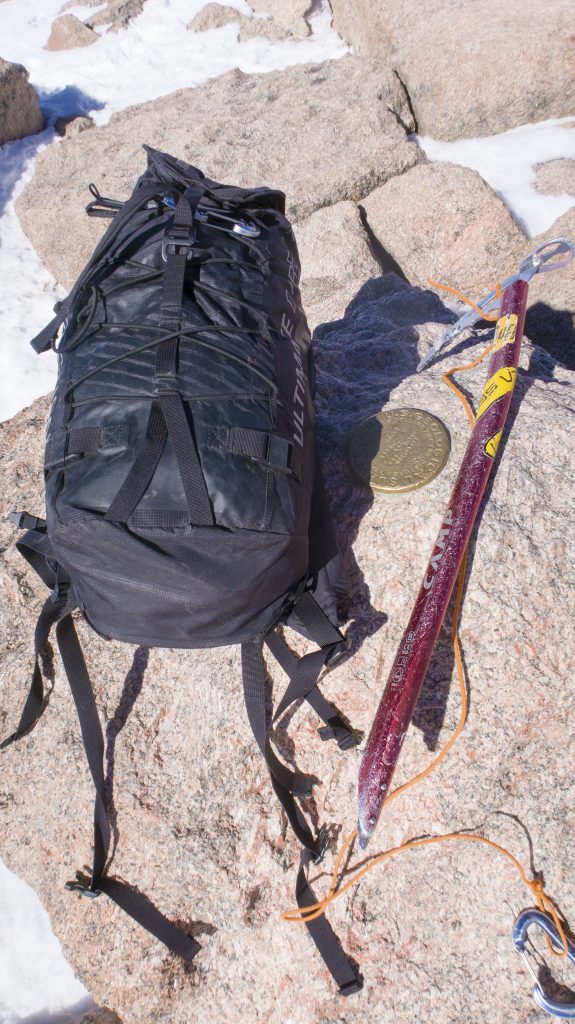
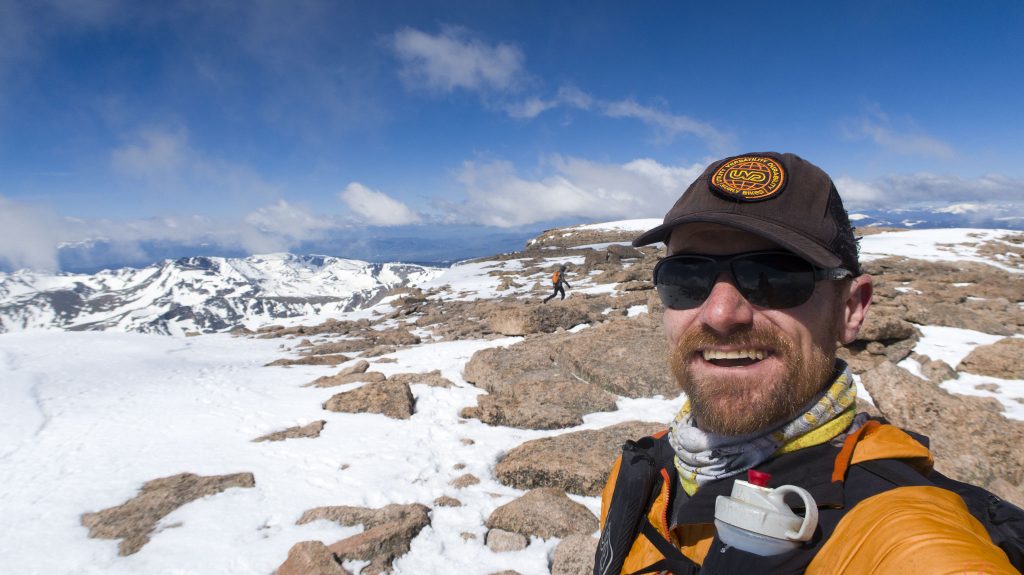
Peter isn’t one to dawdle too long (and sometimes is photo-shy), and before I can even snap a selfie at the summit, he’s on his way down!
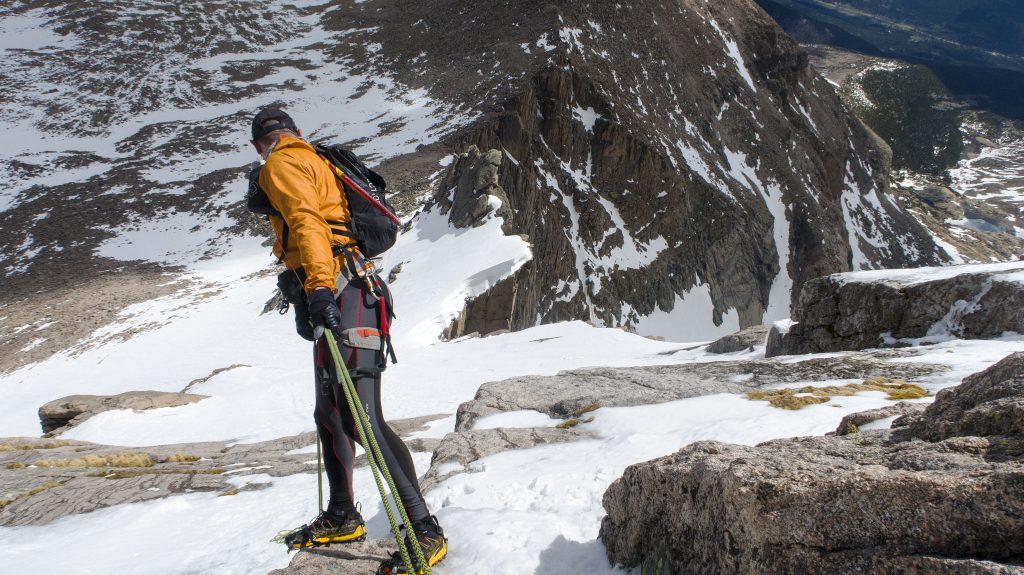
The next opportunity to take a breather is at the top of the Cables route, where we set up a rappel with Peter’s rope. Down we go!
With signature efficiency, we’re back down to the Boulderfield, with nothing left but a quick jog to the trailhead. Another beautiful day on Longs Peak.
The SCRAM works well, and soon I’m taking the rope out to give back to Peter. Another Longs Peak summit successfully accomplished, and all with minimal gear needed. Happy with the day, I take an extended nap back up home, before gearing up for my Alaska trip.
More SCRAM’IN
After work scrambles and alpine missions aren’t the only uses for the SCRAM. When I need to bring overnight clothes with me on a bikeride, I reach for my SCRAM. It’s burly materials + construction means it fits well as a commuter/bikepacking pack. I can lash it to my handlebars and know it won’t easily get damaged by debris, or if I take a tumble (I’m accident-prone). If I’m on a prolonged winter run, and am not sure of conditions, I’ll bring along the SCRAM with an array of warm clothes, just in case.
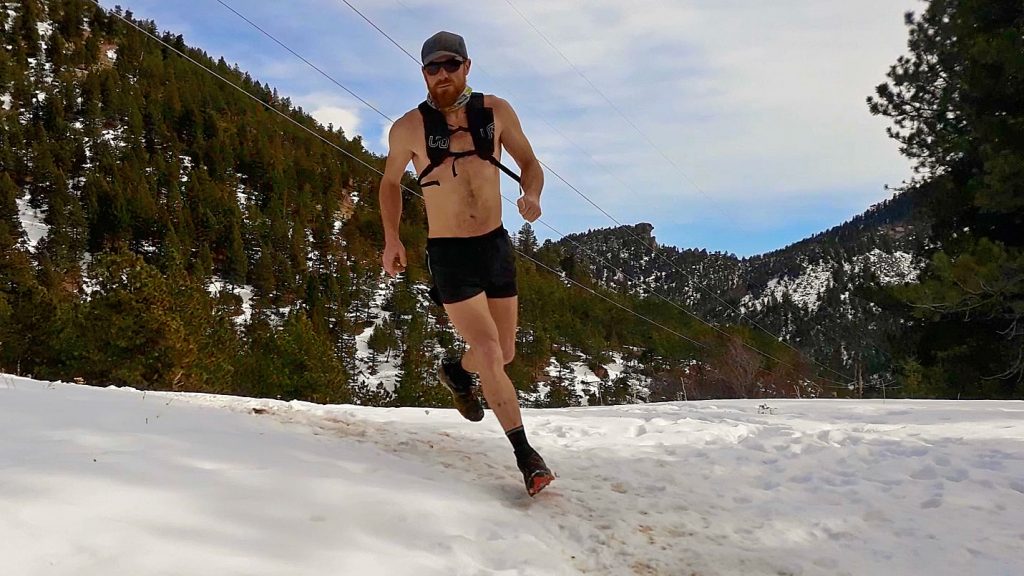
Plus the SCRAM is BLACK, which is METAL, and I do love a good metal song.
To SCRAM or not to SCRAM?
So when is the SCRAM not a good fit? Are you severely weight-conscious? Are you packing little and don’t want the gear inside your pack to slosh around? Are you meticulous with your gear and treat it with a gloved hand? The SCRAM just may be too much pack for you. Go with something from the Signature Series, and you’ll be much happier. Are you planning on going on multi-day trips? Go with a Fastpack. 25 is good for an overnighter; 35 is good for 3-5 days; 45 is good for 6+.
Questions? Let me know if the comments.

[…] Review: Ultimate Direction SCRAM […]